If you're working on a Microsoft Word document that contains a lot of tables and figures, this can cause confusion for you and others later. Instead of manually naming tables or figures, you can set up Word to help you quickly. It allows you to: Caption feature Assign names and numbers to your figures and tables. One of the benefits of using the caption feature in Microsoft Word is that it updates automatically with each new table or figure you add. It also makes it easy to create a cross-reference or list of tables and figures in your document. Here's how to add captions to tables and figures in Microsoft Word.
How to Add Captions to a Table in Microsoft Word
A caption is simply a title given to a table to help the reader understand what the details are. It's a good idea to assign a number if you have multiple tables in your document to make it easier to identify any updates or during discussions. Here's how to add a caption to a table in Microsoft Word.
Step 1: Click the button "Start" And type word To search for the application.
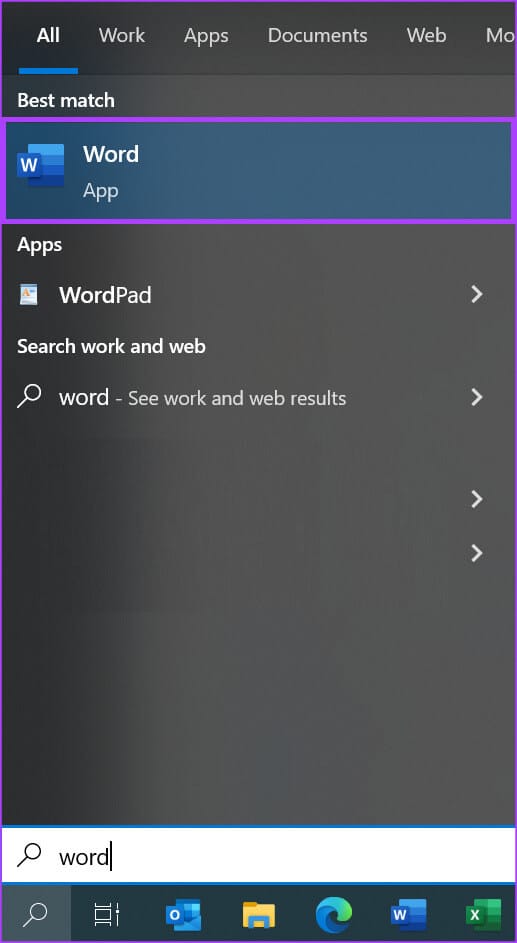
Step 2: From the results, tap Microsoft Word application. Then browse to the document you're working on to open it in Word.


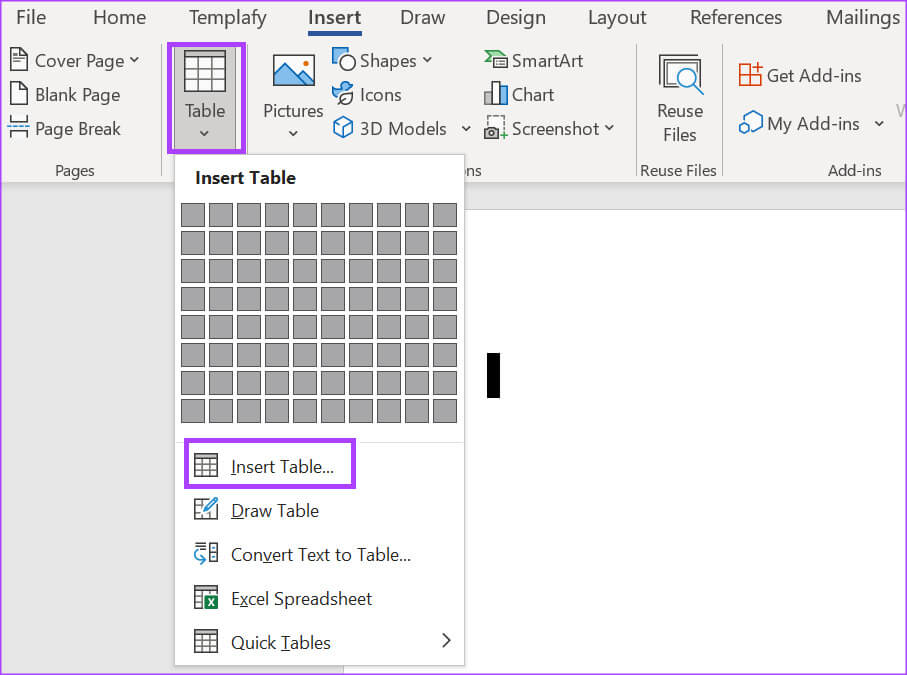
Step 4: Click Drop-down menu For the table option in the Tables group, select Insert table To start a dialog box.
Step 5: within Table size section , Locate Number of columns and rows For your schedule.
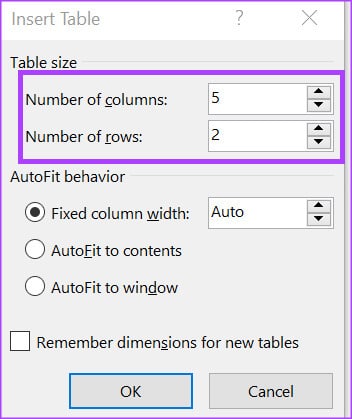
Step 6: within Auto-Containment Behavior Section , select whether you want to:
- Fixed column display
- Auto-contain content
- Auto-fit to window
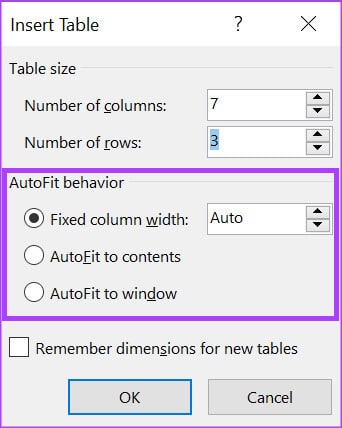
Step 7: Click "OK" After selecting your preferences.
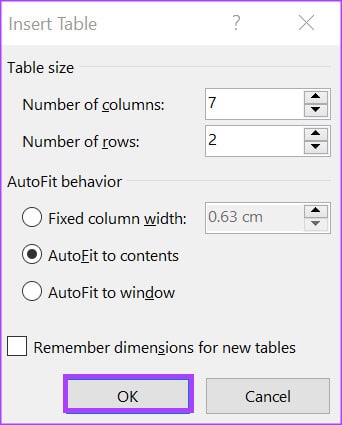
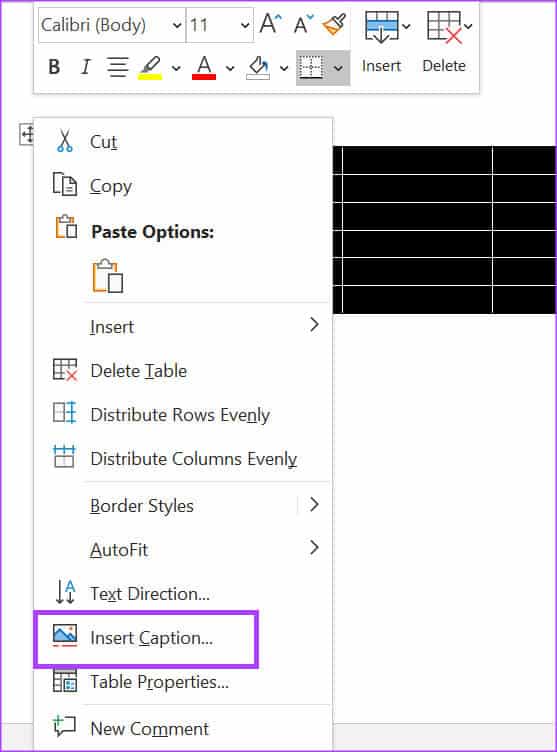
Step 8: After inserting a table, click on its border to select it and right-click on it to open it. Context menu.
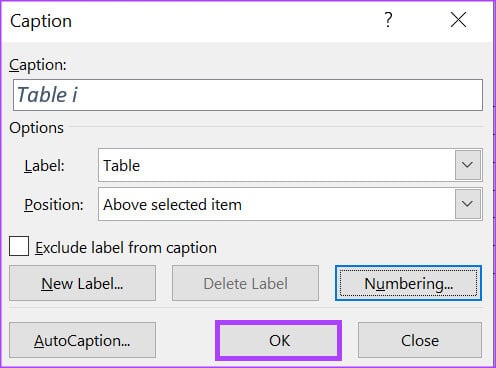
Step 9: Locate Insert Caption From the context menu to launch the Caption dialog.
Step 10: In the Caption dialog box, Word will automatically fill in a caption in the Caption field. You can update it with your preferred caption text for the table.
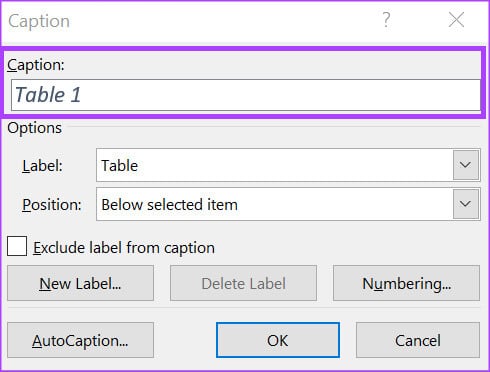
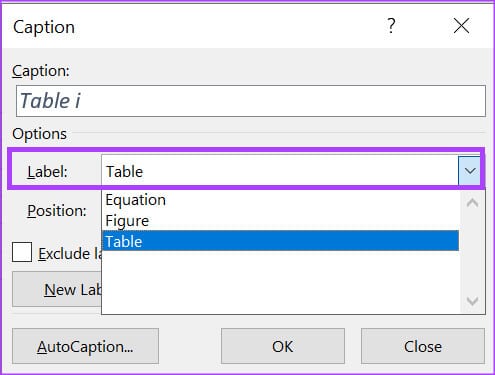
Step 11: In a field Label Word will automatically select the table as the label. If you want to update it, you can click the drop-down menu and choose it as an equation or a shape.
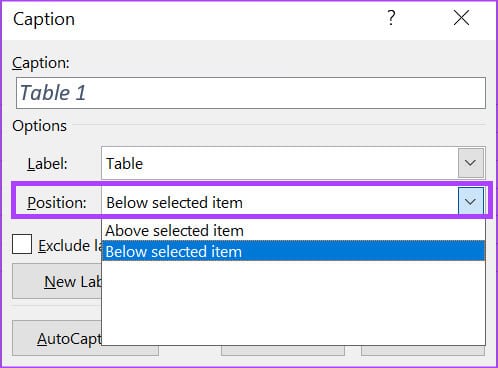
Step 12: Click the drop-down menu next to the Position field, and select the location where you want to place the caption. The selected item below Or The item specified above.
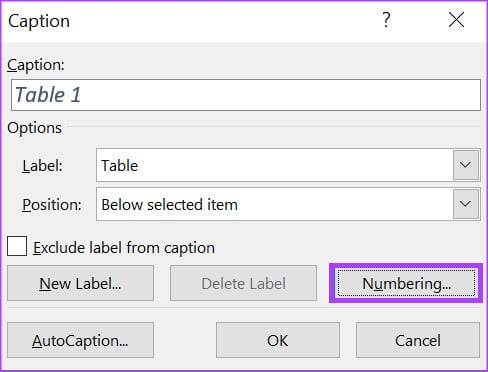
Step 13: Click Numbering button To start the Caption Numbering dialog box.
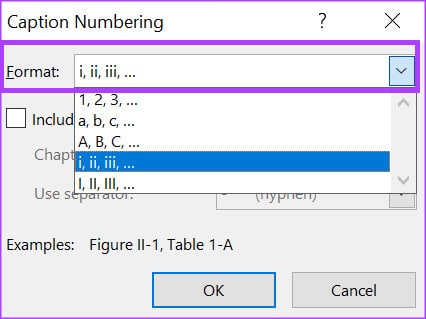
Step 14: in the dialog box Caption Numbering Click the drop-down menu next to Format and select Numbering format Your favourite.
Step 15: Click "OK" To save your preferences.
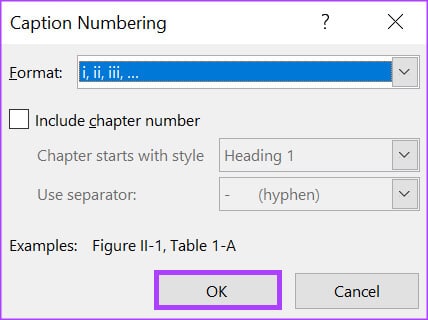
Step 16: Click "OK" To close the caption dialog for an application the changes.
How to Add Captions to a Shape in Microsoft Word
Adding comments to a shape in Microsoft Word is similar to adding captions to a table. However, the shape can be a graph, an illustration, or a photograph. Here's how to add a caption to a shape.
Step 1: Click the button "Start" And type Word To search for the application.

Step 2: From the results, tap Microsoft Word application. Then browse and open the document you want to edit.

Step 3: On the Word ribbon, click Insert tab.

Step 4: Under the Illustrations group, click the type of shape you want to insert from among Shapes, Charts, Smart Art, 3D Models, or Screenshots.

Step 5: After inserting the shape, click on it to select it and right-click on it to open it. context menu.
Step 6: Locate Insert Caption From the context menu to launch the caption dialog.
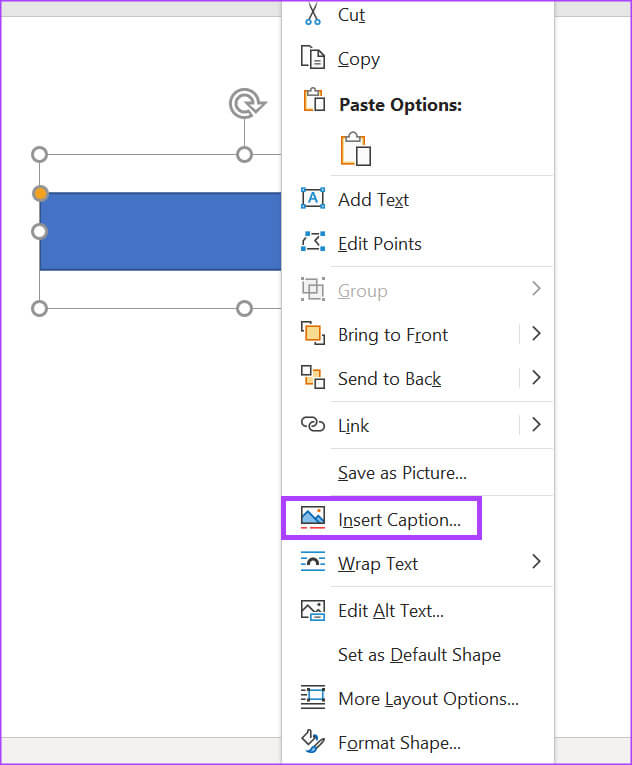
Step 7: In the Caption dialog box, Word should already have a caption pre-filled in the Caption field; you can either leave it or provide your preferred caption for the shape.
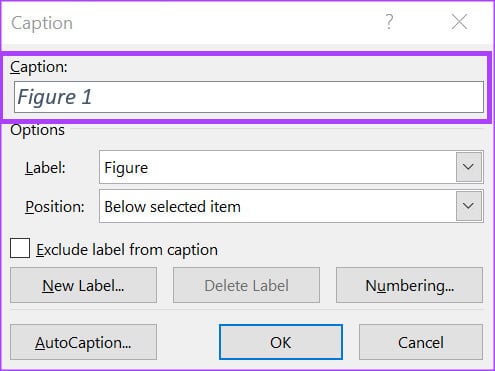
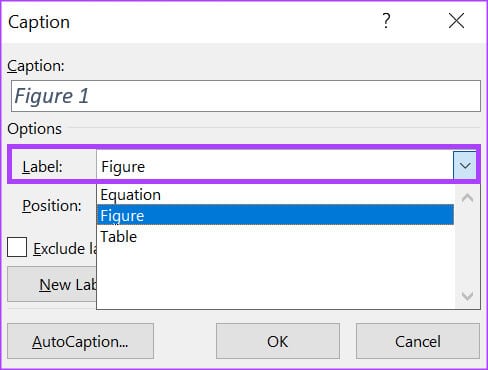
Step 8: in Label field Word should already have the label selected in the shape, however, if you want to update it, you can click Drop-down menu Choose between equation or table.
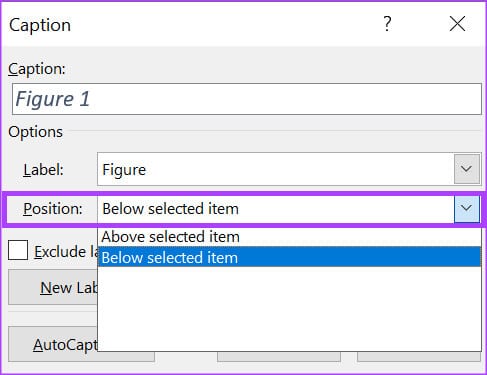
Step 9: Click the drop-down menu next to the Position field, and select the location where you want to place the caption. The selected item below Or The item specified above.
Step 10: Click the button Numbering to start Caption Numbering dialog box.
Step 11: in Caption Numbering dialog box , Click The drop-down menu next to Format and select Numbering format Your favourite.

Step 12: Click "OK" To save your preferences.

Step 13: Click "OK" To close the caption dialog and see the changes in progress.
How to create a list of tables and figures in Microsoft Word
If you have multiple tables and figures in Microsoft Word, you can create a list to keep track of them. The list can also contain numbers indicating the location of the table and figures. Here's how:
Step 1: Open Word document Which you want to edit (check the steps above), choose the site you want to display your list on.
Step 2: On the Word ribbon. Click References tab.

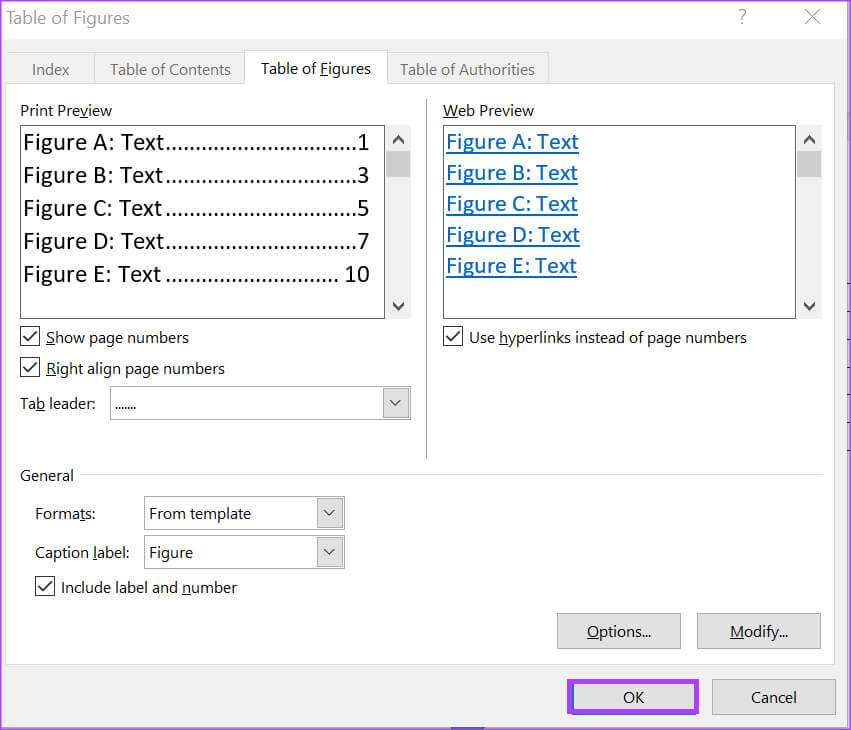
Step 3: within Captions group , Click Insert Table of Figures To start the dialog box "Table of Figures".

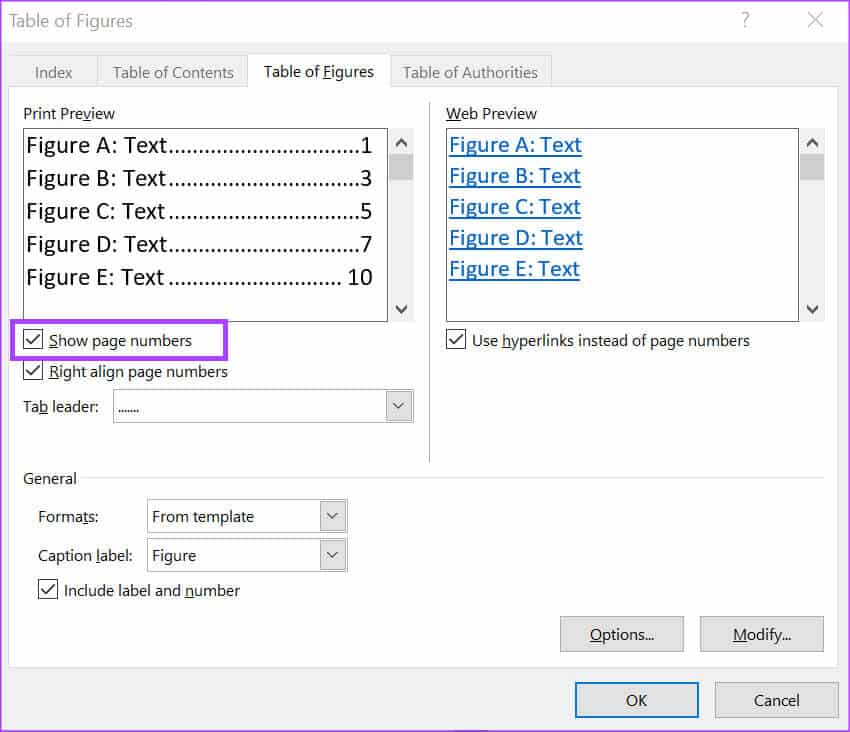
Step 4: If you want to show page numbers in the table or figures, check the box next to Show page numbers.
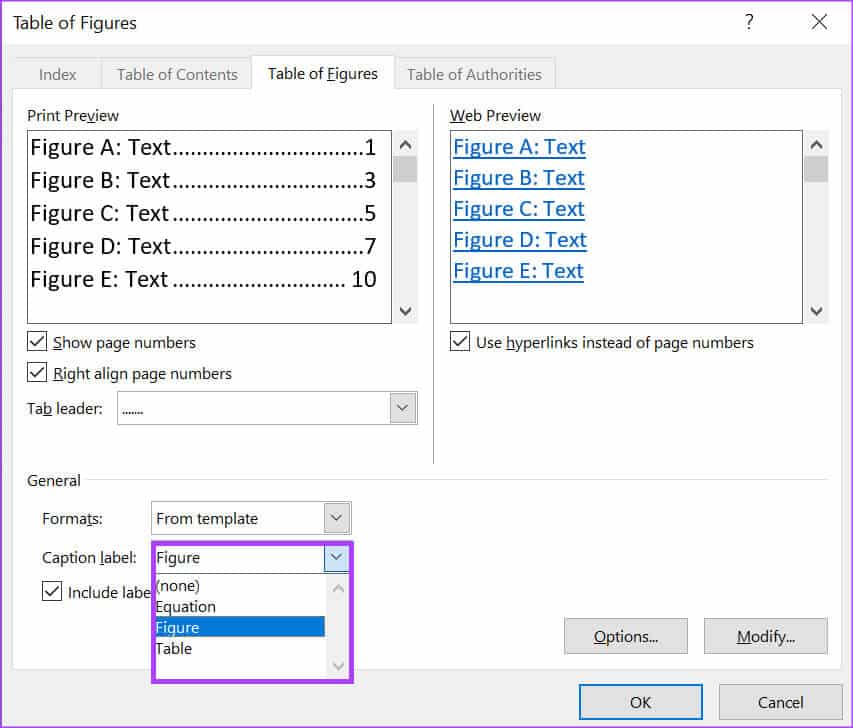
Step 5: Depending on the list you're creating, click the drop-down menu next to Caption and select either Figure or Table.
Step 6: Click "OK" To close the dialog box with saved changes.
Create custom table templates in Microsoft Word
Instead of using the default table templates, you can also Create your own table template Before adding captions, you can easily do this using the Table Design feature in Word. For easier access to your table template, you can save it to your Quick Parts gallery.


