Janna Theme License is not validated, go to the theme options page to validate the license, you need a single license for each domain name.
How to Use Outline View in Microsoft Word
After creating a document, you may want to see the overall view, including headings and other elements in the document. Using the Outline view in Microsoft Word should help with this. Microsoft Word Five views for users to view their documents. Default view In Word, it is the Print Layout view, which shows you the size of your Word document, margins, and font. The other four views are: reading mode و Web planning و "detailed plan" و "The draft" which have specific uses.
Outline view in Word is particularly useful when working with long documents. It displays a view of all the headings in your document if you've combined different Word styles. You can also make changes to the layout of your Word document directly using Outline view. Here's how to use Outline view in Microsoft Word.
If you place your cursor in the bottom left corner of a Word document, you'll find three possible document views. These views include Reading Mode, Print Layout, and Web Layout. Outline and Draft views require the View tab to access them. Here's how:
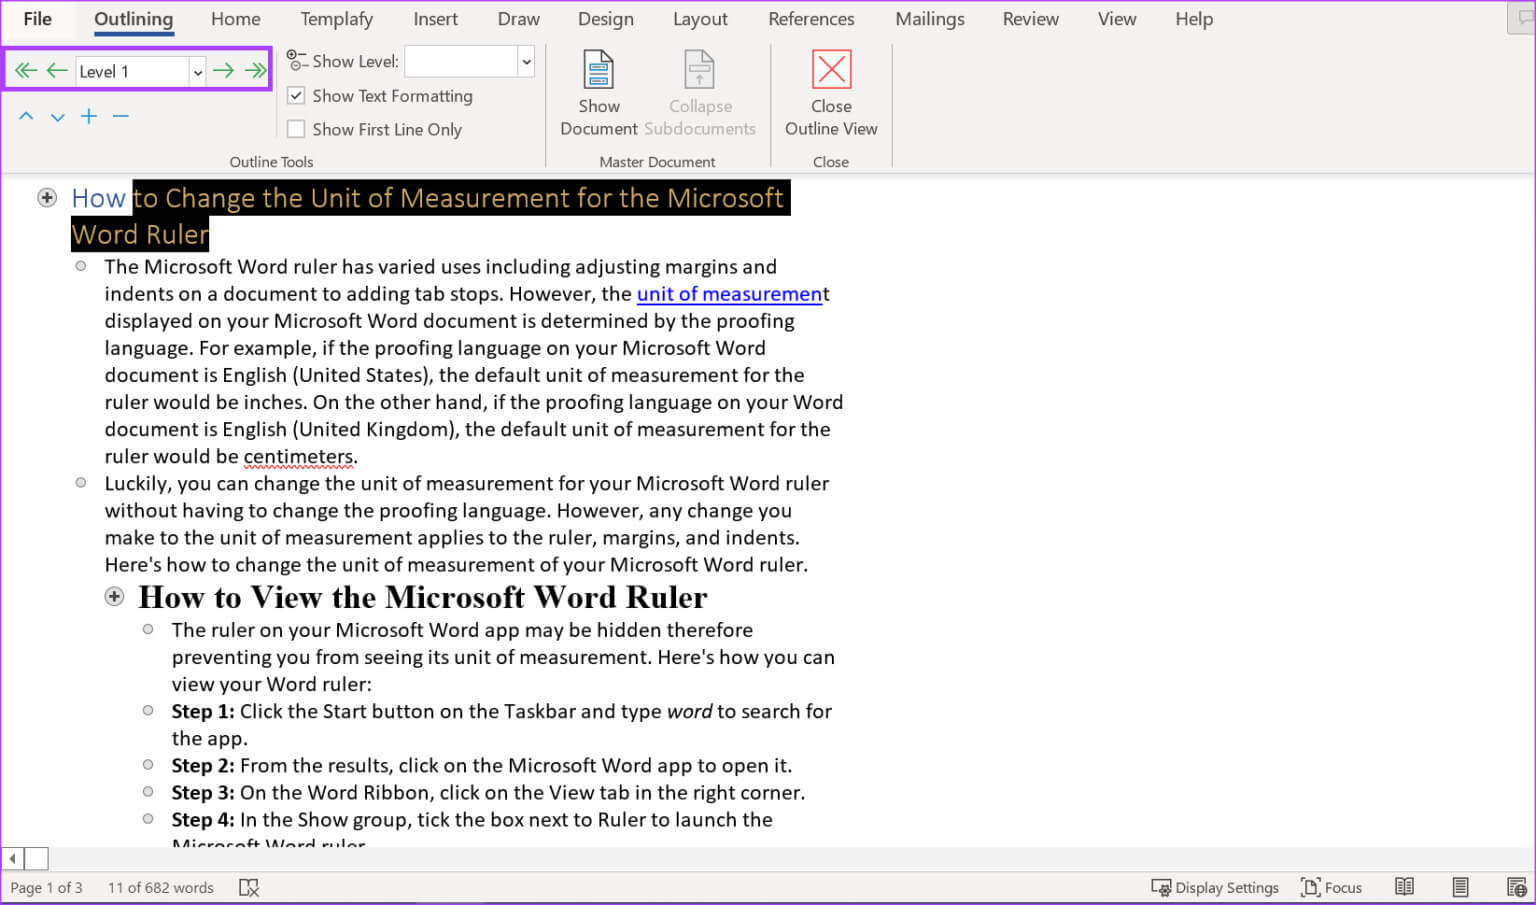
Step 1: Click the button "Start" On the taskbar, type Word to search for the application.
Step 2: From the results, click an app or document. Microsoft Word to open it.
Step 3: on Word ribbon , click the tab عرض In the right corner.
Step 4: In the Views group, click the option Outline To view the document outline.
How to edit document formatting using Outline view
Using Outline view, you can rearrange the content of your Word document. For example, if you want to move the heading of your Word document up or down, Outline view makes it easy to do so without having to copy or paste. The ability to do so again depends on whether your document has been formatted with the correct styles (for example, header, subheadings, body, etc.). Here's how to edit your document layout using Outline view:
How to promote or demote headers in outline view
One of the adjustments you can make to a Word document in Outline view is to promote or demote headings. In Outline view detailed plan Any text formatted with , will have an outline level set. Title styleFor example, text formatted with Heading 1 will be marked as Level 1 in Outline view. You can adjust the outline level of text using the following steps:
Step 1: In Outline view, click the item in the the document Which you want to change the level of.
Step 2: in the tab detailed plan You'll see the outline tools and the level of text you selected. Click the left arrow to promote a header or the right arrow to demote a header.
How to collapse and expand headings in Outline view
Another modification you can make to a Word document is to collapse or expand a header to show or hide its content. This option saves more time than scrolling through a long document. Here's how to do it:
Step 1: In Outline view, click Element that you want to expand or collapse in the document.
Step 2: in the tab detailed plan You will see the outline tools. Click the icon. + To expand the content of the title or - Collapse the title content.
How to exit detail view in Microsoft Word
After making adjustments to the layout or content of your Word document, you can exit Outline view or switch to a different view. Here's how:
Step 1: On the Microsoft Word ribbon, click the Outline tab. The Outline tab indicates that the document is still displayed in View. "detailed plan".
Step 2: Click the option Close outline view At the end of the tab options detailed planThe document should now return to print layout.
Find extra spaces in your Word document
Outline view is one of several options you can use to clean up the appearance of your Word document. Also, before sharing or printing this Word document, you may want to check for extra spaces. You can manually use the Find and Replace tool in Word to find extra spaces Or set up Word to highlight them.