Disk cleanup has been useful for ages on Windows. Windows Basically, we use disk cleanup to recover storage and help us fix various problems. But what if our savior gets sick?
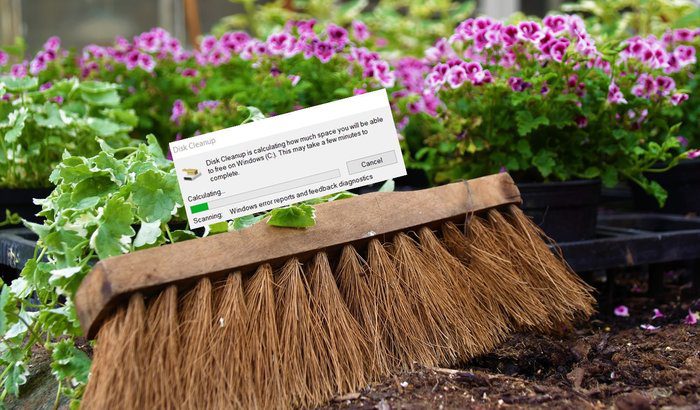
Yes. Often, while running Disk Cleanup, the calculation process gets stuck. Even waiting for hours doesn't help. There's no specific process that regularly hangs. While for some, it's stuck in Mixed Reality, others experience an issue related to Windows Update.
Whatever the cause, it's time to nip the problem in the bud. In this post, we'll show you how to get Disk Cleanup back in working order. This means you won't be stuck with your account again. Instead, you'll be able to easily recover your storage.
Let's check out the solutions.
Cancel and Resume
Before trying other methods, cancel the ongoing Disk Cleanup process. Then restart your computer. If you're lucky, this will resolve your issue. Give it a try. If the problem persists, cancel again and restart your computer again. If this doesn't help twice, try the solutions below.
Run the troubleshooter
Disk Cleanup often gets stuck due to delivery optimization files, Windows Update, or something similar. To fix it, you need to run the Windows Update Troubleshooter. Here are the steps to do the same:
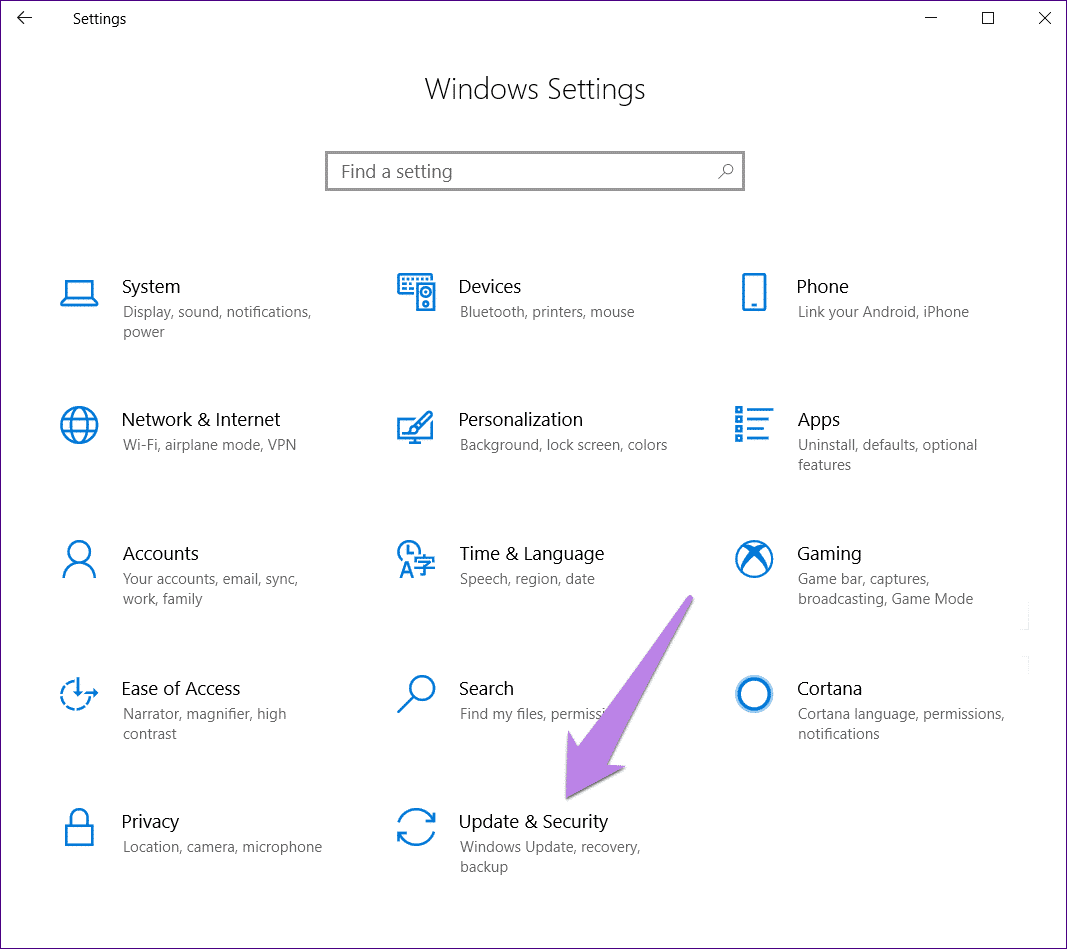
Step 1: Open Settings Windows Go to Update & Security.
Tip: Use the Windows key + I shortcut to open Settings.
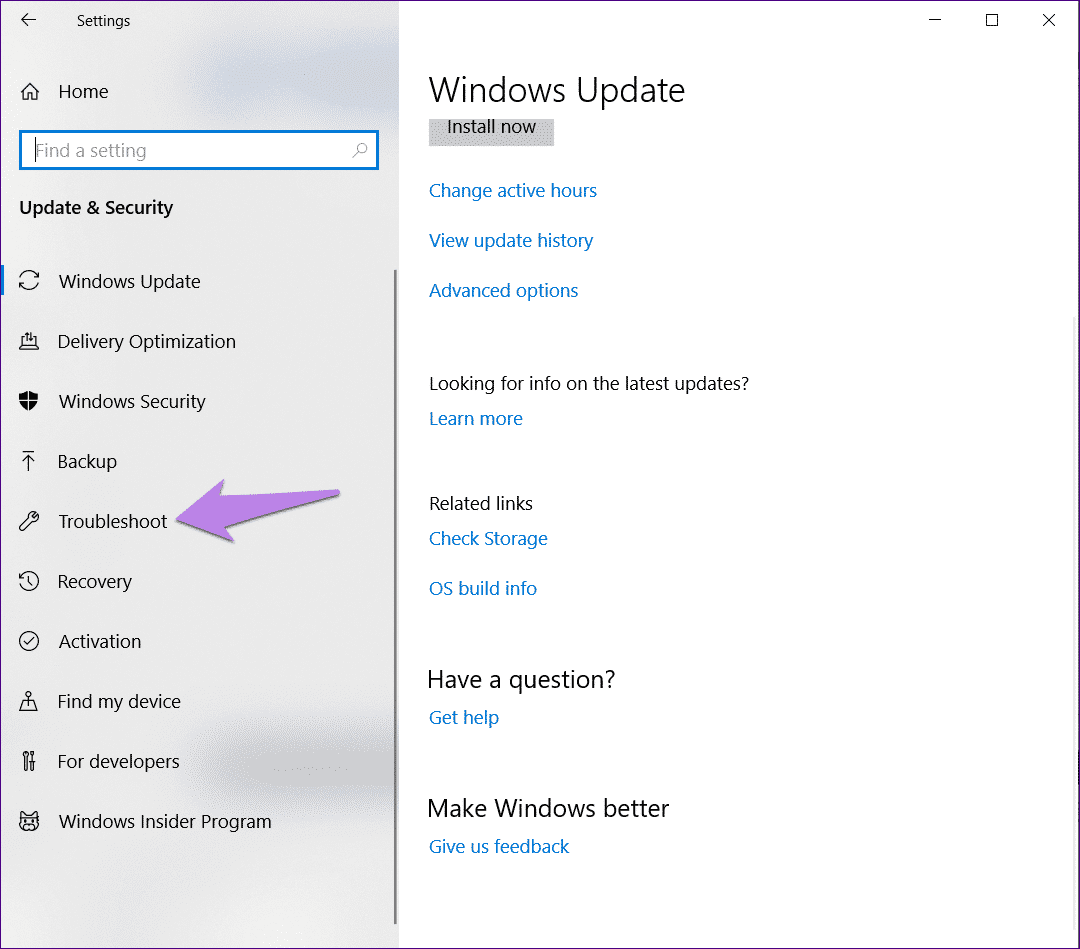
Step 2: Click on the Troubleshoot option available in the right sidebar.

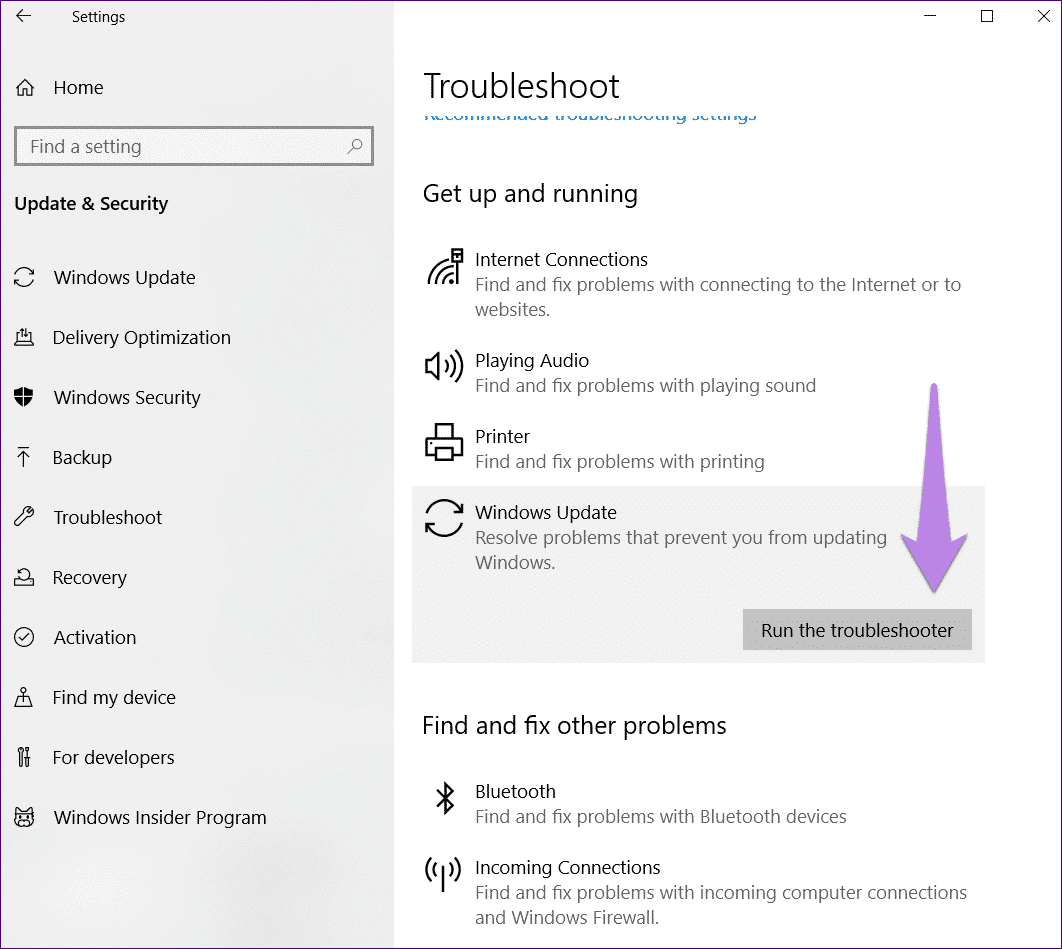
Step 3: On the left side, click Windows Update, followed by Run the Troubleshooter. Follow the on-screen instructions to complete the process.
Empty the Recycle Bin
Disk Cleanup gives you the option to empty the Recycle Bin. However, since it doesn't work, try clearing it manually. Sometimes, this also helps resolve the issue.
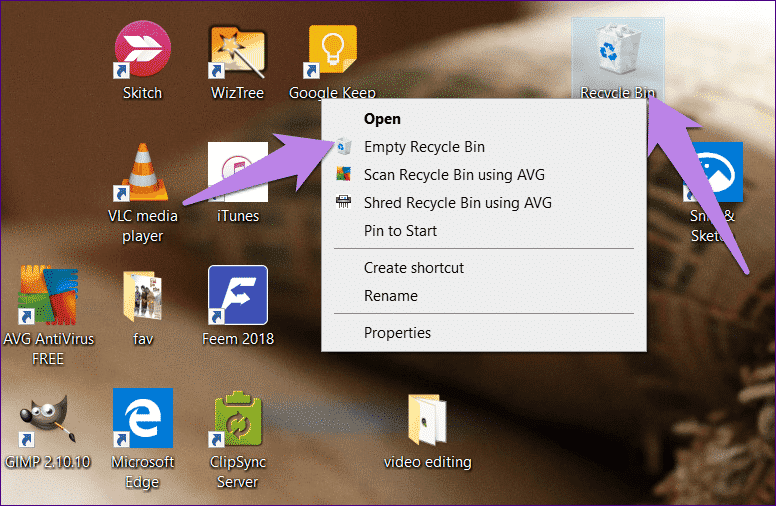
To do this, right-click on the “recycle binOn the desktop, select “Empty Recycle Bin” from the menu.
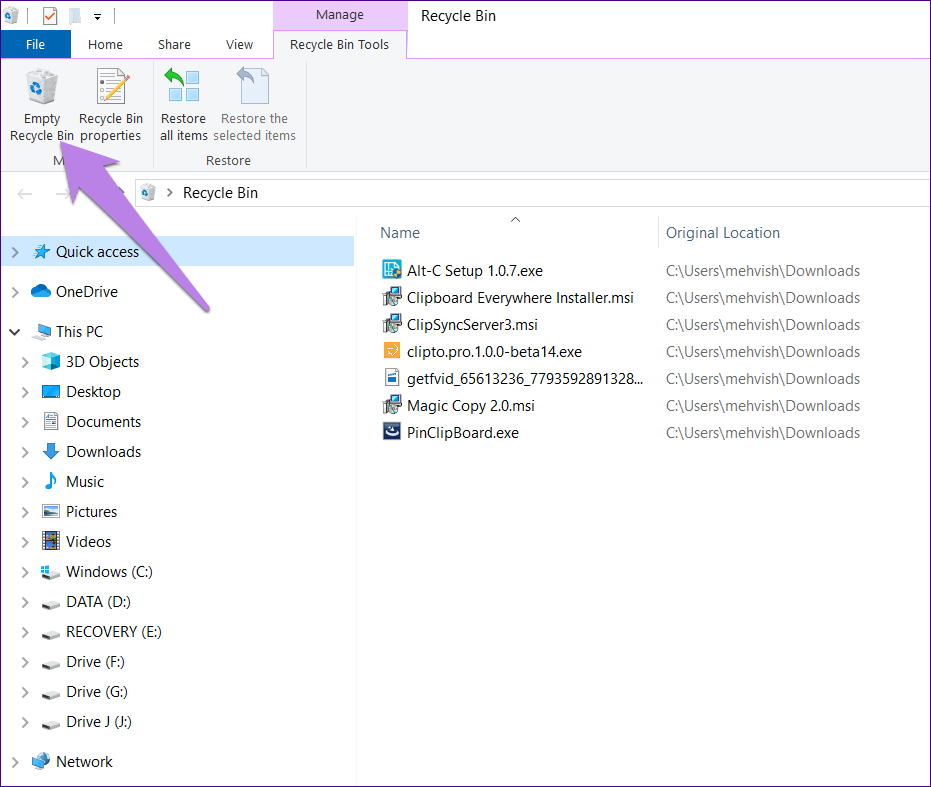
Alternatively, open the Recycle Bin by double-clicking it, then tap the Empty Recycle Bin option at the top.
Delete content within the program folder
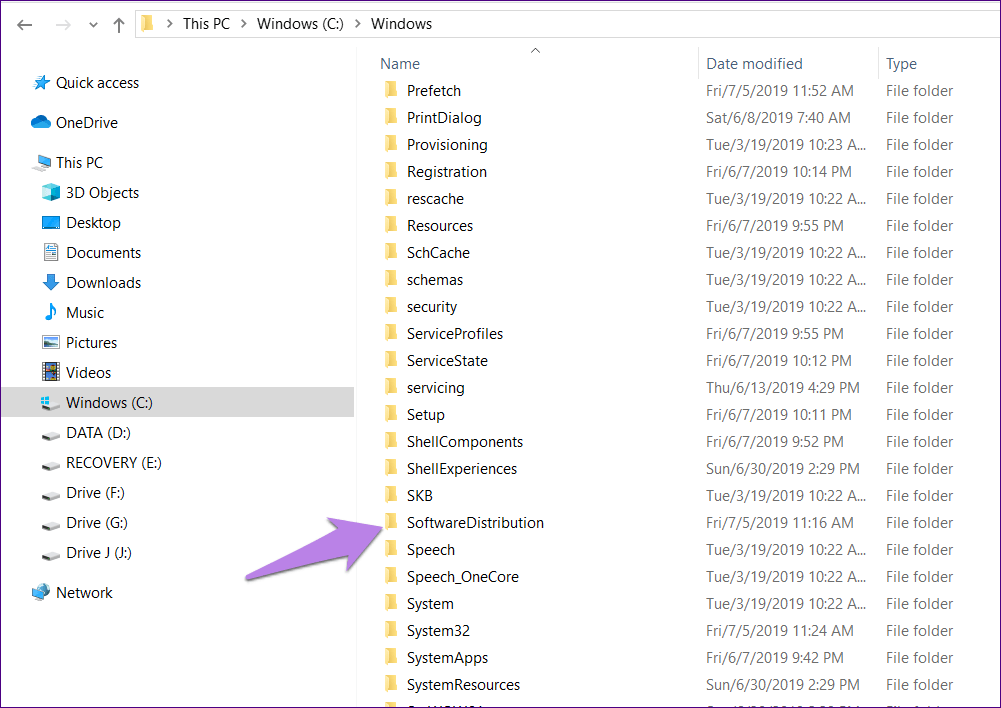
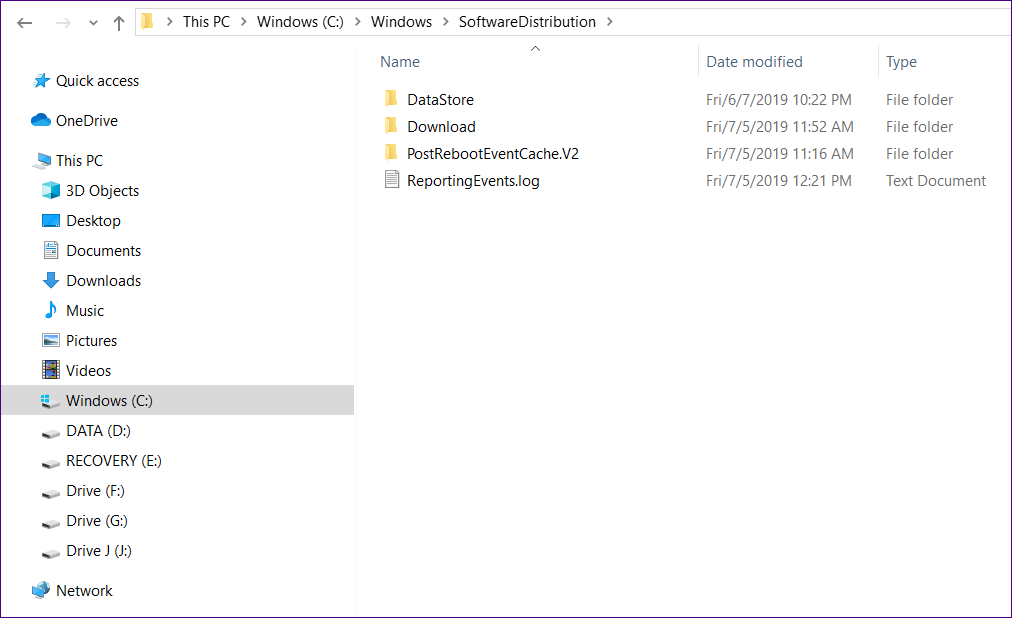
The SoftwareDistribution folder contains Windows update files. Sometimes, these files become corrupted, causing Windows updates or apps from the Microsoft Store to fail. Corrupted files are also responsible for disrupting the Disk Cleanup process.
To fix this, you'll need to delete the contents of this folder. Follow these steps:
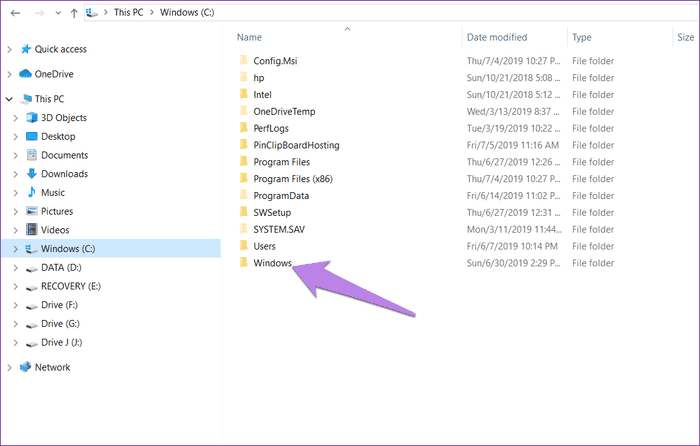
Step 1: On the C drive, navigate to the Windows folder assuming Windows is installed on the C drive. If it is installed on another drive, navigate to that.
Step 2: Open the SoftwareDistribution folder.
Step 3: Use the keyboard shortcut Ctrl+A to select all files. Then press the Delete key to delete them. You can also right-click and select Delete.
You may receive a pop-up window stating that some files are not being deleted. Skip these files or try logging in with administrative privileges. Once all files and folders have been deleted, empty the Recycle Bin and then restart your computer.
Remove temporary files
Another thing you can try is deleting temporary files. These files, as the name suggests, are temporary cache files. Deleting them won't have any negative impact on your computer. However, doing so may help resolve the issues.
To delete it, follow these steps:
Step 1: Open the Run app using the Windows key + R shortcut.
Step 2: Type %temp% in the Run box and press Enter.
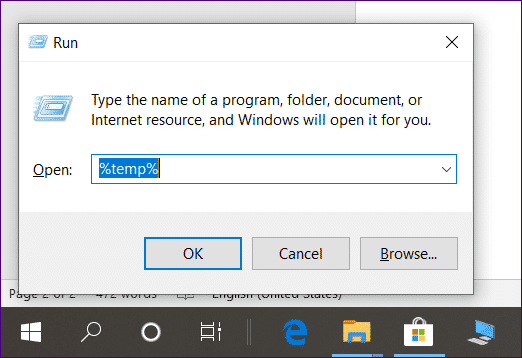
Step 3: You will be taken to the Temp folder located at C:\Users\yourusername\AppData\Local\Temp. You can also open it via this path.
Step 4: Use the keyboard shortcut Ctrl+A to select all files in the Temp folder. Press the Delete button to remove them.
Step 5: Empty the Recycle Bin, as described above, and restart your computer.
We hope you were able to complete the disk cleanup process.
Turn on STORAGE SENSE
Windows 10 comes with a built-in storage management and regeneration feature called Storage Sense, which automatically detects the space being used by various things on your PC and helps you reclaim that space.
When you use this feature, it removes temporary cache files and other files without your assistance. Sometimes, using it may also help fix a Disk Cleanup stuck issue.
Here's how to do it.
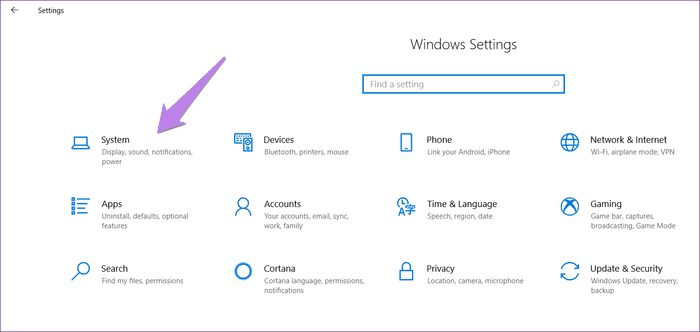
Step 1: Open Settings on your computer and go to System.
Step 2: Click on “Storage” from the left sidebar.
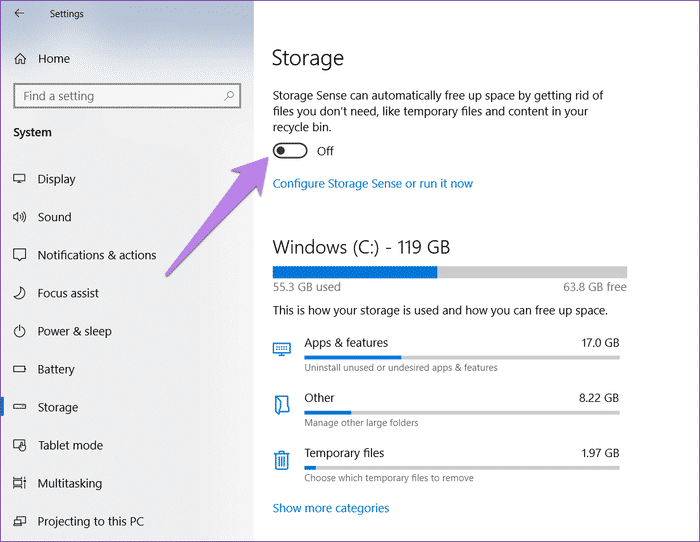
Step 3: First, enable the “Sense Storage” feature by tapping the toggle under “Sense Storage.”
Step 4: Click Temporary files under Windows (C). Wait for your computer to clear the files.

Step 5: Other than those previously selected, select “Delivery Optimization Files” and “Recycle Bin.” Then, click the Remove Files button.
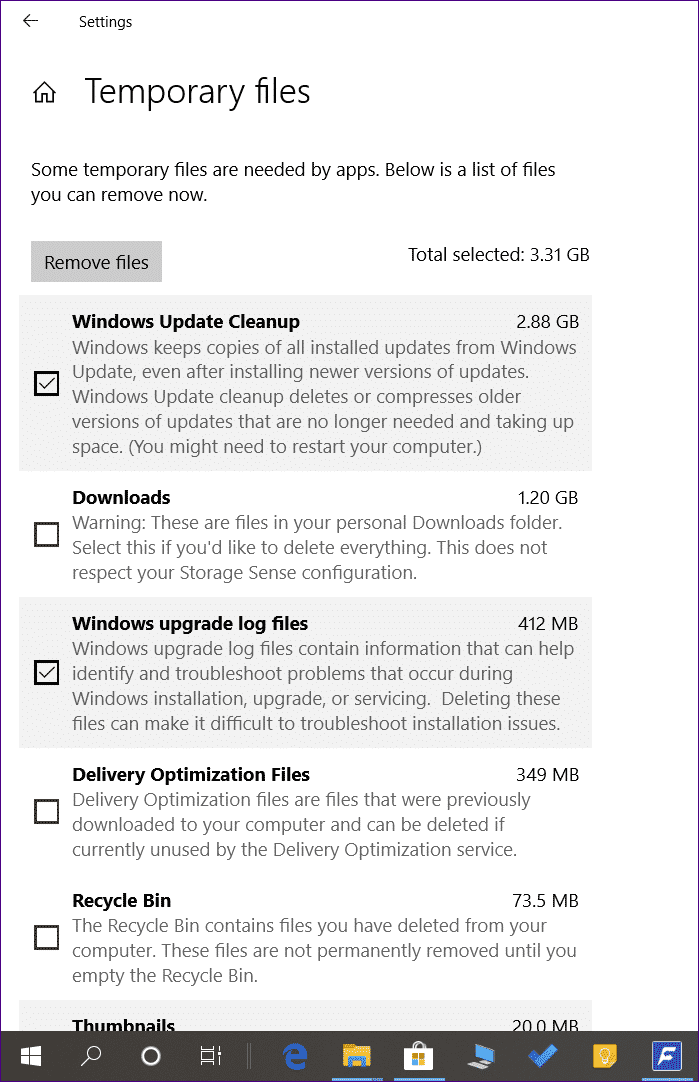
Step 6: Wait for the process to complete and then restart your computer.
solve your problem
While the above solutions should resolve your issue, sometimes patience helps. That is, we're used to the disk cleanup process running quickly. However, sometimes it takes a while. So give it a few minutes or even hours to see if the issue has been resolved. automatically.