Gmail is an email service that comes loaded with countless features. Even long-time users may not be aware of many of Gmail's capabilities, including things like Remove remembered email addressesBut when it comes to sending the same email to multiple people, writing or adding multiple email addresses can be a chore. An option that often flies under the radar is the ability to create a custom mailing list using the Contacts UI and then send emails to that list with just a few clicks. This article shows you how to create a custom mailing list in Gmail.

Why Create a Custom Mailing List in GMAIL?
Whether you use your Gmail account for work or personal purposes, if you regularly send emails to a group of people, creating a personalized mailing list will save you a lot of time on many occasions. Furthermore, it will ensure that no one is left out of your communications.
Creating a custom mailing list is not a complicated process at all, and it will only take a few minutes, so you should consider putting together one (or more, depending on your needs) yourself.
How to Create a Mailing List in GMAIL Using Contacts
We'll use the Contacts service and website to create our mailing list. Follow the steps below to begin the process.
Step 1: Open Google Contacts in the browser.
Step 2: Sign in with the email address you plan to use to send messages from.
Step 3: in Contacts page , tap on Create Label option On the left side of the screen.

Step 4: Name your sticker and tap save.


The new label will appear on the left side. Categories section.
Step 5: Check your contact list in the center. Select the people you want to add to your custom mailing list. Before adding your contacts to the list, don't forget to make sure you've added their email address. If you've previously added an email address for a contact, it should appear in the Email column in Contacts. If it doesn't, you'll need to add it manually before creating the list.
Step 6: To do this, scroll down. mouse pointer Click on a contact and tap Pencil icon on the right side of the screen.

Step 7: This will open your contact card. If the email field is empty, make sure you add your email address and tap save.

Step 8: Go back to your contacts list and continue this process until you have added all the email addresses of all the contacts you want to add to your mailing list.
Step 9: When you have completed this process, look for Contacts This again, move your mouse over it and click check box To add it to the list.

Step 10: Once everyone's boxes are selected, click label symbol above.
Step 11: A list of all your labels will be available. Select the label you created earlier and tap "application".

Step 12: A notification will appear at the bottom alerting you that Contact name with Y label.
Your custom mailing list has been created. Now let's take a look at how to use it.
How to Use Your Custom Mailing List in GMAIL
Now that you've created your list, let's go ahead and send your first group email. Forget having to add people manually this time; it only takes a few clicks to send an email to everyone. Note that this option is only available if you're using Gmail on desktop. On mobile, the label you just created can't be used to email everyone in your group.
Step 1: Open gmail in the browser.
Step 2: Click on Create buttonNow enter the category name in the field. "to me" Your label should appear immediately.
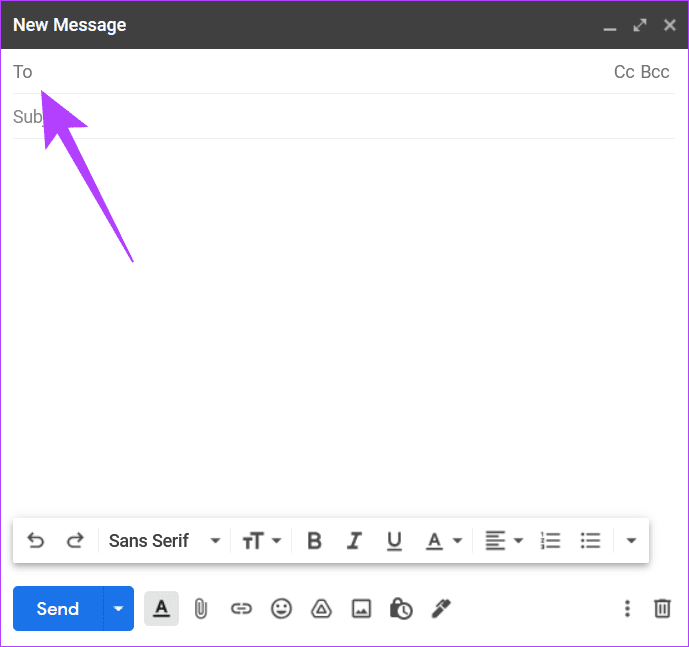
Step 3: Once you tap the label, all the addresses you previously added to it should appear in the field. "to me".

Step 4: Continue writing your email. When you're done, just click send.

Gmail will send it to all the contacts on that mailing list. This way you can save time and send the same email to multiple people without typing everyone's email address one by one.
Group messaging in GMAIL has never been easier.
We hope this trick makes collaborating with people in Gmail a lot easier for you. At the same time, it may also be useful if you're up to date on how to Keeping your Gmail inbox clean.