Want to hide important photos and videos on your phone? Google Photos lets you do so in a locked folder. No need to install any new apps or use a third-party app. Google PhotosIn this post, we'll show you how to set up and use a locked folder in Google Photos so you can keep your photos and videos away from prying eyes.
What is a locked folder?
Locked Folder is a feature in Google Photos available for smartphones running Android 6.0 Marshmallow and later. It lets you move private media to a specific folder that can only be accessed by typing on the phone's lock screen. While Google Photos is available for both Android and iOS users, the feature has only been available on Android for a while now. However, the feature is slated to arrive on iOS sometime in 2022.
How to Enable Locked Folder in Google Photos
Before moving sensitive photos and videos to a private folder, you must enable the feature in the Google Photos app. Here's how.
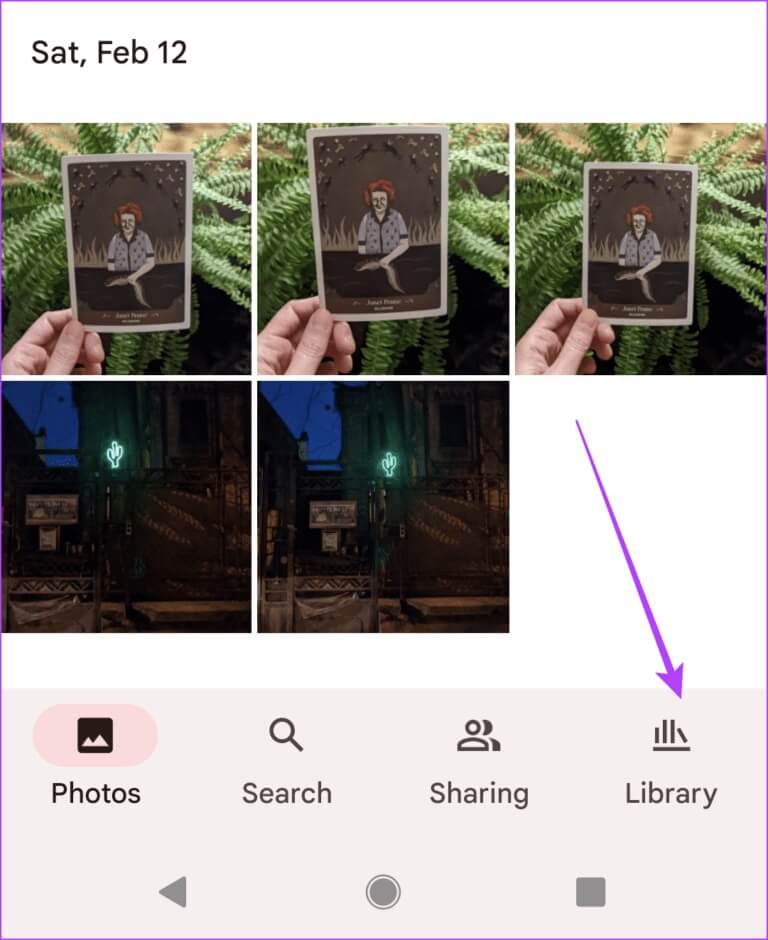
Step 1: Open Google Photos App On your phone. Tap Library tab At the bottom.
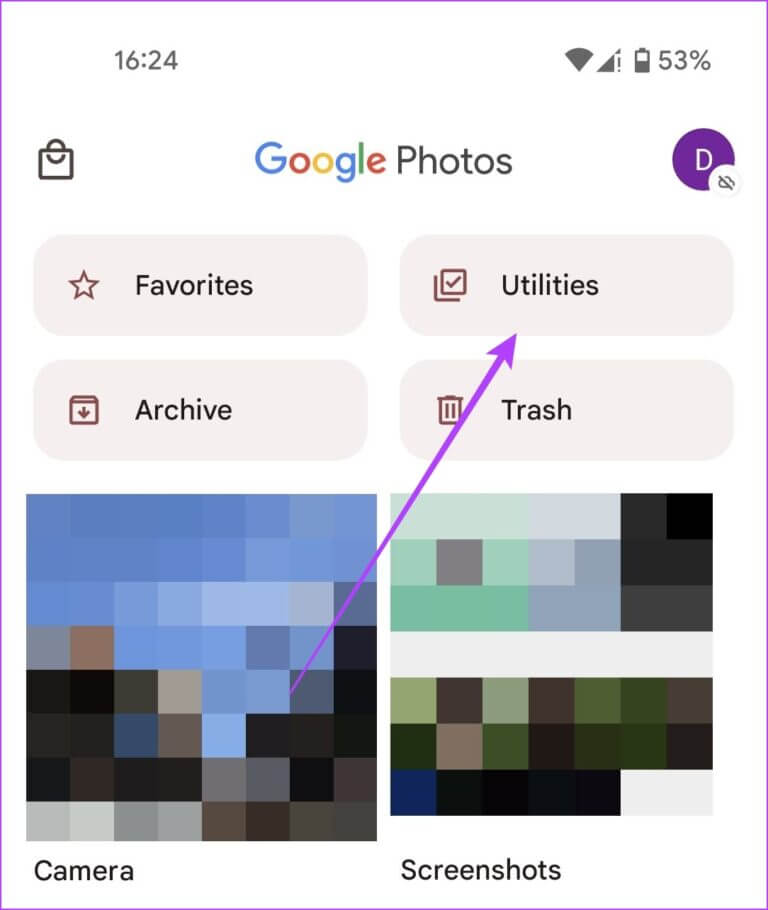
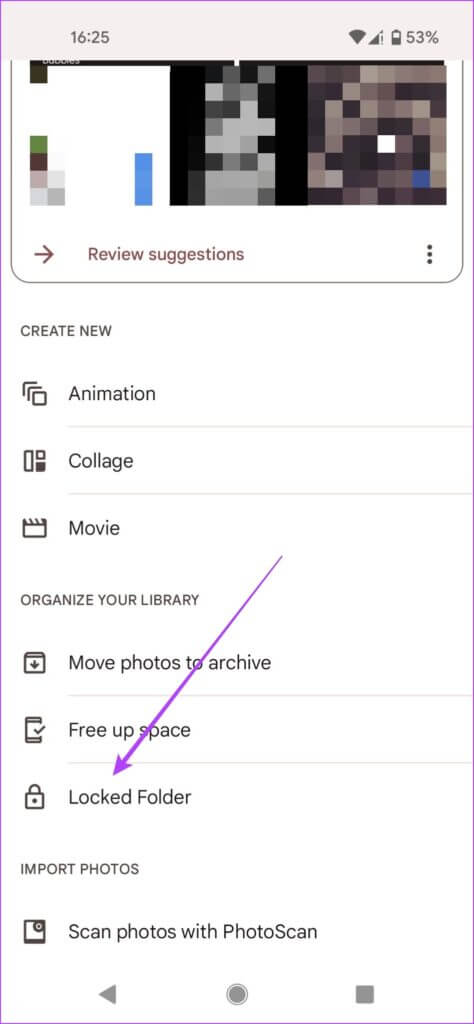
Step 3: Scroll down below. You should find Locked folder option in Organize Your Library section. Click on it.
Step 5: Click on Set Locked Folder button On the next screen to get started.
The app will ask you to confirm your device's screen lock. You'll need this to access the locked folder. If you don't have one set up for your device, you'll need to set one up to use this feature. Once you've completed this step, you can begin moving your files to the newly created folder by pressing the "Move Items" button.
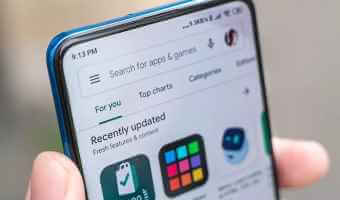
If you can't find the feature on your phone running Android 6.0 or later, check for an update to the Google Photos app. Open the Google Play Store on your phone and search for the Google Photos app. You'll see an Update button next to the app name if an update is available.
How to move photos and videos to a locked folder
Before moving media to your new Secure Folder, there are a few things you should know. Cloud backups of these photo items will be deleted. These sensitive photos and videos won't appear in your Photos grid, Memories, Search, or albums. Other apps on your device won't be able to access these photos either.
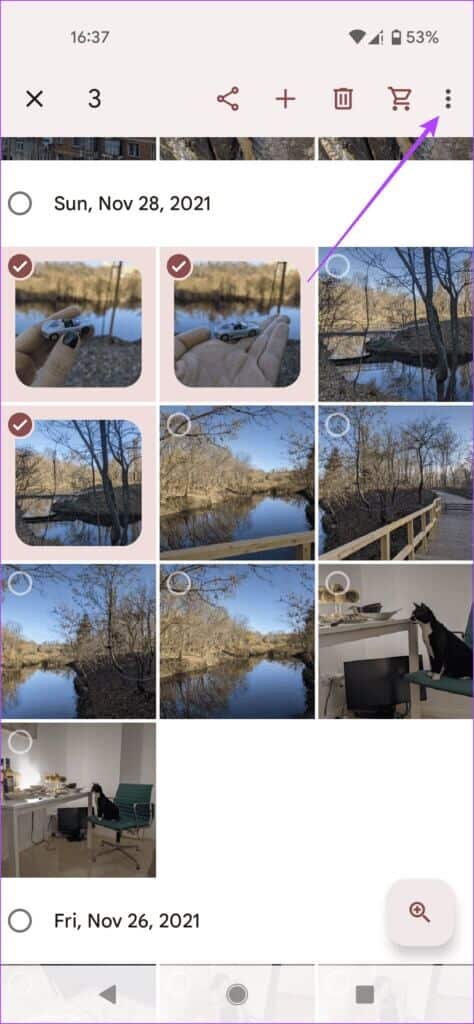
Step 1: Open Google Photos App , and select All photos and videos that you want to move to locked folderAfter selecting the media files, press Three point list in the upper right corner.
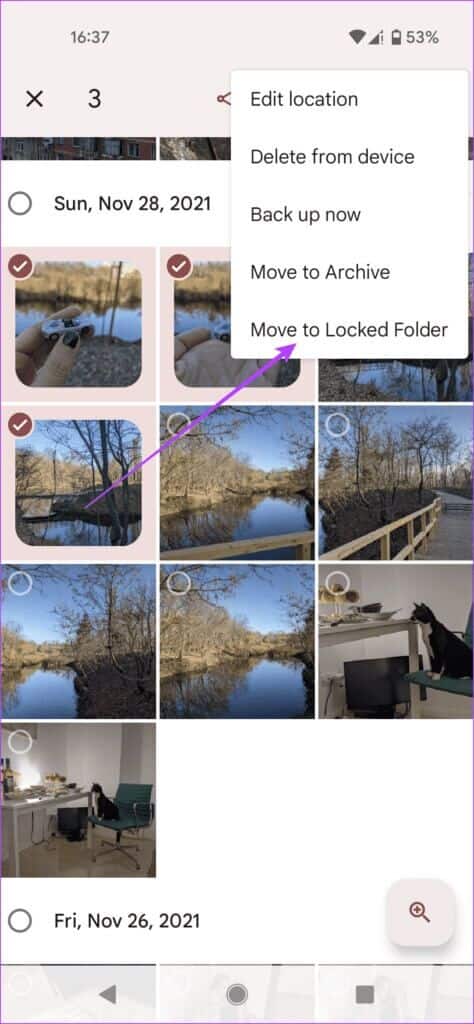
Step 2: Locate "Move to locked folder" option.
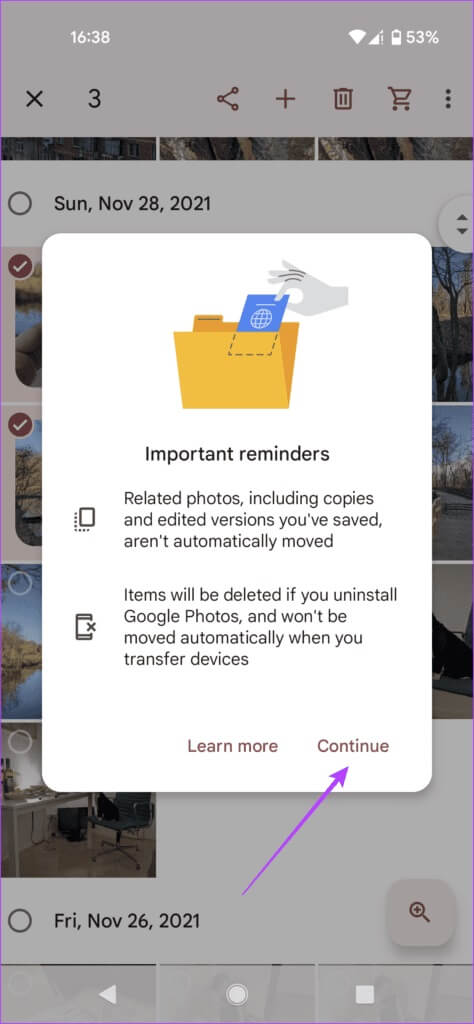
Step 4: Finally, tap Transfer.
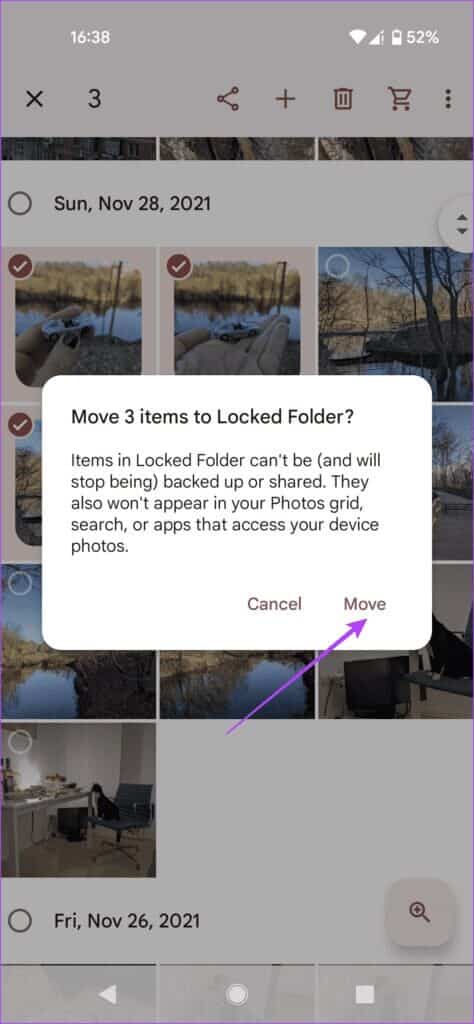
The locked folder stores sensitive data locally on your phone. It will not keep Google Photos app These photos are backed up to the cloud and will not be accessible to other apps. Therefore, it will not be possible to back up these private photos to cloud storage.
If you decide to delete the Google Photos app or clear the Photos app data, you will lose the photos you saved in the locked folder. To prevent this, move media from the locked folder before deleting the app.
How to save directly from pixel camera to locked folder
Pixel 3 (and later) owners can save their photos and videos directly to the Locked Folder from the camera. Of course, this requires choosing a specific location.
Step 1: Open Camera application on Pixel phone.
Step 2: Click on folder icon in the upper right corner.
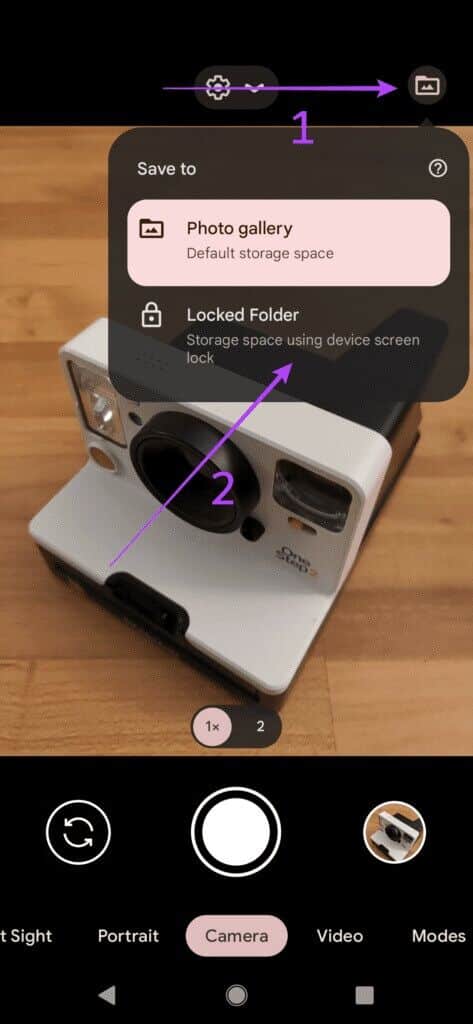
Step 3: From there, select Save in. "Locked folder."
Remember, you'll need to change this setting each time you take a new photo if you want the results to go directly to the locked folder. You can also choose to "move" the snaps you take. However, if you change your mind, when viewing the photo, you can do so.
How to remove and recover photos from a locked folder
Step 1: Follow the steps from Number 1 To Number 4 From the first section to open the locked folder.
Step 2: Long press on the photos you want to recover and tap Move button At the bottom.
Step 3: Click on Transfer again to confirm your choice.
That's it, the images should appear again in Google Photos Gallery Your.
Hide your content
If you're looking to hide some of your private photos and videos from others, the locked folder in Google Photos offers a viable solution. The app comes preinstalled on newer Android phones, making it a perfect fit. However, this feature isn't yet widely available across Android devices.
So if you can't see them yet, you can use a third-party photo app instead. Alternatively, you can choose to download Gallery app with option to hide photos.


