Janna Theme License is not validated, go to the theme options page to validate the license, you need a single license for each domain name.
How to Set Up a VNC Server in Ubuntu
The Virtual Network Computing (VNC) protocol is a cornerstone of remote desktop management. It allows you to seamlessly run a remote server alongside a fully graphical desktop. Here we show you how to set up a VNC server in Ubuntu. We'll also show you how to connect to the VNC server and make it work for your specific needs.
Hosting a local VNC server in Ubuntu
One of the easiest ways to start a VNC server in Ubuntu is through the “Remote Desktop”Since version 16.04, Ubuntu has already shipped with a basic but highly capable way to share your desktop on a local network.
To use Ubuntu Remote Desktop, press Win and then type "settings." This will open the distribution's control panel, where you can find most of its settings.
Next, you need to click the magnifying glass icon in the upper left corner of the window. This will bring up a small search box where you can enter the name of the setting you want to access. Here, type "sharing".
Once done, you need to click on the category. "to share" on the left sidebar of the window. This will open a set of menus where you can control Ubuntu's share policies. To access the remote desktop policies, you need to click the menu Remote Desktop.
Doing so will load a small overlay window where you can modify and enable the remote desktop service for your device. To start a remote session, you need to enable the option Remote Desktop.
Next, you also need to select Enable legacy VNC protocolThis will ensure that any connected client will be able to communicate properly with your device.
Finally, you need to select an option. remote controlBy default, Ubuntu Remote Desktop does not allow remote guests to control the machine's keyboard and mouse. Enabling this option will bypass this restriction.
While Ubuntu's remote desktop feature is useful for basic tasks, one of its biggest limitations is that it only works on local networks. This can be a problem if you want to control your machine outside your home or a remote virtual private server.
In this regard, TigerVNC is an efficient and powerful implementation of the VNC protocol that can operate on external networks. Unlike redirecting remote applications using SSH It aims to provide a simple way to share entire desktops across different platforms and network conditions. For example, it's possible to create a VNC server on a Linux VPS and access it from a local Windows machine.
In addition, the developers of TigerVNC also designed the software to be secure by default. This means you can easily deploy TigerVNC and have it encrypt all data between the server and its clients.
Installing TigerVNC on Ubuntu
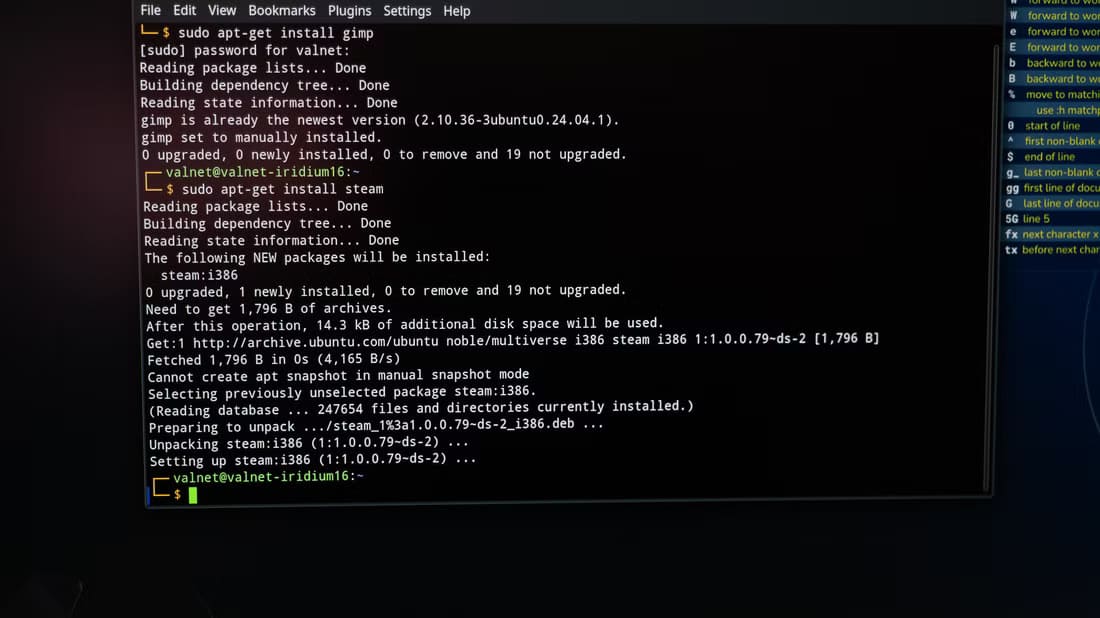
The first step in deploying TigerVNC Server is to install a copy of the software on your machine. To do this, you first need to update and upgrade your system:
sudo apt update && sudo apt upgrade
Next, you need to install TigerVNC by running the following command:
With TigerVNC installed, you can now create a master password for your server. To do this, run the following command:
vncpasswd
This will display a prompt where you can type the password for your new server. It's important to note that the minimum password length here is 6 characters.
Next, you will be asked for a password. For display onlyThis option allows you to share your desktop without giving the guest any control over the device's keyboard and mouse. In my case, I'll set this option to “N.”
Configuring and running TigerVNC in Ubuntu
With a master password set, you can now configure user-specific ports for your VNC server. Doing this allows you to share your device in parallel across different clients.
To do this, you need to open “/etc/tigervnc/vncserver.users” Using your favorite text editor:
sudo nano /etc/tigervnc/vncserver.users
Once you're logged in, you'll need to create a space for any users you want to add to the server. You can do this by clicking Alt + /, ثم Enter.
Next, you can add the users you want to connect to your VNC server. For the most part, the general structure for adding a new user in TigerVNC looks something like this:
:display=username
The display value tells TigerVNC to create a fake display device in a specific display port. For example, setting the value to “: 1” The servant tells VNC create virtual screen At the outlet 1.
The username value tells TigerVNC to assign the fake monitor to a specific user. In my case, it's typing the line: 1 = ramses Will appoint "Virtual Screen" On port 1 for my user account.
Create your own VNC server configuration
Once this is done, you can now create a configuration file for your VNC user. To do this, you need to run the following command:
nano /home/$USER/.vnc/xstartup
Next, you need to write a short script that will automatically load the default environment variables as soon as you start TigerVNC:
The first line of code will set the PATH variable for the remote desktop session. This is because the TigerVNC session does not inherit the PATH variable from the device. "origin".
The second and third lines ensure that the current remote desktop session does not use any session variables from the machine. "origin".
The fourth line of code starts the GNOME desktop environment on the remote desktop. Unlike a regular daemon, you don't need to fork this process.
Once done, you can now save your new configuration file by pressing Ctrl + O , Then Ctrl + X.
Finally, ensure that your new configuration file contains the correct execution bits. You can do this by running the following command:
chmod u+x /home/$USER/.vnc/xstartup
Create and start the TigerVNC service
After completing your configuration file, you can now create the SystemD service for your VNC server. Doing so will allow the TigerVNC service to start automatically during startup.
To get started, you first need to create the appropriate SystemD service file on your “/etc/systemd/system:”
Next, you can use the TigerVNC client to connect to the VNC server's virtual screen:
vncviewer 192.168.68.155:5901
On the other hand, you need to delete the port value if you are connecting to your machine through Ubuntu's Remote Desktop feature:
vncviewer 192.168.68.155
Frequently Asked Questions
Q1. My remote VNC server is not displaying any lines. answer. This issue is most likely caused by a problem with your server's cache. To fix it, you need to ensure that you have installed all the necessary fonts for your desktop environment.
For example, you can run sudo apt install Fonts-dejavu Font-dejavu-extra To install some basic fonts used by most modern environments.
Q2. My TigerVNC client displays a black screen. answer. While this could be caused by a number of issues, the most common cause of this problem is a conflict between the physical and virtual Xorg display.
By default, TigerVNC does not support multiple Xorg instances. As a result, the VNC server will not be able to share a virtual display when you use the desktop environment on your server. To fix this on Ubuntu, you can run sudo gnome-session-quit.
Q3. Is it possible to access my VNC server securely without using SSH? answer. Yes. It is possible to use TigerVNC without relying on SSH. However, it is important to note that TigerVNC's default connection method is less secure.
Knowing this, one solution you can do is to create a certificate. OpenSSL Local. This allows you to continue using an encrypted channel for your VNC connections. Once you have an X509 certificate, you can run: vncviewer [email protected] -X509CA /path/to/cert.pem To connect to a VNC server.