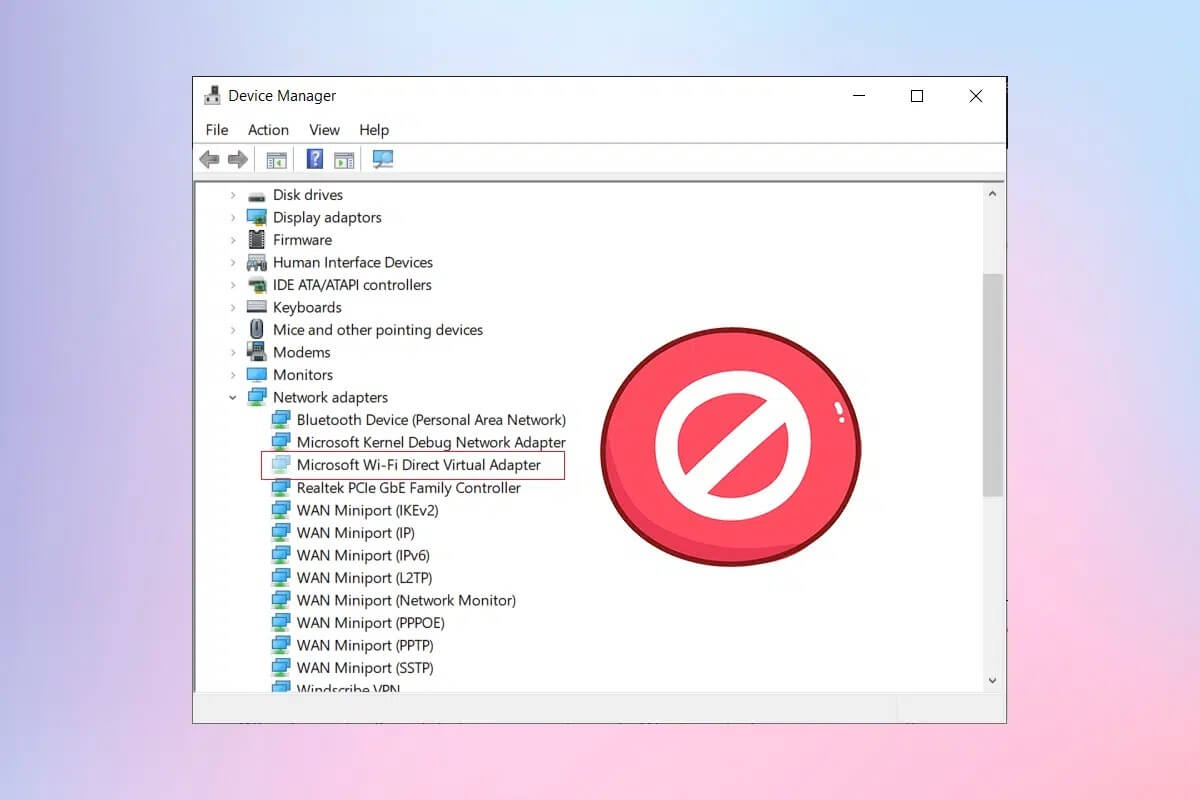
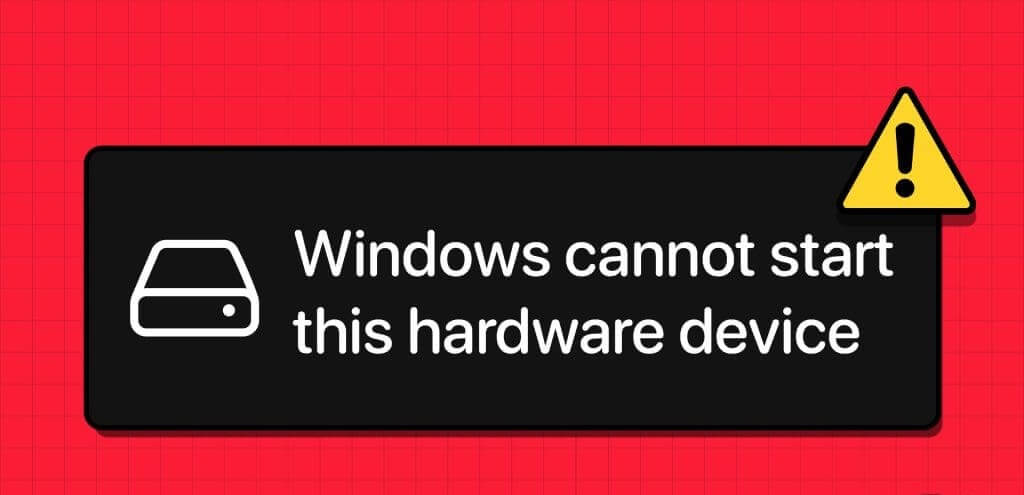
When your Windows 10 or 11 PC fails to recognize or connect to a device, it may Device Manager displays error code 19. The message "Windows cannot start this device." This can happen with any device, such as a mouse, keyboard, hard drive, or other external devices.
If you're lucky, restarting your computer may resolve the error. If not, you can work through the following troubleshooting tips to help fix the error on your computer.
1. Run the Hardware and Devices Troubleshooter
When you encounter problems with a Windows device, you should first run the Hardware and Devices Troubleshooter. This tool can automatically identify and fix common issues with your devices.
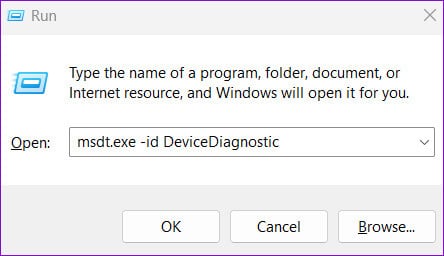
Step 1: Press the keyboard shortcut Windows + R To open the dialog box "employment".
Step 2: Type the following command in the Open field and press Enter.
msdt.exe -id DeviceDiagnostic
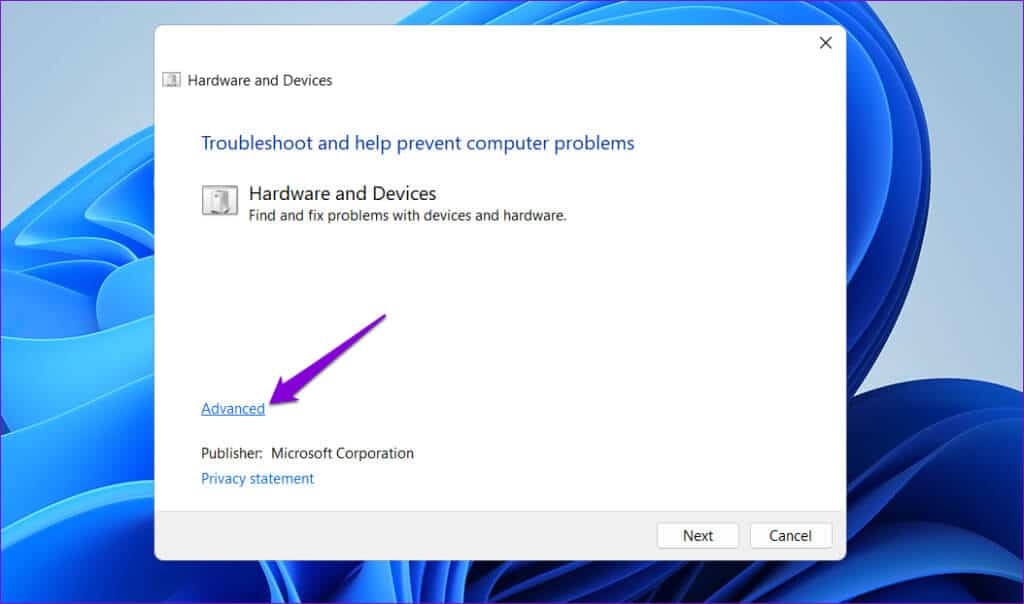
Step 3: tap on Advanced Options.
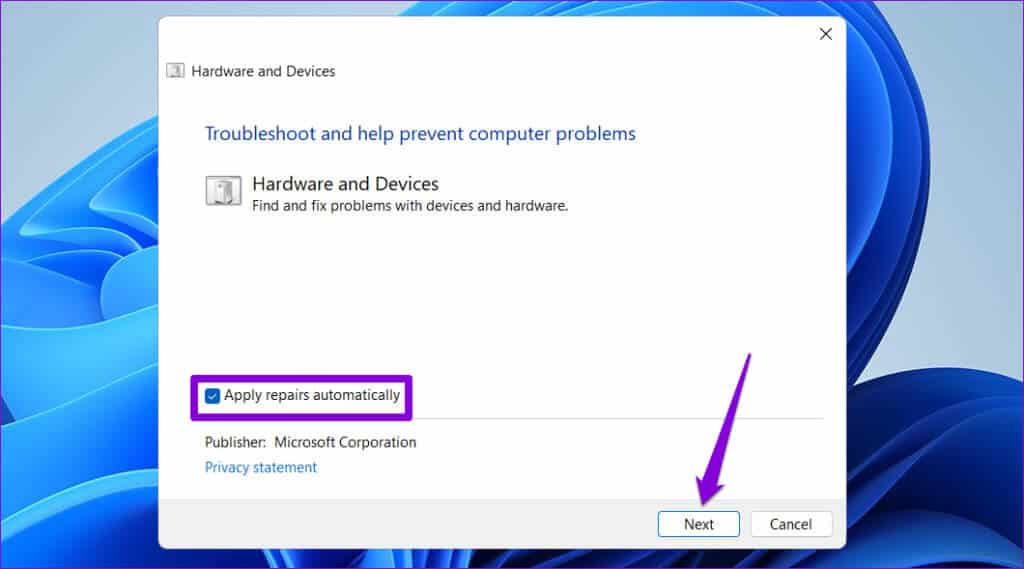
Step 4: Select the check box Apply repairs automatically Click Next.
2. Roll back the driver
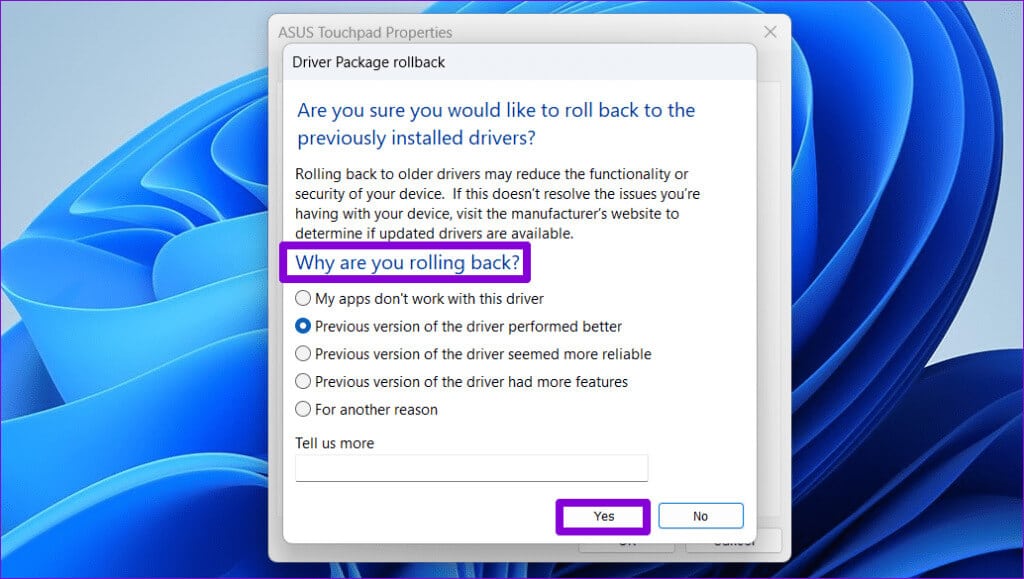
A recent driver update may have caused the "Windows cannot start this device (Code 19)" error. If so, rolling back the driver to its previous version should resolve the issue.
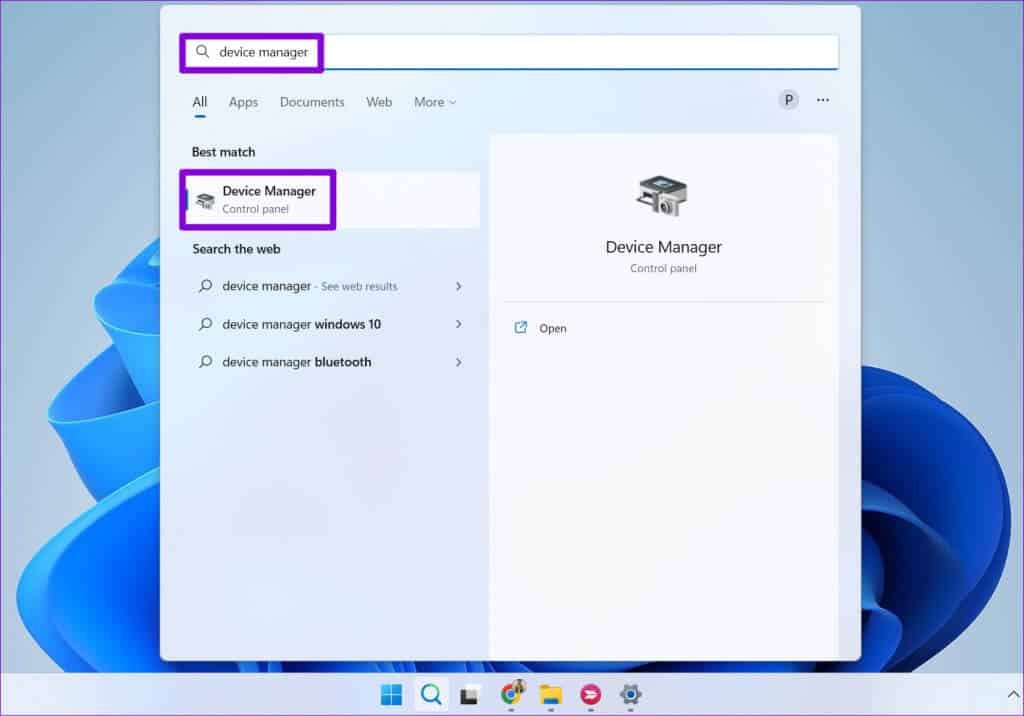
Step 1: Press the Windows + S keyboard shortcut to open the search menu. Type Device Manager And press Enter.
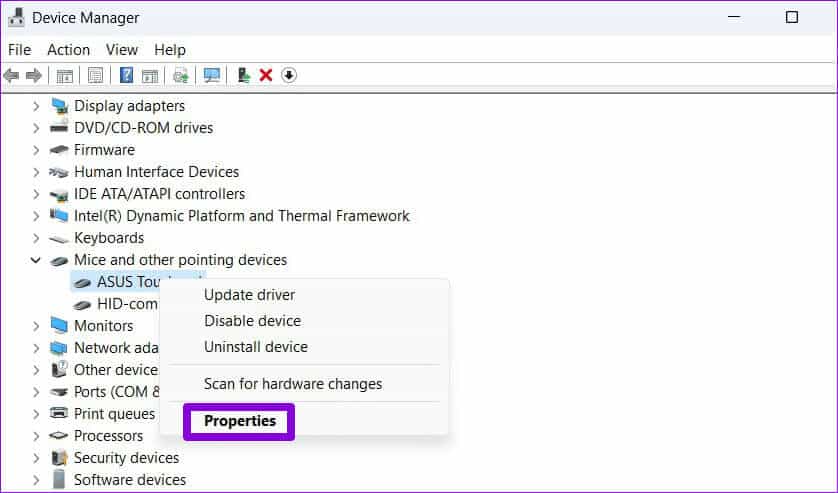
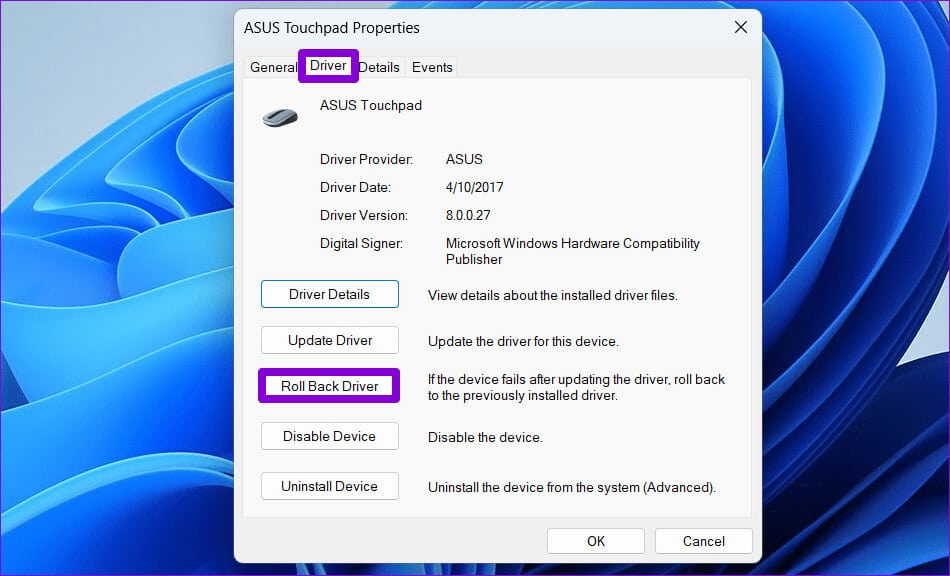
Step 3: Switch to tab Operating system Click the button recovery Driver.
3. Reinstall the problematic driver.
If rolling back the driver to its previous version does not solve the problem, your next best option is: Uninstall the faulty driver And reinstall it. Below are the steps for the same.
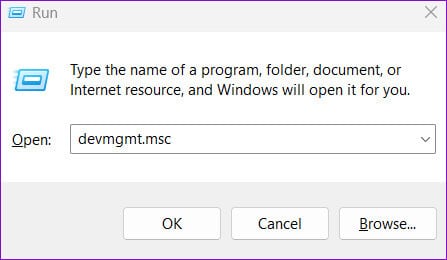
Step 1: Press Windows key + R keyboard shortcut to open the dialog box "employment". Type devmgmt.msc In the text field and press Enter.
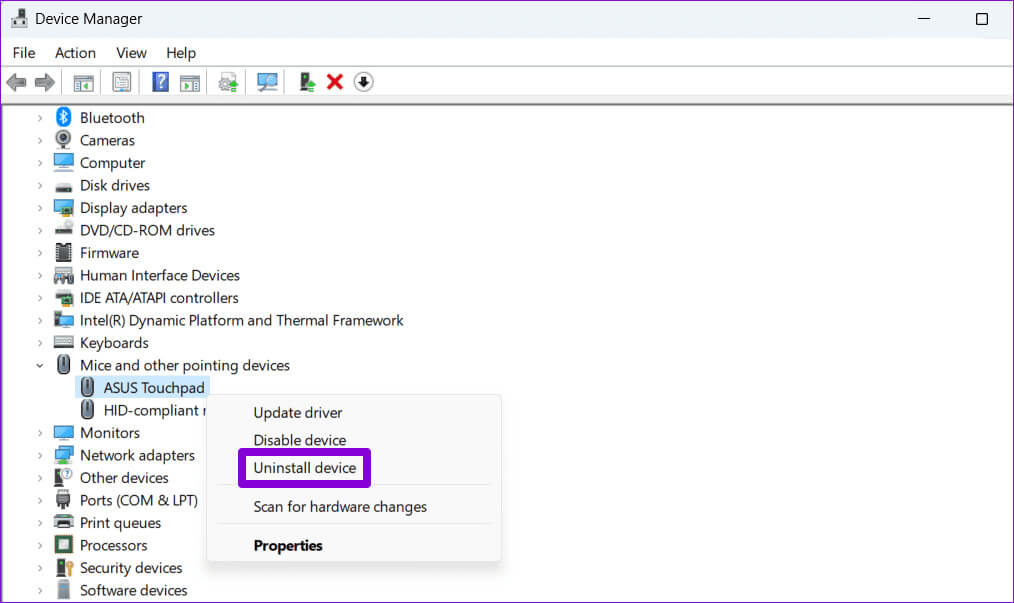
Step 2: Locate the driver that has a problem, right-click it, and then select Uninstall the device.
4. Delete problematic registry values
Corrupted registry values associated with your driver can cause error code 19 to appear in Device Manager. In this case, you may see a message that reads: “Windows cannot start this hardware device because its configuration information (in the registry) is incomplete or corrupted.”
To resolve this issue, you need to delete the UpperFilters and LowerFilters keys associated with the problematic device using Registry Editor. Before doing so,Backup all registry files Or doCreate a restore pointThis will allow you to get back to normal life if something goes wrong.
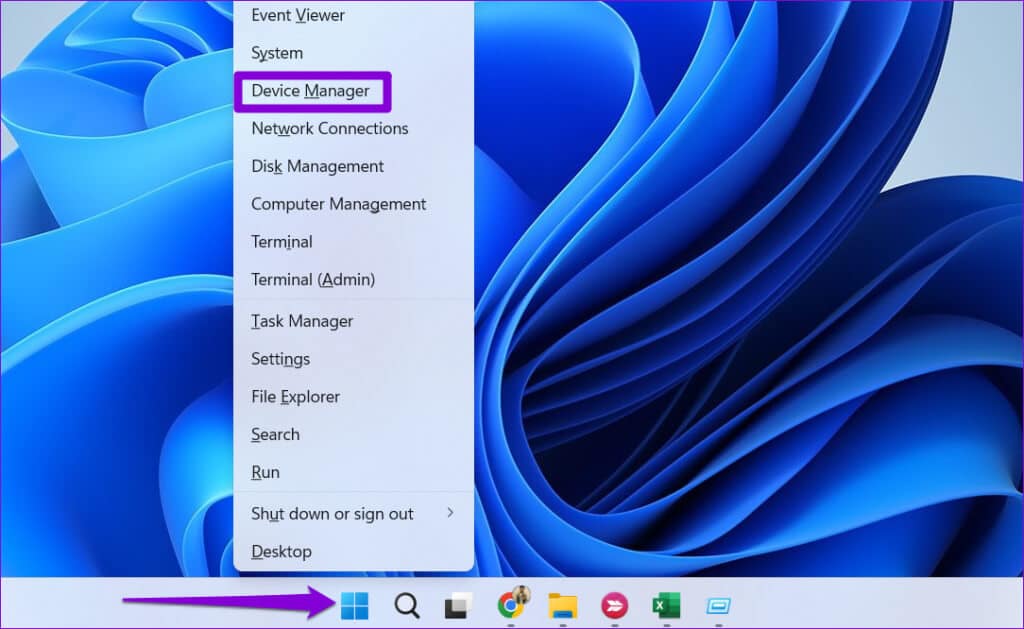
Step 1: Right-click on the Start icon and select Device Manager From a list Power User.

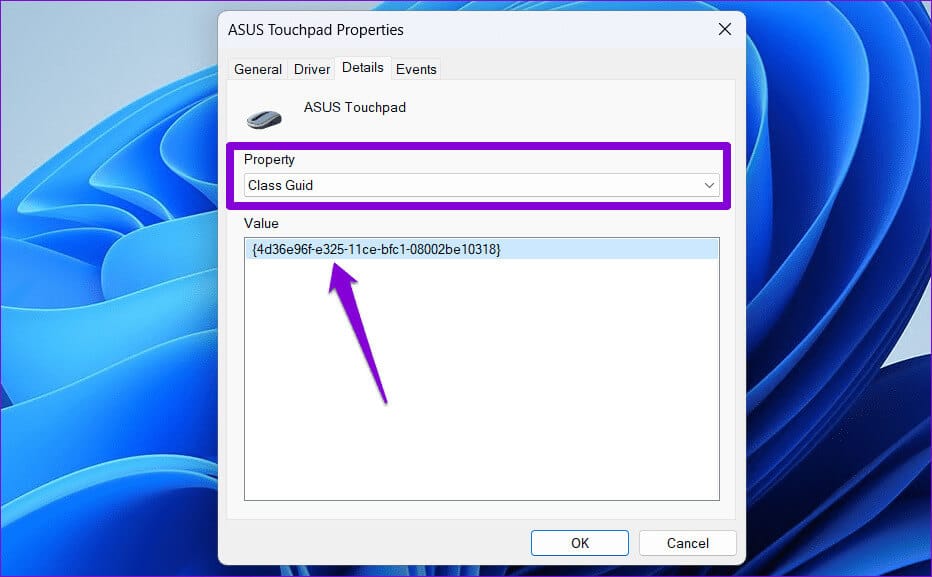
Step 3: Switch to tab "the details" Use the drop-down menu within "feature" To determine "Class Guide". Then write down the value that appears in the box.
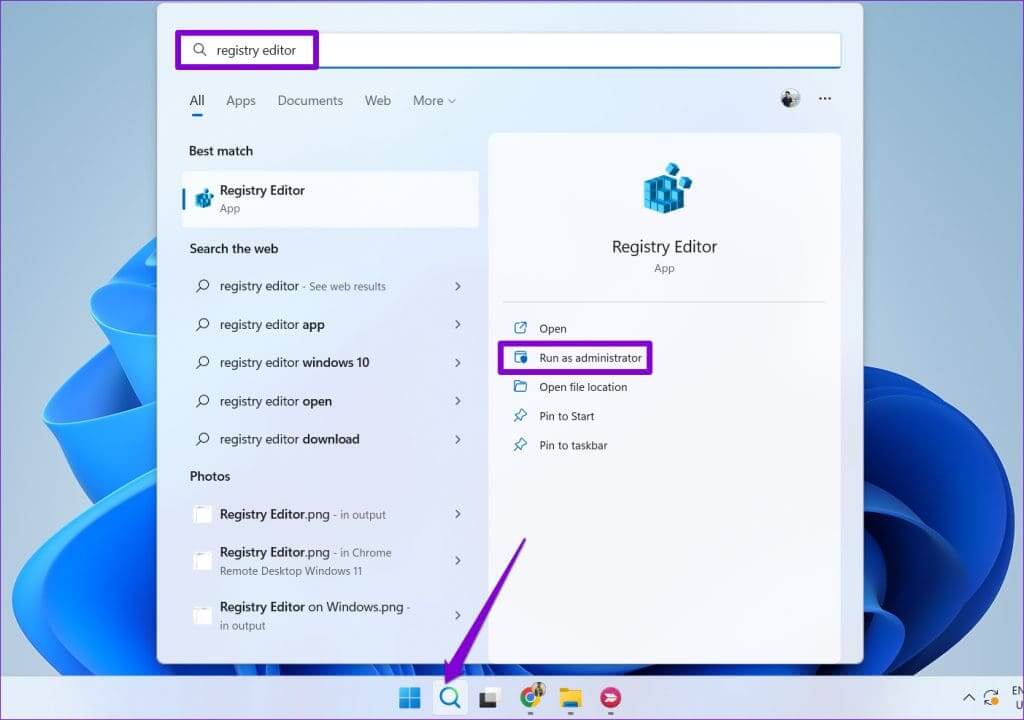
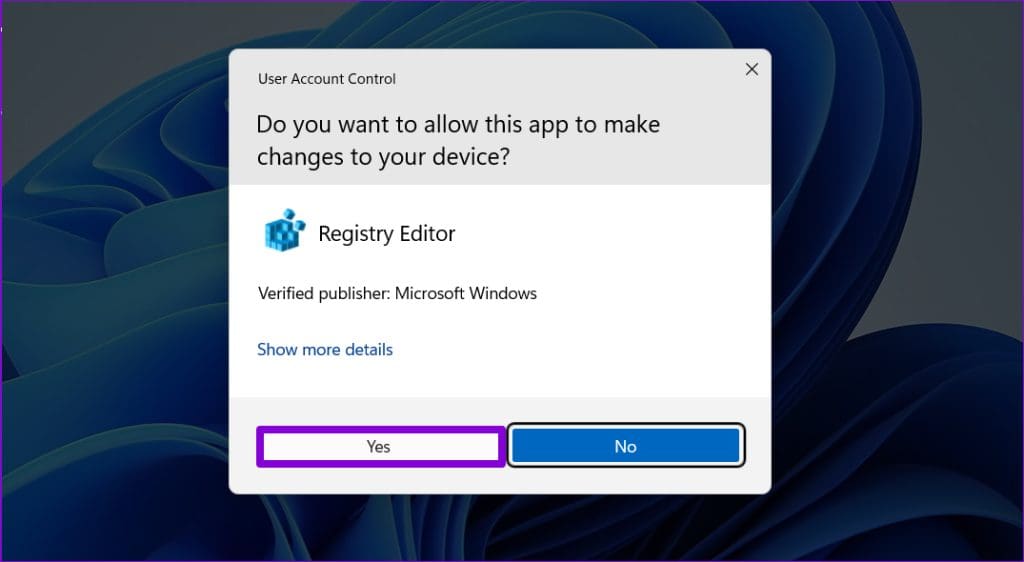
Step 5: Locate yes When the User Account Control (UAC) prompt appears.
HKEY_LOCAL_MACHINE\SYSTEM\CurrentControlSet\Control\Class
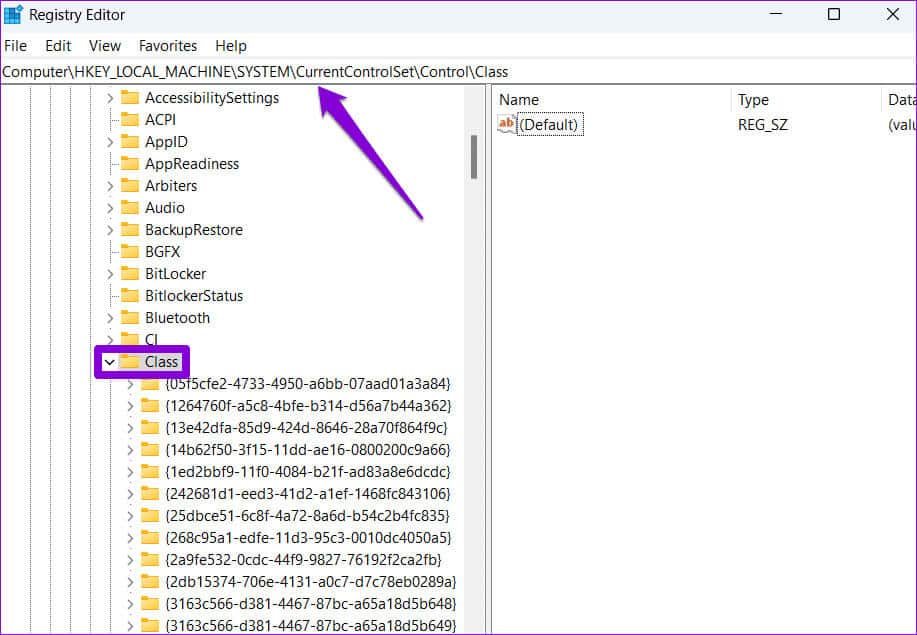
Step 7: Under the category key, locate the value GUID previously mentioned and select it. You should see the values UpperFilters and LowerFilters in the left pane.
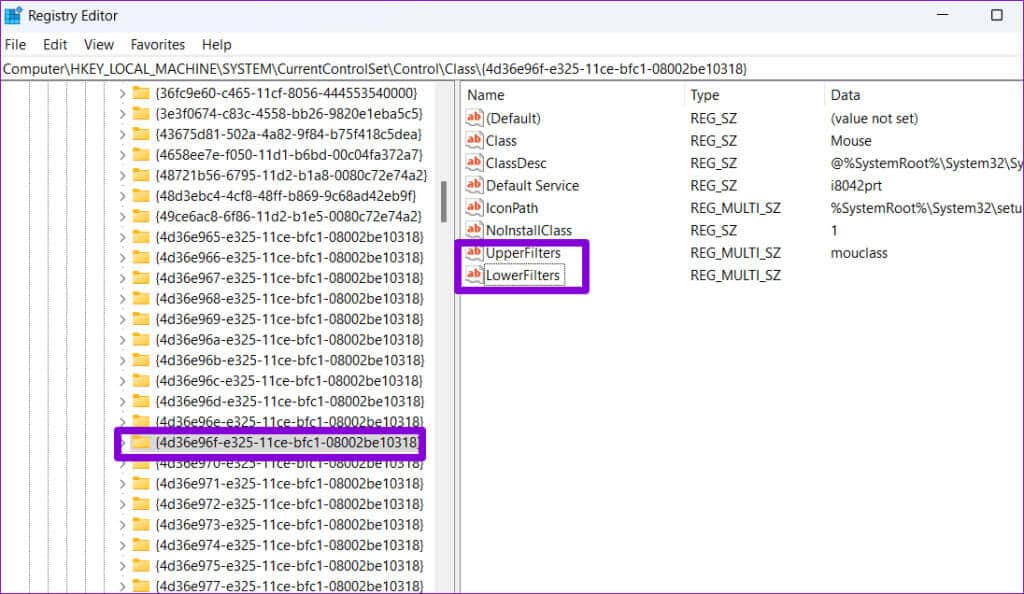
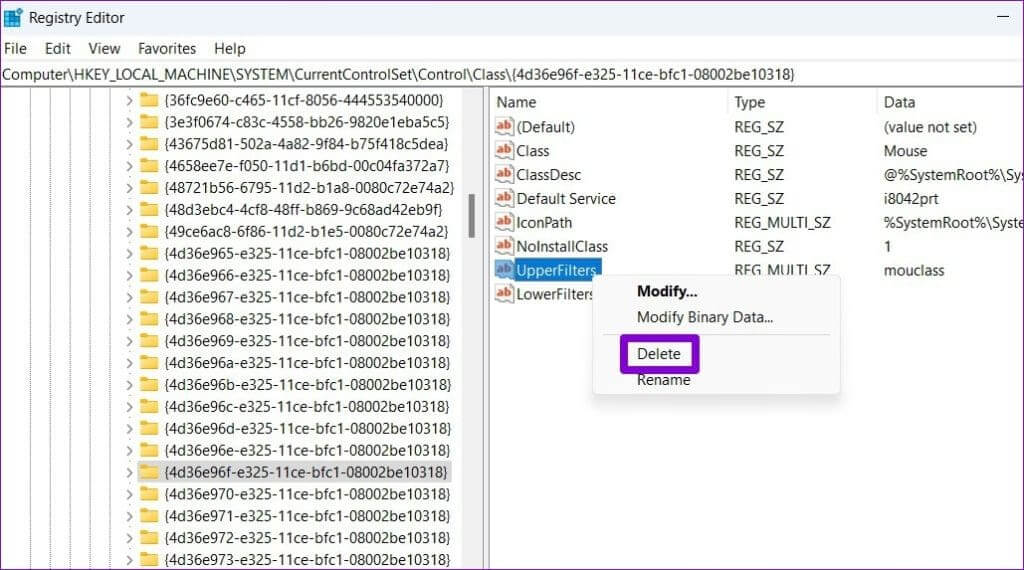
Restart your computer after completing the above steps and check if the error appears again.
5. System Restore
Finally, if all else fails, you might consider performing a System Restore. This will allow you to undo any bad changes that may have caused the error. Don't worry, this process won't delete your files.
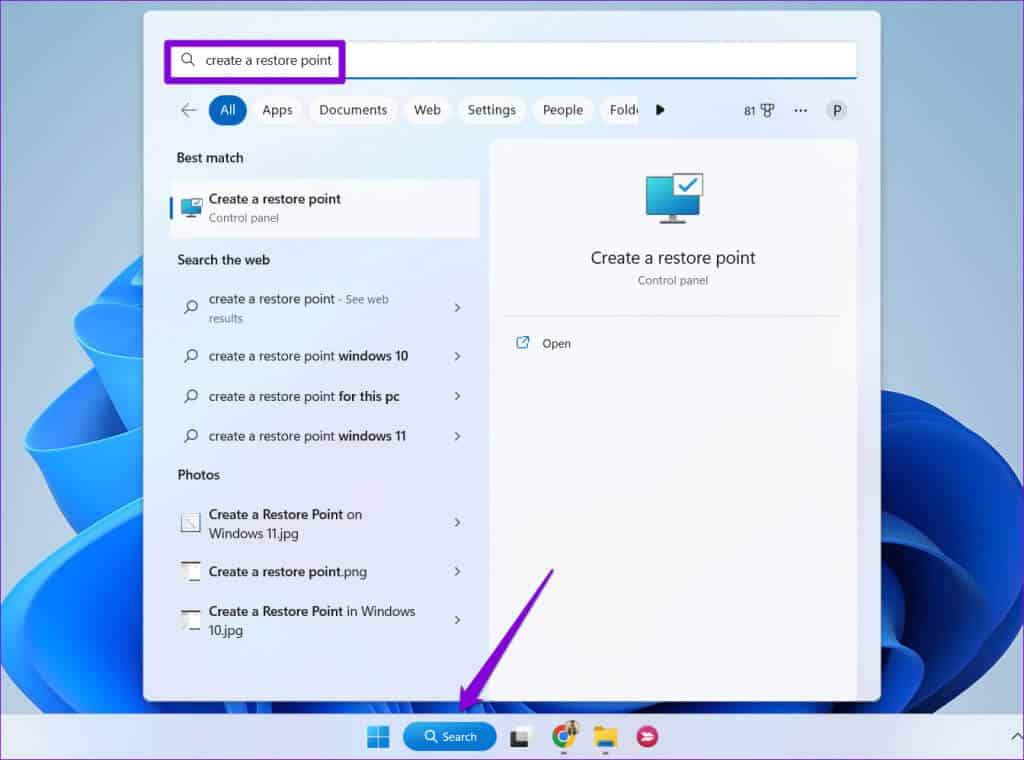
Step 1: Click the search icon on the taskbar, and type Create a restore point, then press Enter.
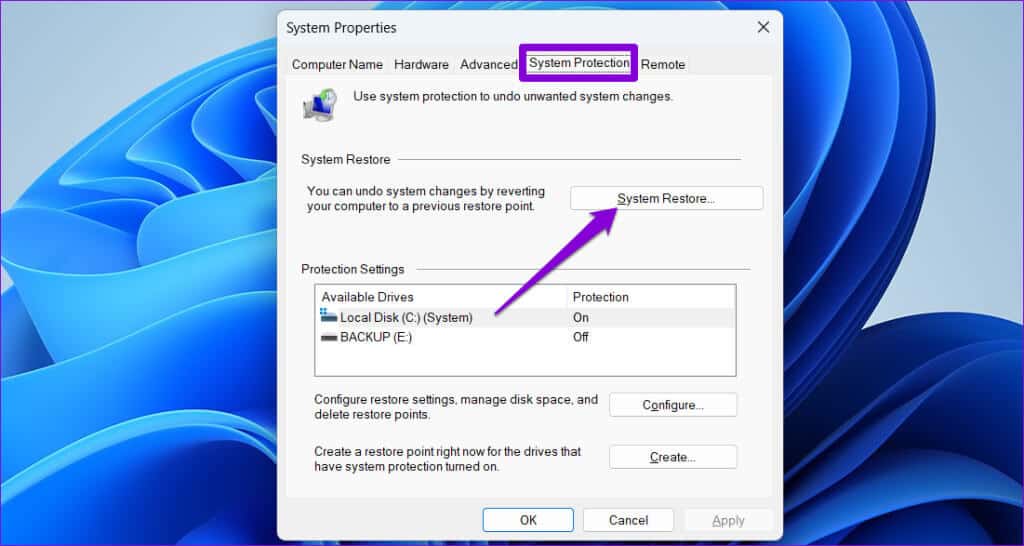
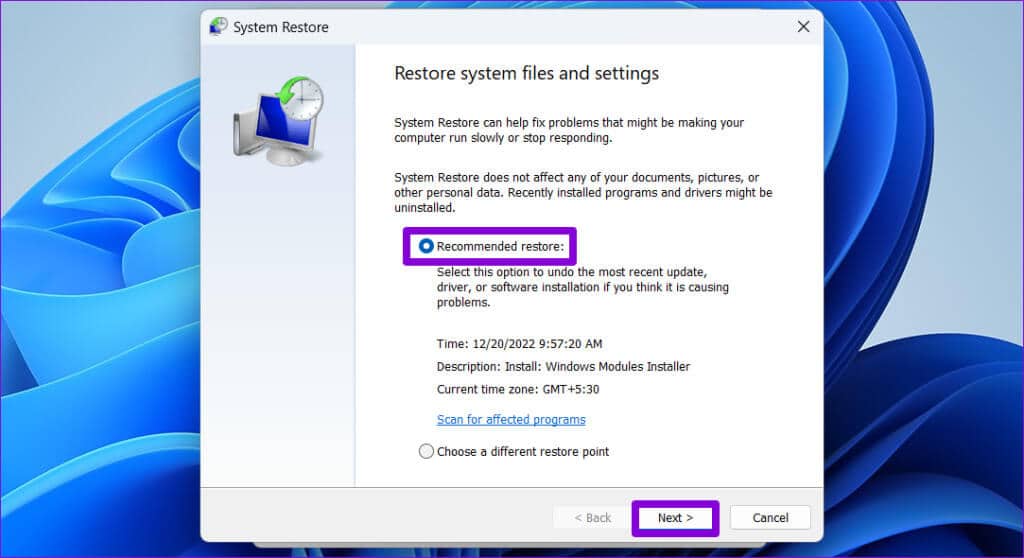
Step 3: Select an option recovery Recommended and click next one.
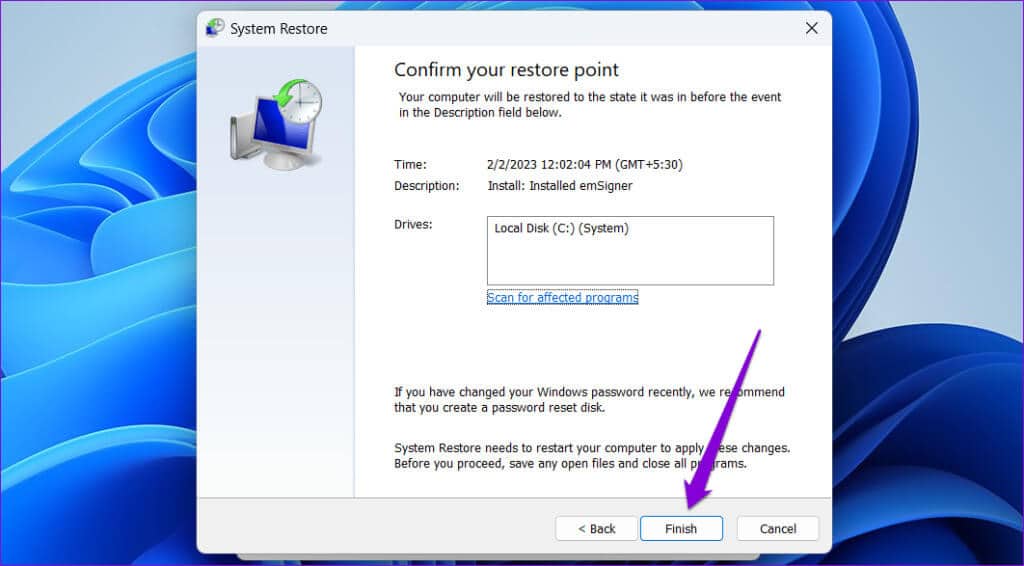
Enable your devices
Unless your device is faulty, one of the tips above should help fix the “Windows can't start this device (Code 19)” error on your Windows 10 or 11 computer. After that, you should be able to use your device without problems.


