Haven't we all sat down to show off all the photos and memories of your last vacation with friends? However, the enthusiasm may fade because the thumbnails take a long time to load on your PC. On WindowsThis may turn into a sign of anger, especially if you have to quickly locate some important photos.

This problem is more common on systems that store a lot of media files in folders. In a normal scenario, Windows 10 maintains a cache of thumbnails for files and folders. Therefore, when you open a folder, the contents are ready to be viewed.
Over time, this cache slowly begins to bloat as new files are added to the system. This is one of the reasons why Windows File Explorer It takes its sweet time displaying thumbnails. Or, in the worst-case scenario, your system displays incorrect previews of files.
Fortunately, the changes aren't permanent, and with the right solution, one can quickly fix this issue. In this post, we'll explore four different ways to speed up thumbnail loading time in Windows 10 operating system.
If you're lucky, you'll only need to perform one of the fixes to correct the problem, while in other cases, you may need to try the other three solutions.
1. Through group policy
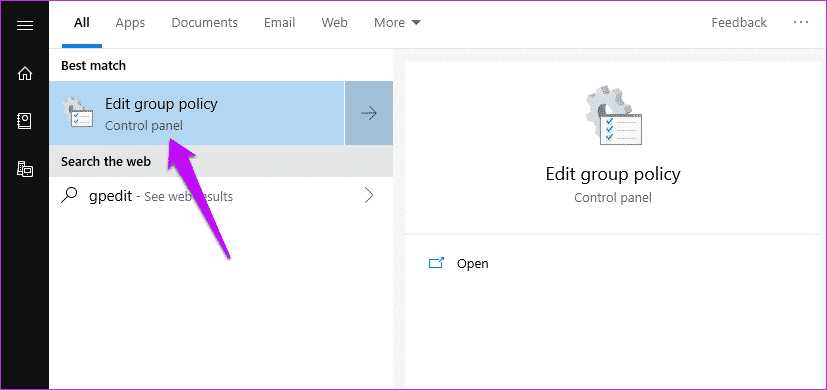
Step 1: Open Group Policy by typing “Edit Group Policy” (or gpedit.msc) in the Start menu. As you already know, Windows Group Policy contains a set of advanced local settings that you can modify, provided you know your way around them.
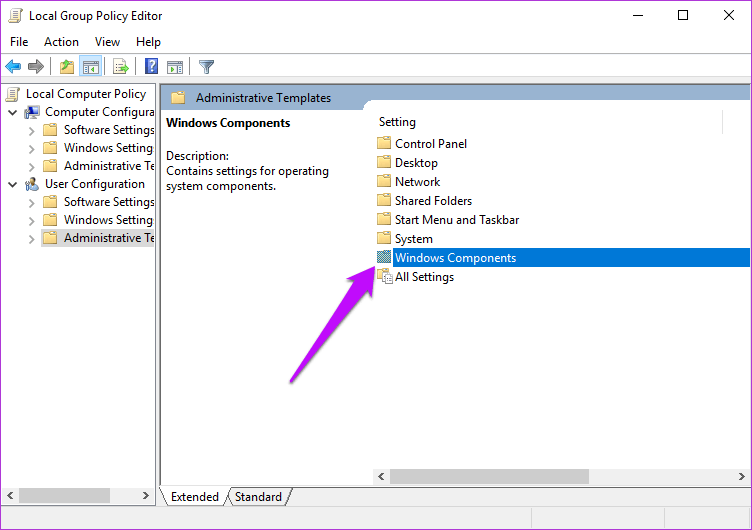
Step 2: Once in, go to User Configuration > Windows Components > File Explorer.
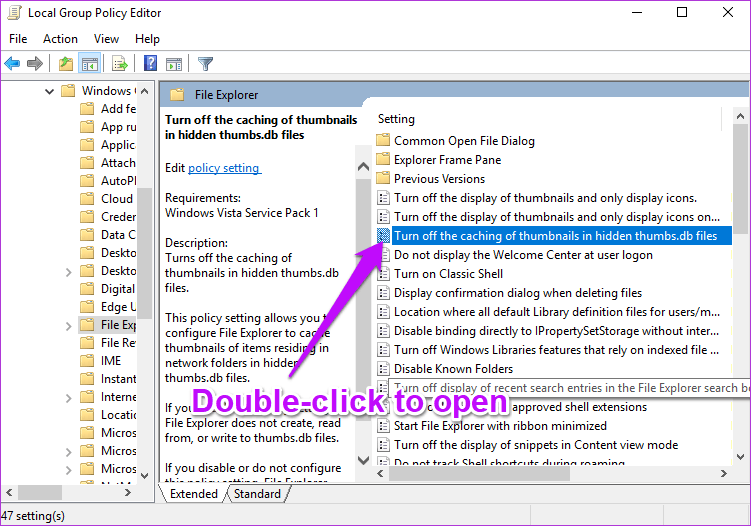
Step 3: Now, look for the option “Turn off thumbnail caching…” Chances are this option will be either Not Configured or Disabled.


All you have to do is select Enabled and press the Apply button.
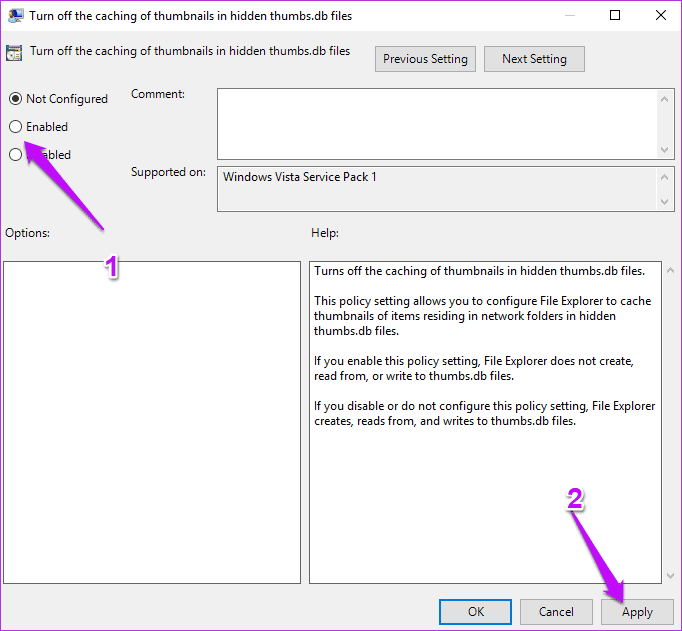
Once you have applied the above, restart your computer for the above changes to take effect.
2. Through the control panel settings
Next, we need to make sure your system is set to display all thumbnails of files and folders. To do this, follow the steps below.
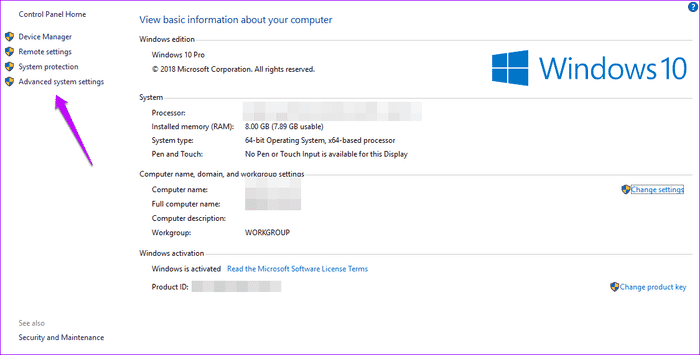
Step 1: Open your system's Control Panel and go to System and Security > System, and click Advanced system settings.
Step 2: Select the Advanced tab and select Settings under Performance.
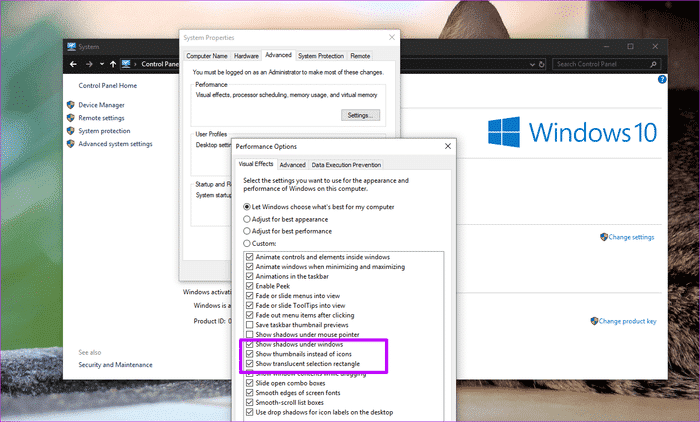
Here, you just need to make sure the “Show thumbnails instead of icons” option is enabled. If it isn’t, check the box and press “OK.”
3. Check the registry values.
Last but not least, you may want to edit the registry values. It's quite obvious that your system contains a lot of maintenance tools that run automatically. As you might suspect, one of their functions is to regularly clear the File Explorer cache.
Just like your browser and phone, clearing your cache frees up space, which is good from a storage perspective. However, File Explorer also has to reload the cache, which ends up being a waste of time.
So, if you're really frustrated with slow loading times, you might want to tweak the values a bit so that the Disk Cleanup task doesn't trigger the thumbnail cache. The Disk Cleanup task (also known as SilentCleanup) normally takes over the autorun task with a value of 1. Naturally, changing it to 0 will cause the task to skip these keys.
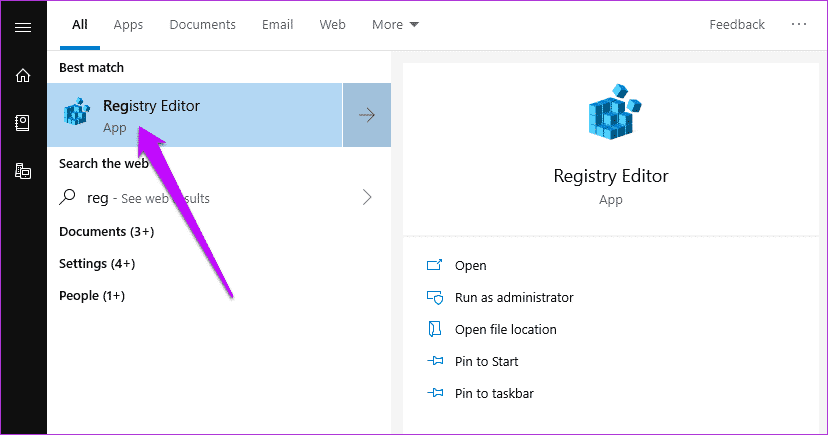
To do this, open the Registry Editor by typing Regedit in the Start menu.
- Note: The Windows Registry contains all the settings and configurations used by your Windows system. Therefore, it is essential that you take a proper backup of the registry values before attempting to make any changes. Furthermore, any changes to the values must be made with extreme care.
Next, move on to the next track,
HKLM\SOFTWARE\Microsoft\Windows\CurrentVersion\Explorer\VolumeCaches
Here you'll see two values, Default and Autorun. All you need to do is set the Autorun DWORD value to 0.
Do this for the next track too,
HKLM\SOFTWARE\WOW6432Node\Microsoft\Windows\CurrentVersion\Explorer\VolumeCaches\Thumbnail Cache
Once done, restart your computer to make the changes take effect.
4. Change the cache size
You may also want to increase the cache size if you usually keep all your images in one folder. As you might have guessed, the way to do this is through registry values.
Open the registry, navigate to the path below,
HKEY_LOCAL_MACHINE\SOFTWARE\Microsoft\Windows\CurrentVersion\Explore
Once you're done, right-click on an empty space and select New. Next, select New > String value and add the term, Max Cached Icons.
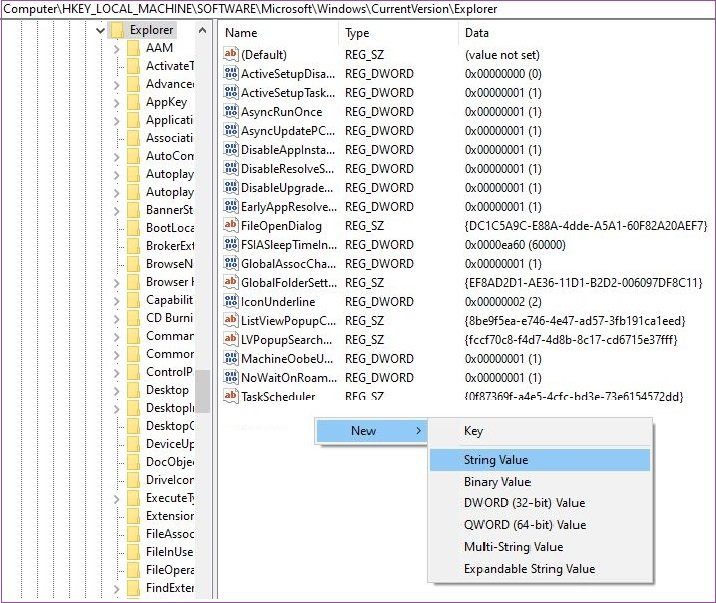
Now, enter the value 4096 and click OK. This will create a 4MB cache file.
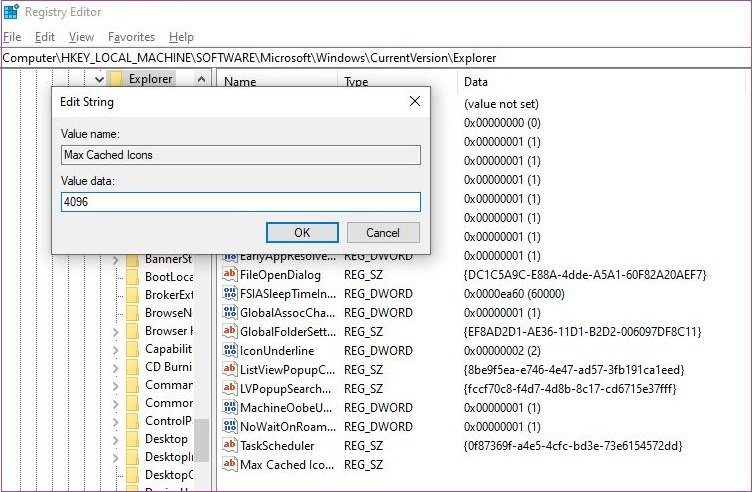
If you want a slightly larger cache file, you can update this value to 8192 as well. By default, the icon cache size in Windows system About 500 KB.
Explore folders like a pro
Waiting for File Explorer to load an image can be frustrating, especially when you have work to do quickly. So which of these fixes worked for you? Let us know in the comments section. below.