In some cases, Windows 11 displays the Recovery partition in the drive list as a standalone disk, confusing users and potentially leading to unintended modifications to system files. This is because the system sometimes assigns a drive letter to the Recovery partition during updates or system changes. Fortunately, this letter can be easily removed and the partition can be reverted to its original hidden state without affecting recovery functionality.

Quick tips
- The recovery partition must be removed from drives with these letters, because it contains important system recovery (WinRE) information.
- This issue occurs due to a malfunction in the drive properties as a result of an update, a drive clone, or there may be another reason.
- To remove the letter, you will need to use the Command Prompt and DiskPart command line tools.
You may be used to swapping names of external hard drives and USB ports in Windows, but what happens when the recovery partition, which is only used in emergencies, suddenly appears as a writable drive with its own drive letter?
This article will guide you to restore your recovery partition to its intended function.
The hidden friend

If you suddenly encounter a recovery partition that seems to be doing a different job than it was intended to, you may wonder what's going on. Windows automatically creates a recovery partition, a means by which the operating system can restore itself to a previous working state (or factory settings) in an emergency. This partition contains the Windows Recovery Environment (WinRE).
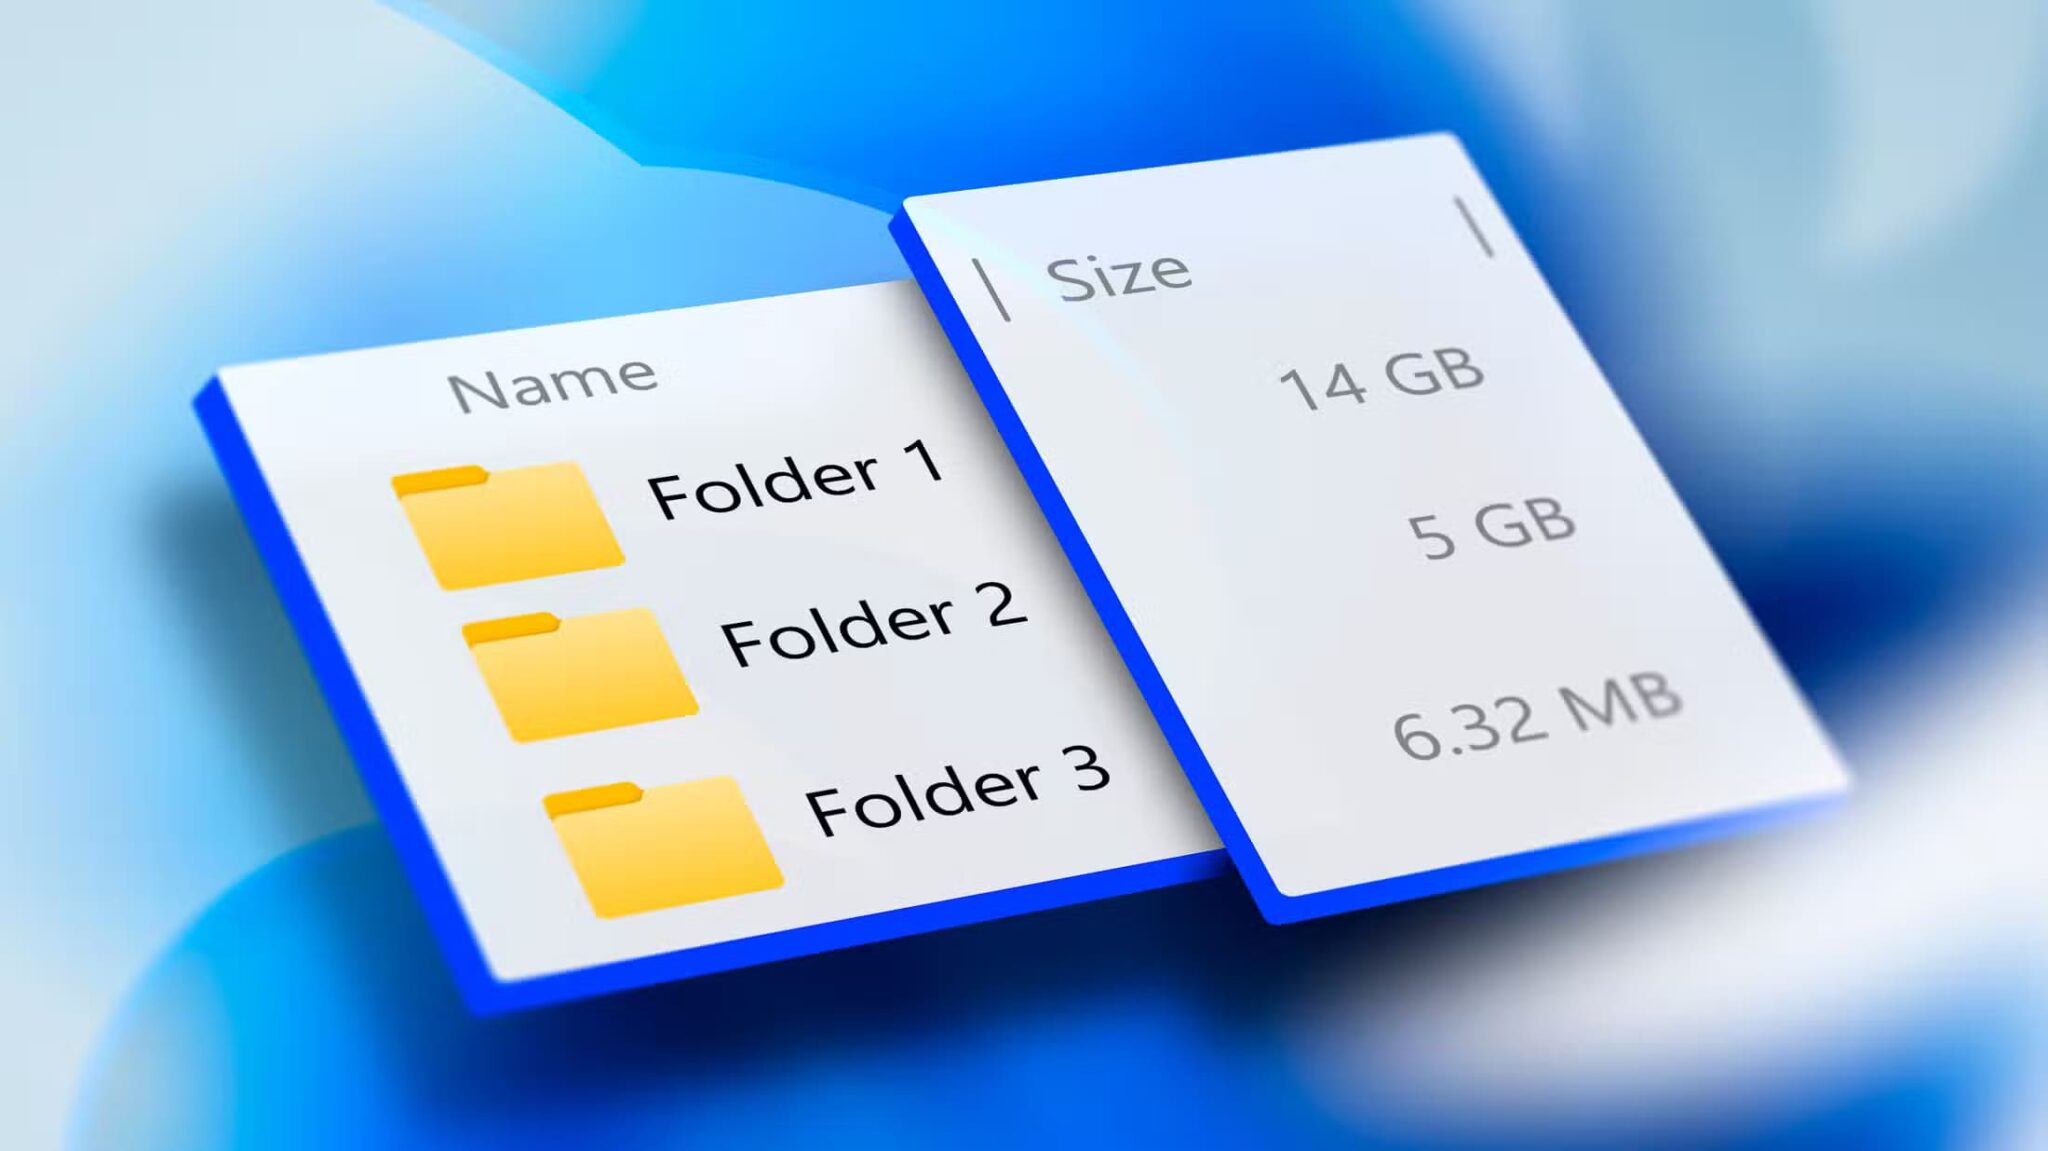
It's a very useful partition. As you can see in the image above, it appears at the end of the main drive, behind the EFI partition and the primary partition. On a normal drive, the primary partition is supposed to be the only partition with an assigned drive letter.
But what happens when it isn't?
What to do when Windows 11 keeps assigning a drive letter to the recovery partition?
If a drive letter for the recovery partition suddenly appears in File Explorer, the problem is likely related to missing hidden attributes. The drive is no longer hidden or unmounted. It may also be that an update or disk copy changed the hard drive's metadata. The data on this drive is critical and should not be overwritten or deleted. Let's look at some solutions to this problem.
Remove character via command prompt
The Command Prompt is a versatile tool. Today, we'll use it to remove the letter from the Recovery partition. Here's how:


Step 1. Open a window "employment" (Win + R) and type “Cmd”. Click (Ctrl + Shift + Enter) to run as administrator.
Step 2. You can check the status and location of WinRE by typing "reagentc /info" and pressing "Enter." If the partition location ("Windows RE Location:") shows a letter instead of a number, you need to fix the problem.

To step 3. Type "Diskpart" To open DiskPart tool at the command prompt.

Step 4. Type “list volume” To see the current list of drives on your device.

Step 5. If you see the recovery partition listed with a drive letter, type “select volume [number]”.
To step 6. Type remove letter [letter]To remove the section letter.
If the recovery partition doesn't appear at the drive level, you'll need to dig deeper and get to the partition level:
Step 1. in DiskPart, Type “list disk” and press Enter.

Step 2. Type “select disk [number]” to select the disk that contains the partition.
To step 3. Show all partitions by typing “list partition”

Step 4. Look for the section called “recovery” within "Type" And type “remove letter [letter]” If there is a drive letter.
Hide drive
If the recovery partition still appears, you should hide it to prevent files from being overwritten. Here's how to hide it using the Command Prompt:
Step 1. Write "Diskpart" At the command prompt to start the tool.
Step 2. Select the partition (see above) and type “set id=de94bba4-06d1-4d40-a16a-bfd50179d6ac override” to remind the partition of its original identity.
To step 3. write "gpt attributes=0x8000000000000001″ To set the recovery partition to hidden read-only.
Step 4. Your partition should now be unlisted in File Explorer. Unmount the drive.
You can also hide the drive by unmounting it in the Command Prompt. Here's how:
Step 1. Open a command prompt, and type “mountvol [driveletter]: /d” and press "Enter".
Step 2. Make sure the drive no longer appears in File Explorer.