Microsoft PowerPoint is officially available alongside the entire Microsoft Office suite on the Mac App Store. While its file format is mostly supported everywhere, there's a great way to improve the formatting of your presentations. Like the app Apple Keynote PowerPoint also offers its users the option to convert PPT files to video. This post will cover the steps for both Mac and Windows operating systems.

Convert PowerPoint to Video on MAC
The Microsoft PowerPoint app is also available for free on the Mac App Store. However, if you want to sync your presentations across devices, you'll need a Microsoft 365 subscription. But if you just want to keep them on your Mac, you can download it using the link below.
Get the PowerPoint app for Mac
The PowerPoint for Mac app has all the same features as the Windows version, except for a slight difference in interface and keyboard shortcuts. However, you can easily convert a PowerPoint file to a video file. Follow these steps.
Step 1: Open PowerPoint application on a Mac.
Step 2: Locate PPT file which you wish to convert.
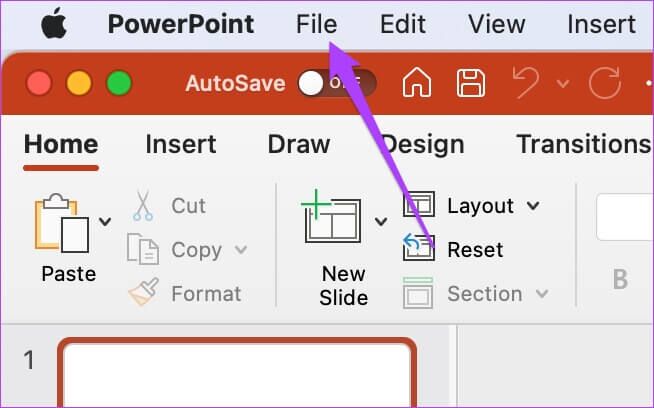
Step 3: Once the presentation is open, click "a file" In the upper left corner of the menu bar.
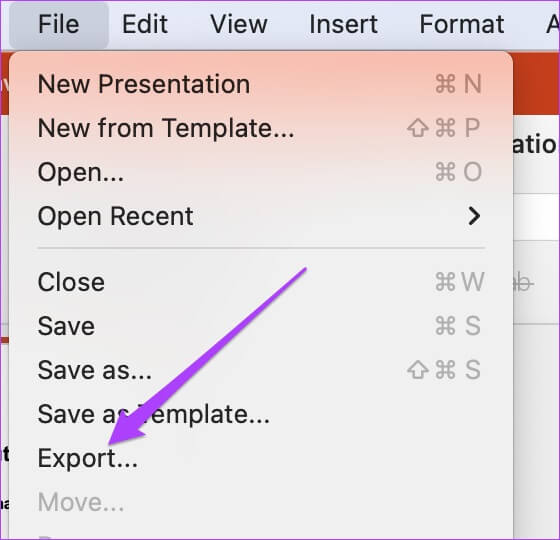
Step 4: Locate Export From the menu that opens.
It will open Export options on your screen.
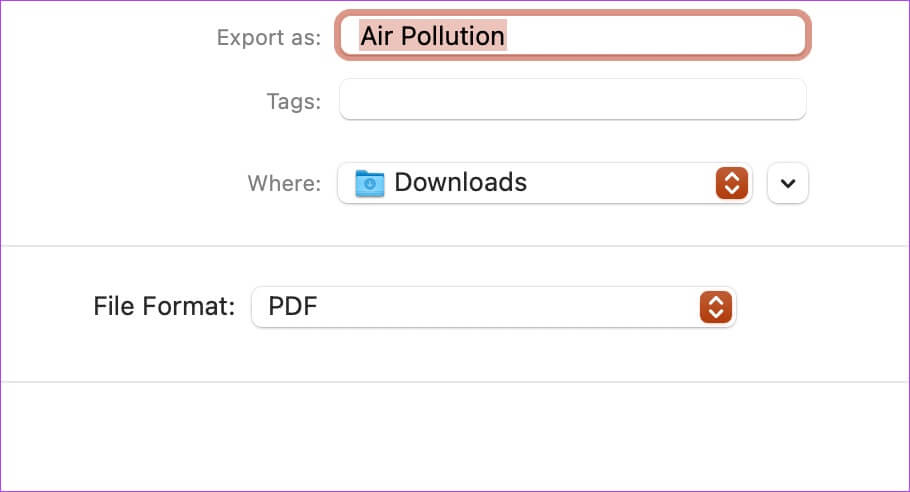
Step 5: of File format list , Locate MP4 Or MOV. We recommend choosing MP4 Since it is a versatile format that works on the majority of devices out there.
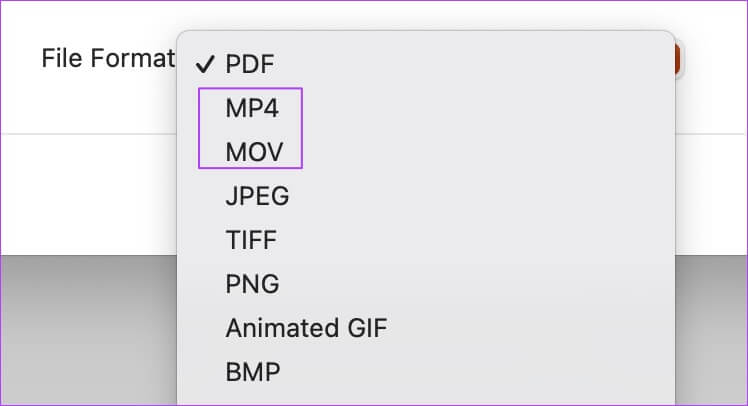
However, you can select MOV if you plan to record the video on your Mac or someone else's Mac.
Step 6: Locate Export file location Presentation quality and timing Between the slides.
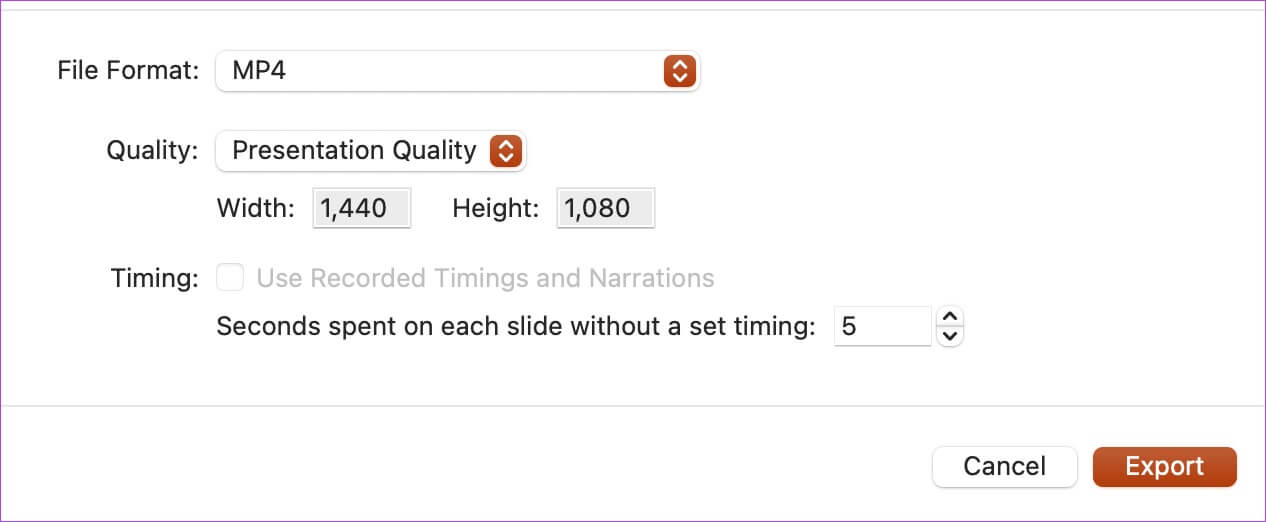
Step 7: After determining suitable options , Click export.
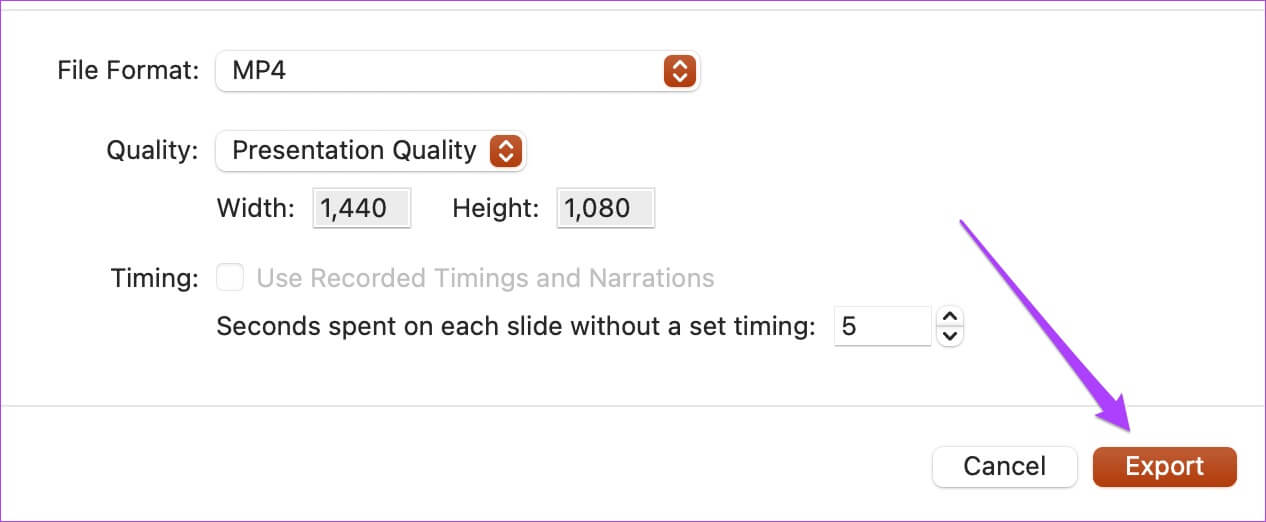
Let PowerPoint convert your presentation to a video. Depending on the content, the application may take some time. By converting your presentation locally, you won't have to worry about your data privacy, which is a concern when uploading to a third-party website.
Record a voiceover for your presentation.
You can create more impact by adding VoiceOver to your video presentation if you don't plan to speak during the presentation and let the video take care of everything. It's also useful if you're giving a media-rich presentation that can add important details without requiring you to be present. Follow these steps to add VoiceOver.
Step 1: Open Presentation file In PowerPoint.
Step 2: Locate Slideshow option At the top of menu bar.
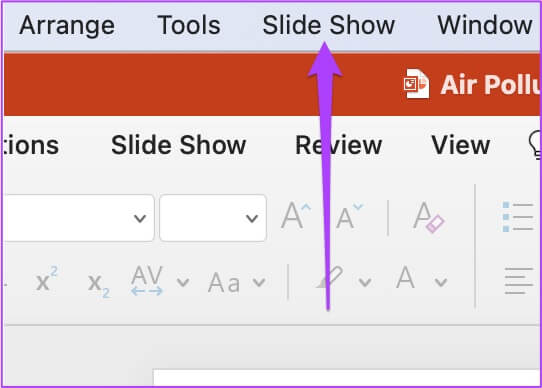
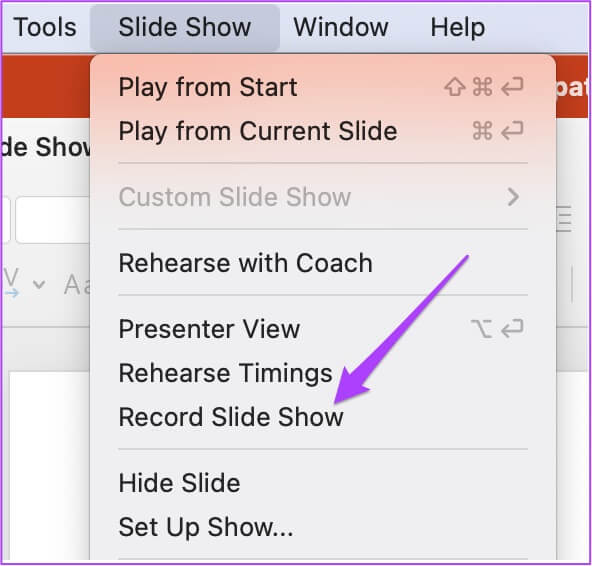
Step 3: Locate Record a slideshow From the menu that opens.
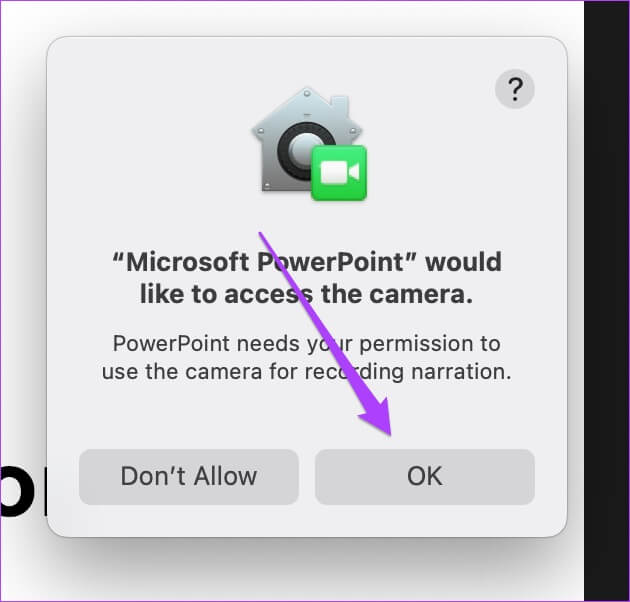
Step 4: When prompted, click "OK" To allow PowerPoint to access your microphone and camera.
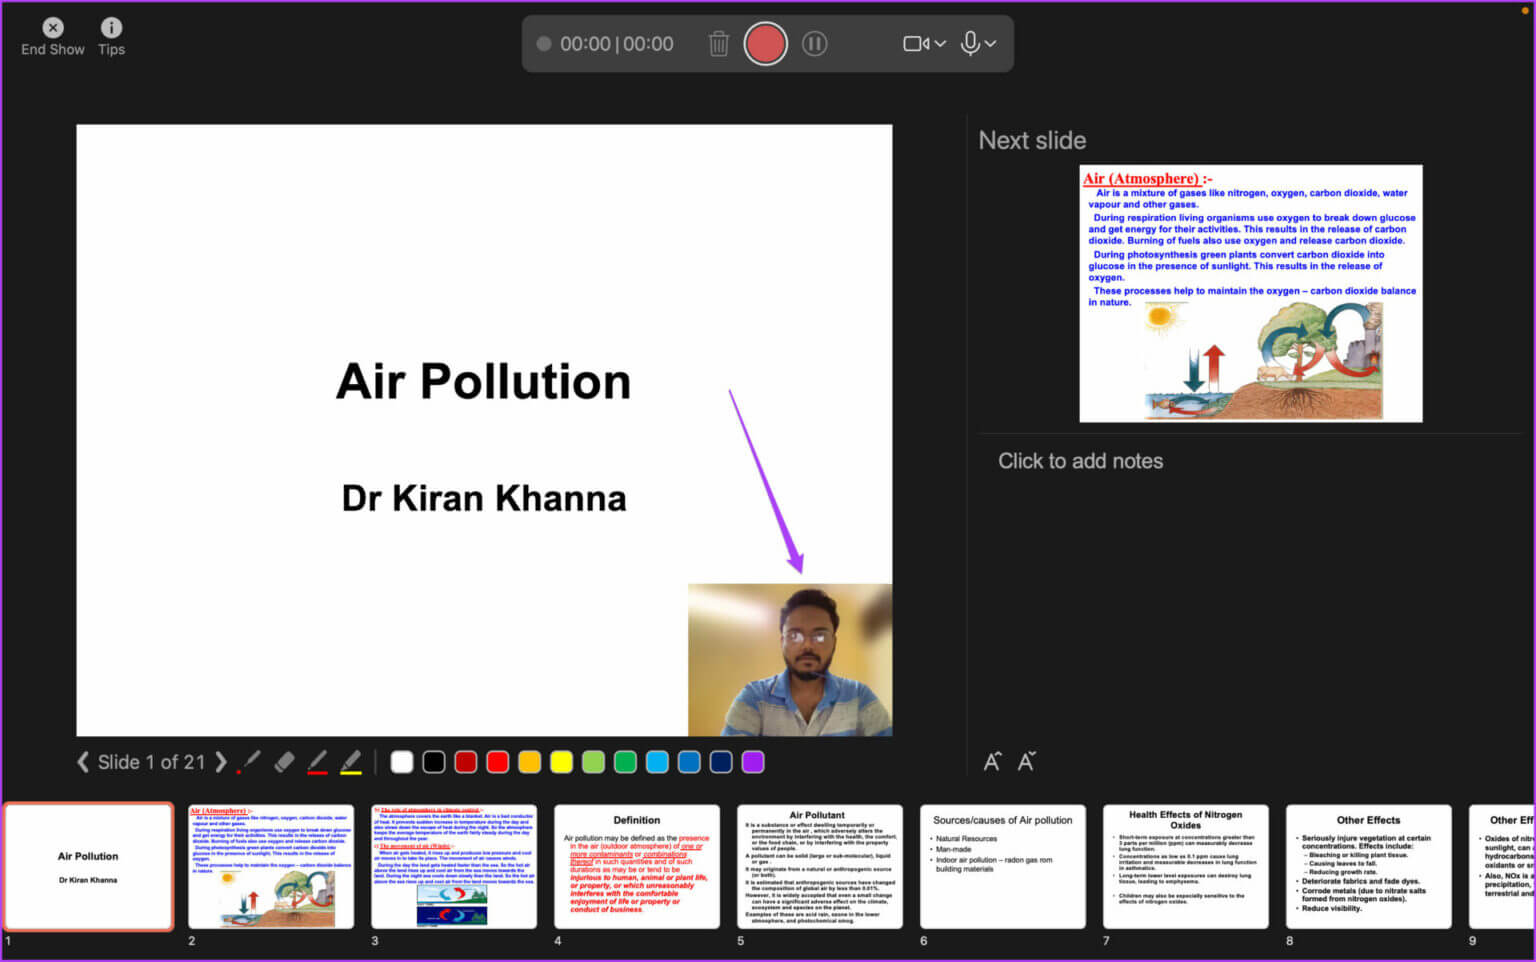
Step 5: The recording bar will appear at the top of the screen. You'll also be able to see a video preview.
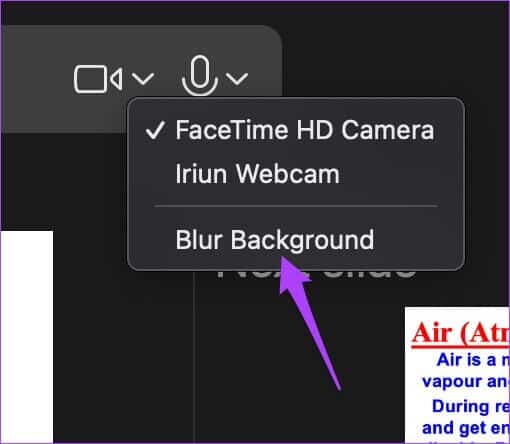
While using the camera, you can blur the background of the video. Click the camera icon on the floating recording bar and select Blur Background.
Step 6: Click Registration Code To start recording VoiceOver and video.

Step 7: Click Stop icon to terminate the registration.
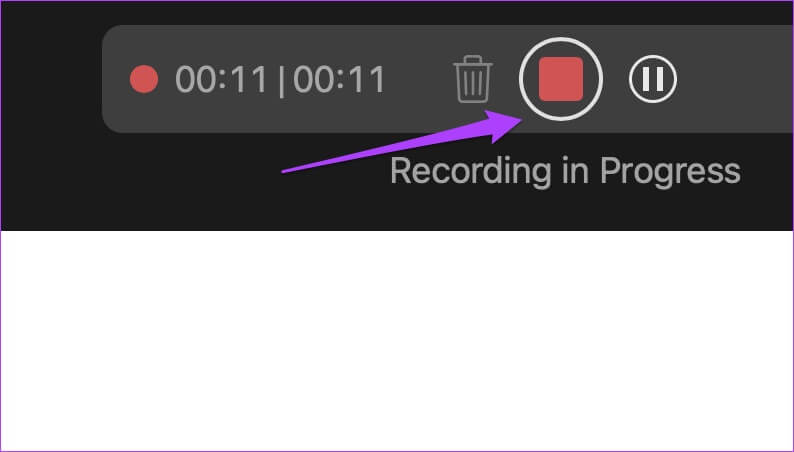
Step 8: Click End of show To close the registration window.

Step 9: Click File option In the upper left corner of menu bar and select export.

Step 10: Select the relevant parameters for file format, quality, and seconds between each slide. Click the button. "export" In the lower right corner of that window to apply the changes.

Convert PowerPoint to Video on Windows
Users get Windows It also hides PPT presentations within a video. Of course, if you haven't downloaded the PowerPoint app or if it isn't pre-installed on your computer, you'll need to get it. Additionally, you'll need an Office 365 subscription to use all features, including online sync.
The file conversion process is slightly different when compared to Mac. Follow these steps. Note that the screenshots below are taken from PowerPoint as part of an Office 365 subscription. Your Office suite interface (2021, 2019, 2016, or earlier) may appear different.
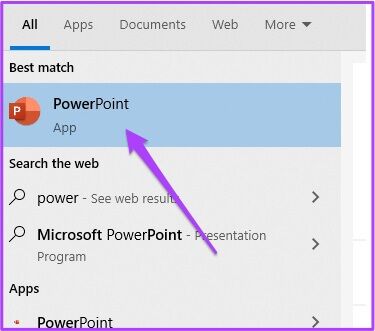
Step 1: Click on Windows + S To open Windows Search , And type Power point and click PowerPoint application in search results.
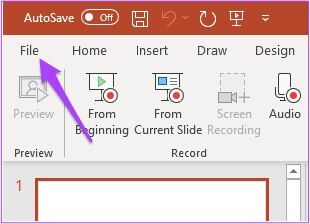
Step 2: Open Presentation In PowerPoint. Next, select File option in the upper left corner.
Step 3: Select the Export option from the left menu.

Step 4: of Export Department , Locate Create a video.
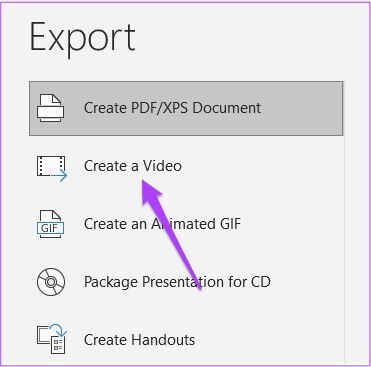
set Export Settings مثل Accuracy and chip timings.
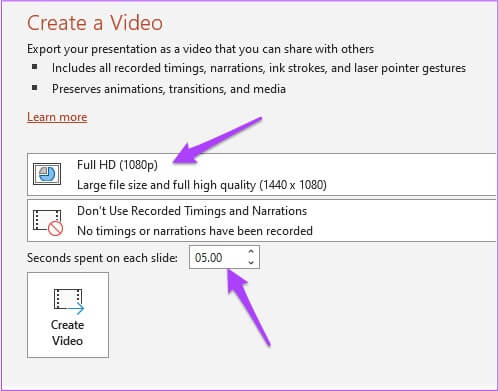
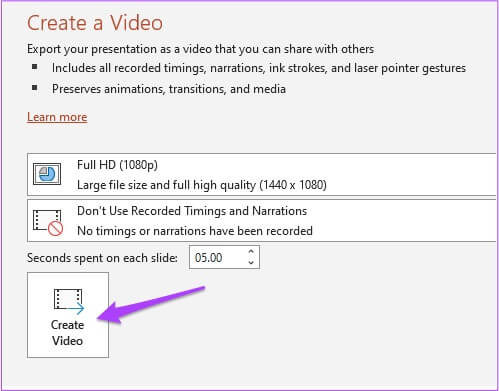
Step 5: Next, tap Create a video.
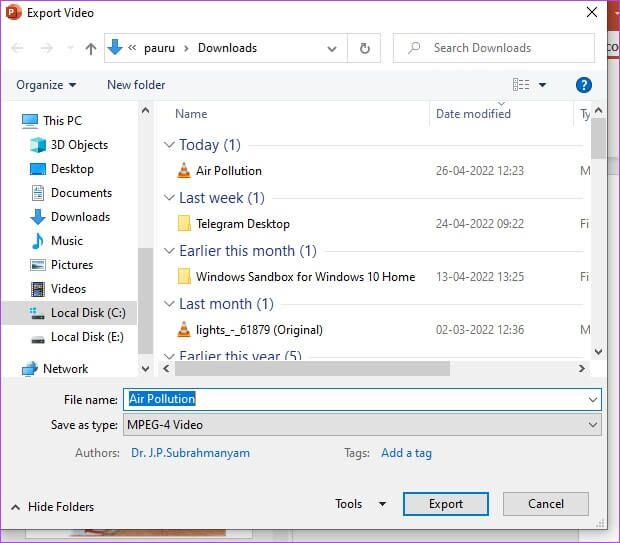
Step 6: Locate Export site and name file.
Step 7: Click Export button.
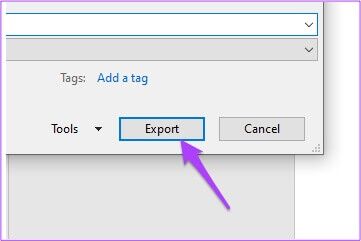
Next, allow PowerPoint to export your presentation as a video file with the desired preferences.
Record VoiceOver and Video on Windows
Just like on Mac, Windows users can also record VoiceOver along with video to present their PPTs. Follow these steps.
Step 1: Open PPT file Related in Power point. Locate File option in the upper left corner.

Step 2: Locate Export From the left column.

Step 3: From a list export , Locate Create a video.

Step 4: of Time and Narration Recording List , Locate Video recording.
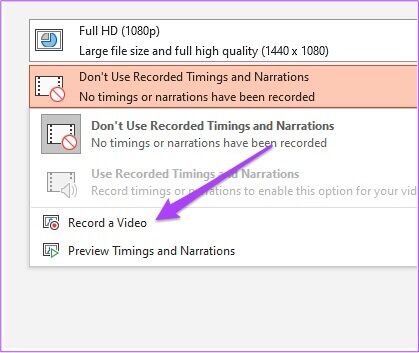
You'll see the recording menu open on your screen. If you're using a Windows computer, make sure you have a microphone and webcam connected to your system.
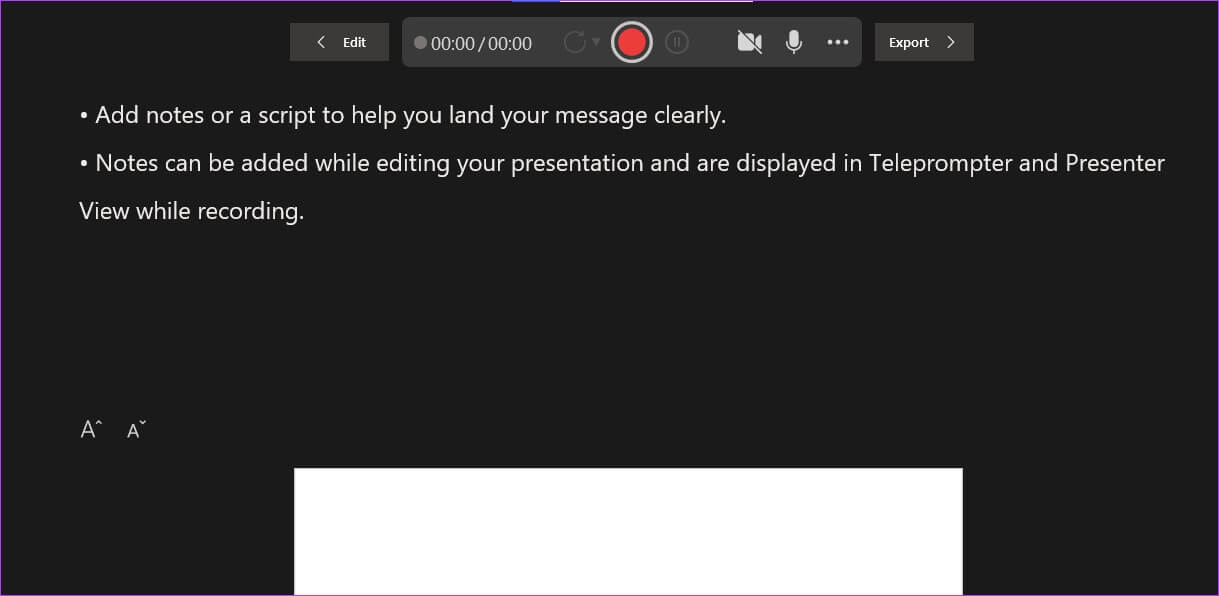
Step 5: Click on record button to start recording.

Step 6: Click on record button Again to stop it after you're done.
Step 7: Click button "Export" To merge the audio and save the file.

Step 8: Rename the file and select File location As per your choice,
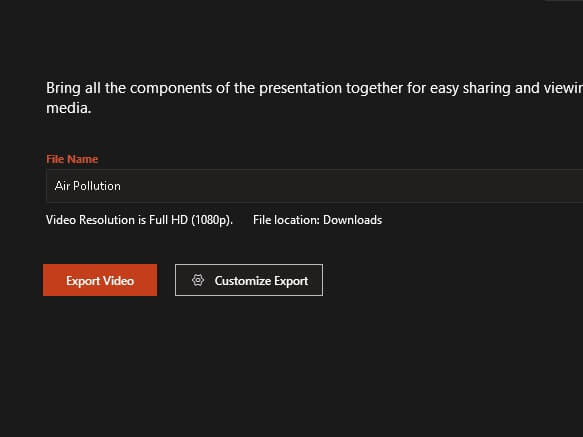
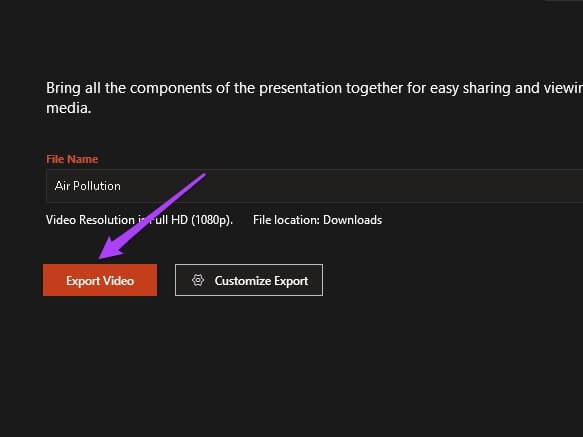
Step 9: tap on Export video button.
Adding VoiceOver to your video version of PowerPoint on Windows can help you create an impactful delivery and free you up from having to speak or explain things.
Enhance your PowerPoint presentations
PowerPoint presentations require PPT to be compatible with most versions. To avoid this headache, along with controlling slide speeds, convert your presentations to video. The biggest advantage is that it will be more engaging, and you can always pause the video to speak.


