Despite Microsoft's claims that Windows 10 will be the final version of Windows, we now have Windows 11 as the latest version. Windows 11 offers many improvements, features, and visual fixes. If you're looking to upgrade, here's how. Installing Windows 11 the right way On your computer. In this guide, we'll learn how to create a bootable Windows 11 USB drive. There are two main ways to do this.

If you want to install a fresh copy of Windows 11 on your computer, you may want to create a handy bootable disc for future use. If your Windows PC crashes and needs repair, or if something is missing, you can use the same Windows 11 bootable disc to easily install a fresh copy.
You'll need a license key for your PC whenever you want to reinstall your copy of Windows 11. Similarly, if you plan to use the bootable USB drive on other PCs, you'll need the relevant Windows 11 license key to activate the edition.
Here's how to create a bootable Windows 11 USB drive. There are two main ways to do this.
Create a Windows 11 Bootable USB Using Microsoft's Media Creation Tool
Microsoft makes it extremely easy to create a bootable Windows 11 USB drive directly using the official program—the Media Creation Tool. When you download a Windows 11 ISO, the Media Creation Tool will be the first thing you'll need to install on your Windows PC. Then, insert your USB drive to create the bootable USB drive. Here's how it works.
Preparing the USB drive
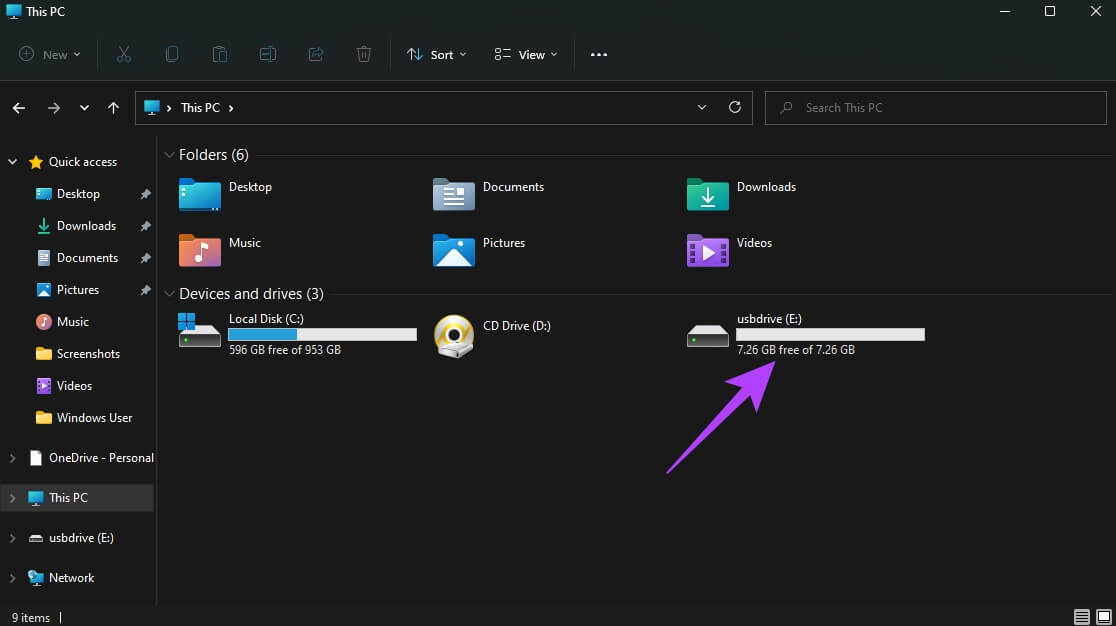
Step 1: Insert the USB drive you want to use as a bootable Windows 11 disc. The USB drive must be at least 8 GB in capacity and formatted with a FAT32 partition to use UEFI mode.

Step 2: Open Windows Explorer Right-click on the USB drive. Select Coordination.

Step 3: Locate File system as FAT32 Enter a name under Unit Label. Storage. Locate Quick format option And click Start.


Step 4: Click "OK" in Dialog box For confirmation.

Step 5: Wait for the formatting to complete. Click "OK" When asked to do so.

Your USB drive is now ready.
Create installation media
Step 1: Go to Microsoft Windows 11 Download Page and click Download Now button within Create Windows 11 installation media section.

Step 2: This will result in تنزيل أداة إنشاء الوسائط On your computer. Run البرنامج of Location Which I downloaded it in.
Step 3: A window will appear greeting you with Applicable Notices and License Terms screen. tap on Accept button to continue.

Step 4: Locate Required language of Drop-down menu And choose appropriate version of Windows you want to install. Optionally, you can check the box next to Use the recommended options for this computer. To determine Settings that is applied to your current computer. Once finished, click Next button.

Step 5: in Next screen , Locate USB And click Next button.

Step 6: This screen displays a list of removable drives connected to your computer. Select CD player Opposite of engine USB flash drives And click Next button.

Step 7: will Media Creation Tool Now download Windows 11 to your USB drive. This process may take some time depending on the Internet connection speeds And write speeds on USB drive.

Step 8: After complete Download and installation process You will see a message saying: “The USB flash drive is ready.”. Click Finish button.

Your bootable USB drive for Windows 11 has now been created. Connect it to the computer you want to install Windows 11 on and Booting into it via BIOS to start the installation.
Create a Windows 11 Bootable USB Using RUFUS
Rufus is a tool that can be used to create bootable drives for a variety of operating systems. The advantage of using Rufus is that you can create bootable USB drives for any operating system you want, as long as you have the ISO file. Also, if you want to try Windows 11 on older, incompatible hardware, To avoid the error “This PC can’t run Windows 11” You can choose to bypass TPM (Trusted Platform Module) and secure boot while creating a bootable Windows 11 USB disk.
Bypass TPM and Secure Boot Requirements with Rufus
Another advantage of using Rufus is that it bypasses Minimum system requirements for Windows 11With the release of Windows 11, the operating system requires that the motherboard have a TPM (Trusted Platform Module) installed, either in the form of a physical chip or a firmware-based implementation. If you encounter the error "This PC can't run Windows 11," it means that you haven't enabled the TPM on your computer or that the hardware doesn't support it.

A TPM essentially adds a layer of security to the data stored on your computer. Similarly, Secure Boot ensures that only trusted programs are allowed to install on your computer. Enabling a TPM and Secure Boot are critical for installing Windows 11 on supported hardware. However, you can bypass this requirement using the latest version of Rufus if you have an older computer that doesn't offer a TPM option.
Note: We do not recommend bypassing TPM and Secure Boot restrictions, as they can pose a threat to your computer's security. Proceed with caution and only use this method if you cannot enable the TPM and install Windows officially.
Download Rufus and Windows 11 ISO
Step 1: Enter USB drive on your computer. You don't have to format it because Rufus It will do this automatically for you. If the data on the USB drive is important, take Backup Where it will be scanned.
Step 2: Download the Latest version of Rufus of Official Website.

Step 3: To Rufus side You will also need to download the Windows 11 ISO file. You can get it from Download Windows 11 disc image section on Microsoft website.

Step 4: Once you click download button You will be asked language selection that you want Download Windows 11Select the language of your choice and click . "to be sure".

Step 5: Click 64-bit download button Wait for it to complete.

After downloading the relevant Windows 11 ISO, you can proceed to create a bootable USB drive.
Create installation media
Step 1: Open Rufus On your computer, select the path to the USB drive as the device.

Step 2: Click Select button next to Boot Selection.

Step 3: use Windows Explorer window to move to Windows 11 ISO file which you have downloaded. Select it and click to open.

Step 4: within Image option section , Locate Standard installation of Windows 11 (TPM 2.0 + Secure Boot) If your computer meets these two requirements.

If you want to bypass TPM and Secure Boot, select “Extended Windows 11 installation (no TPM 2.0/no Secure Boot).” Again, you should only select this option if you plan to install Windows 11 on an older, unsupported PC.

Step 5: within volume label You can set a new name like Windows 11 installation discOnce determined, Required option , Click Start.

Step 6: Click "OK" When asked to do so.

Step 7: Wait for the process to begin. Once the status bar at the bottom turns to green color Exactly, it becomes USB Bootable Windows 11 ready to use.
Install Windows 11 from a USB drive on your computer
Depending on your requirements, you can choose either method to create a bootable Windows 11 USB drive. Simply insert the USB drive into your computer and change the boot drive from BIOS to USB. Follow the installation procedure and you'll have a bootable Windows 11 USB drive ready in no time.