Millions of users use Google Drive to store and share documents, photos, and other digital content. However, you may need to transfer your Google Drive data to another account. In this article, we'll explore why you might need to transfer your Google Drive data and provide a step-by-step guide.
Moving your Google Drive becomes necessary for various reasons. Common reasons include a change of ownership, a job transfer, a change of email address, merging your accounts into one, etc. Whatever the reason, this guide will help you seamlessly transfer and share data with another account.
1. Use the share feature to transfer Google Drive to another account.
Sharing files and folders between Google Drive accounts is easy. However, it doesn't actually transfer data; it only allows access. Here's how:
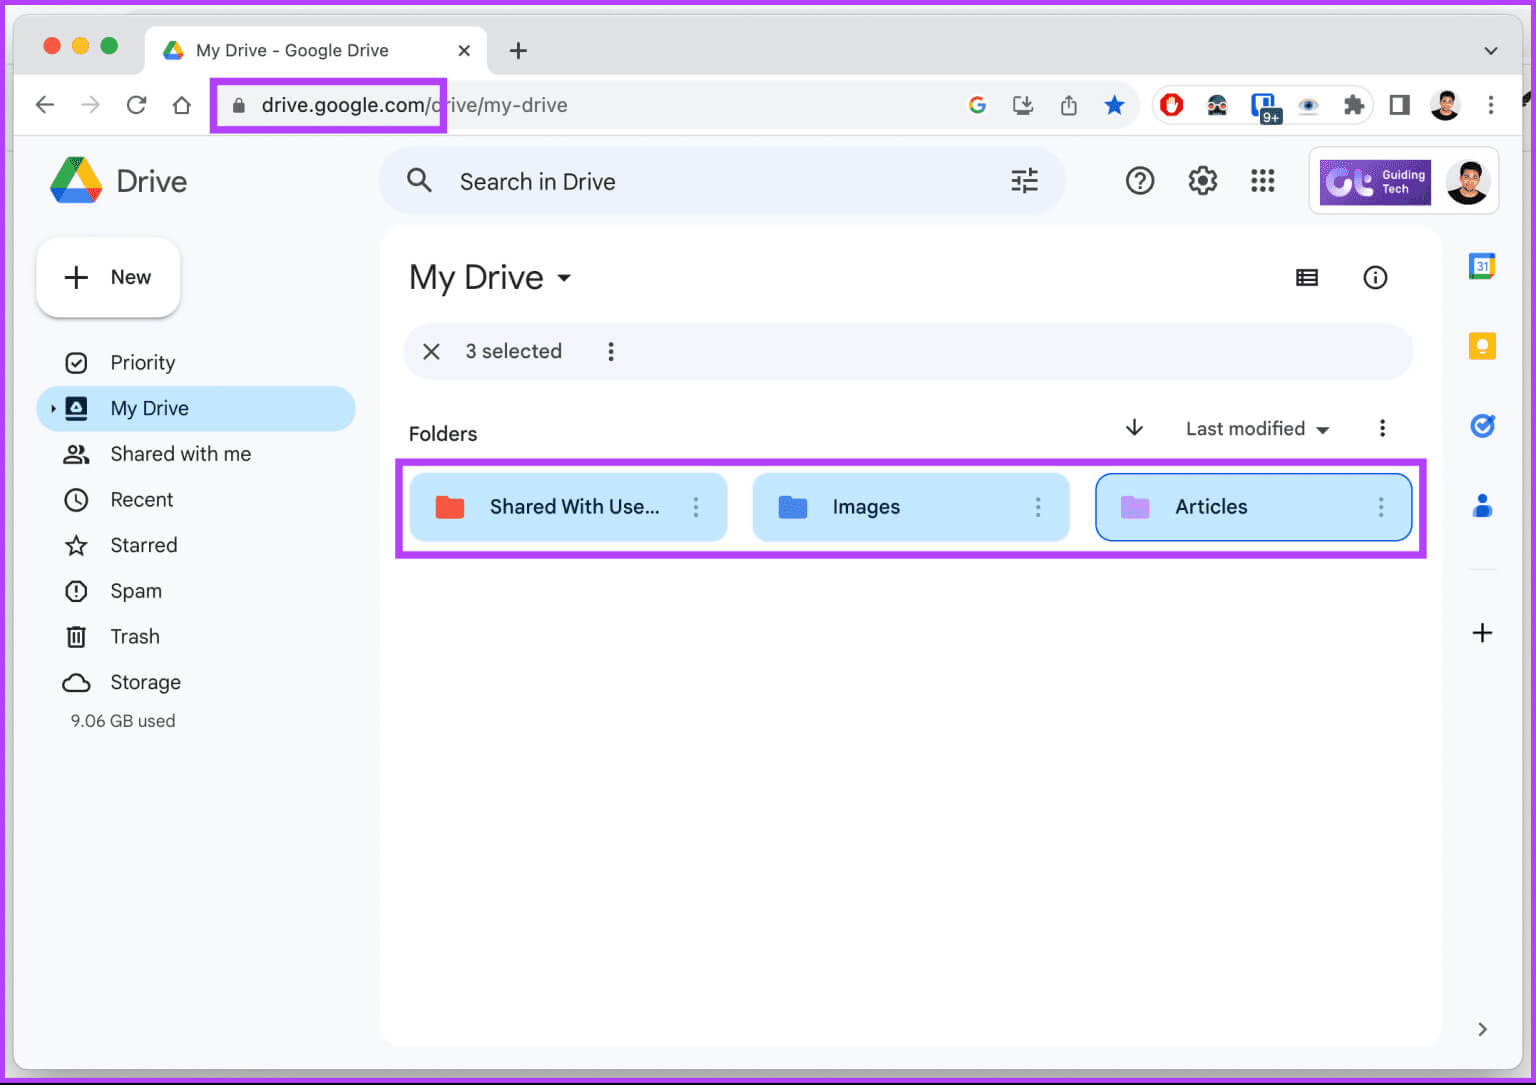
Step 1: Go to Google Drive Log in with your credentials.
Step 2: Now, select Files and folders that you want to migrate to another Google Drive account and right click on it.
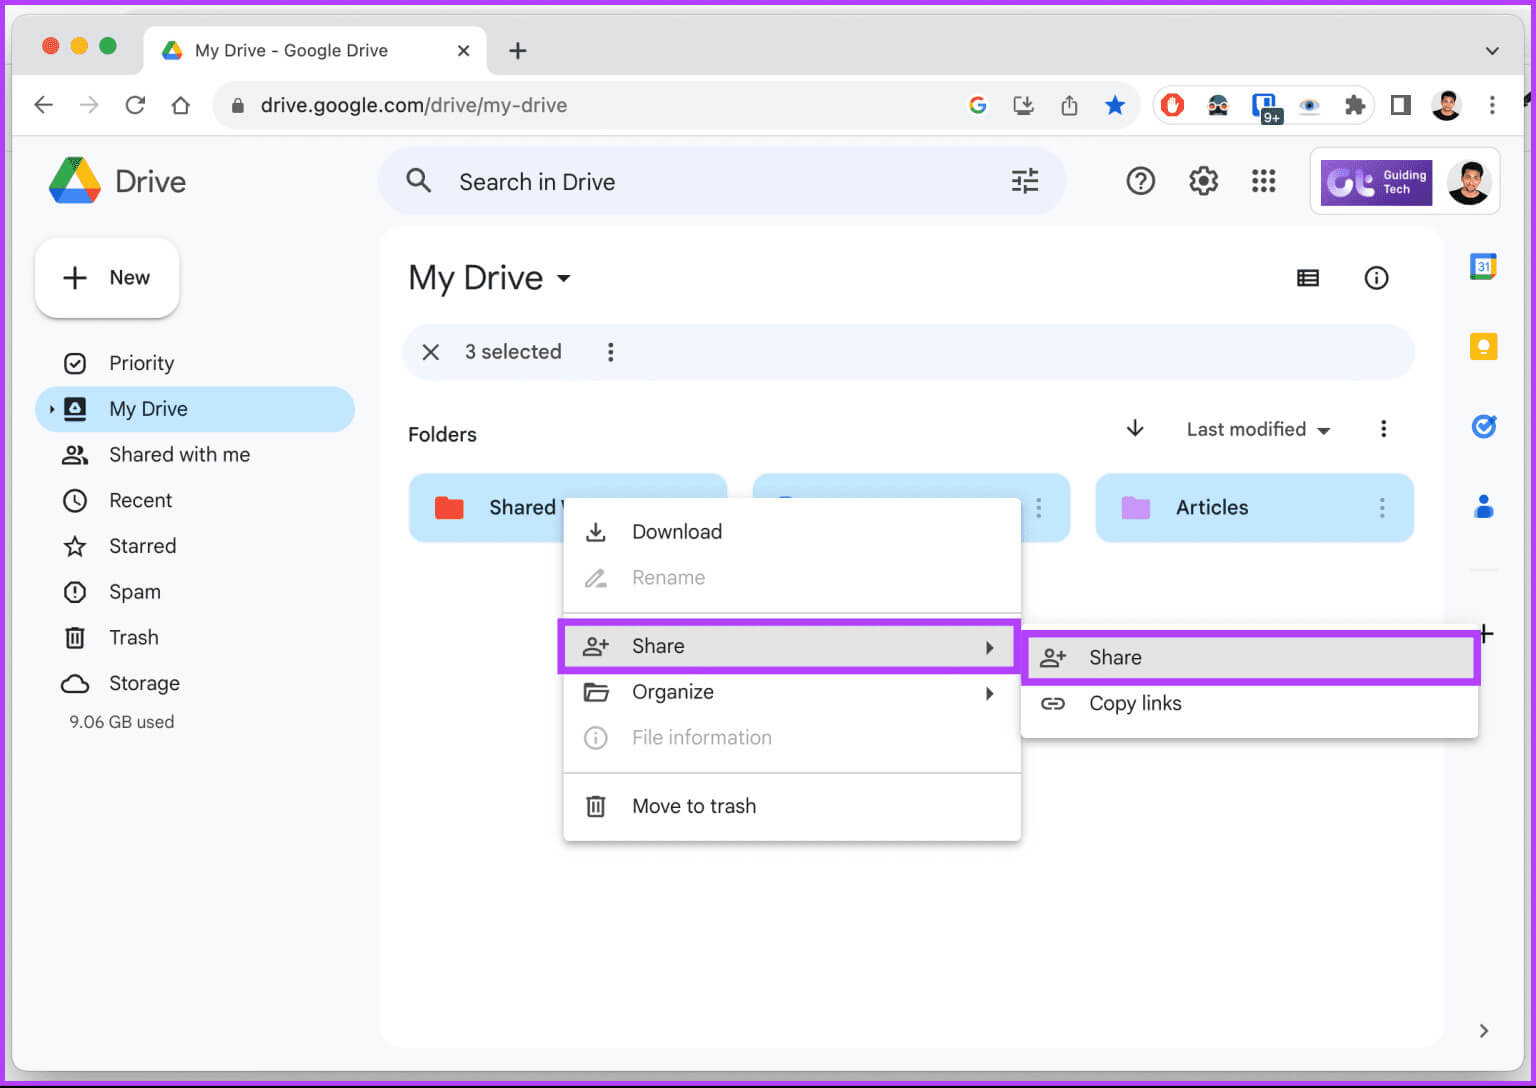
Step 4: In the pop-up window, enter E-mail address For your new account as a collaborator.
Note: Alternatively, share the link directly with the relevant user by clicking the Copy Links button below.
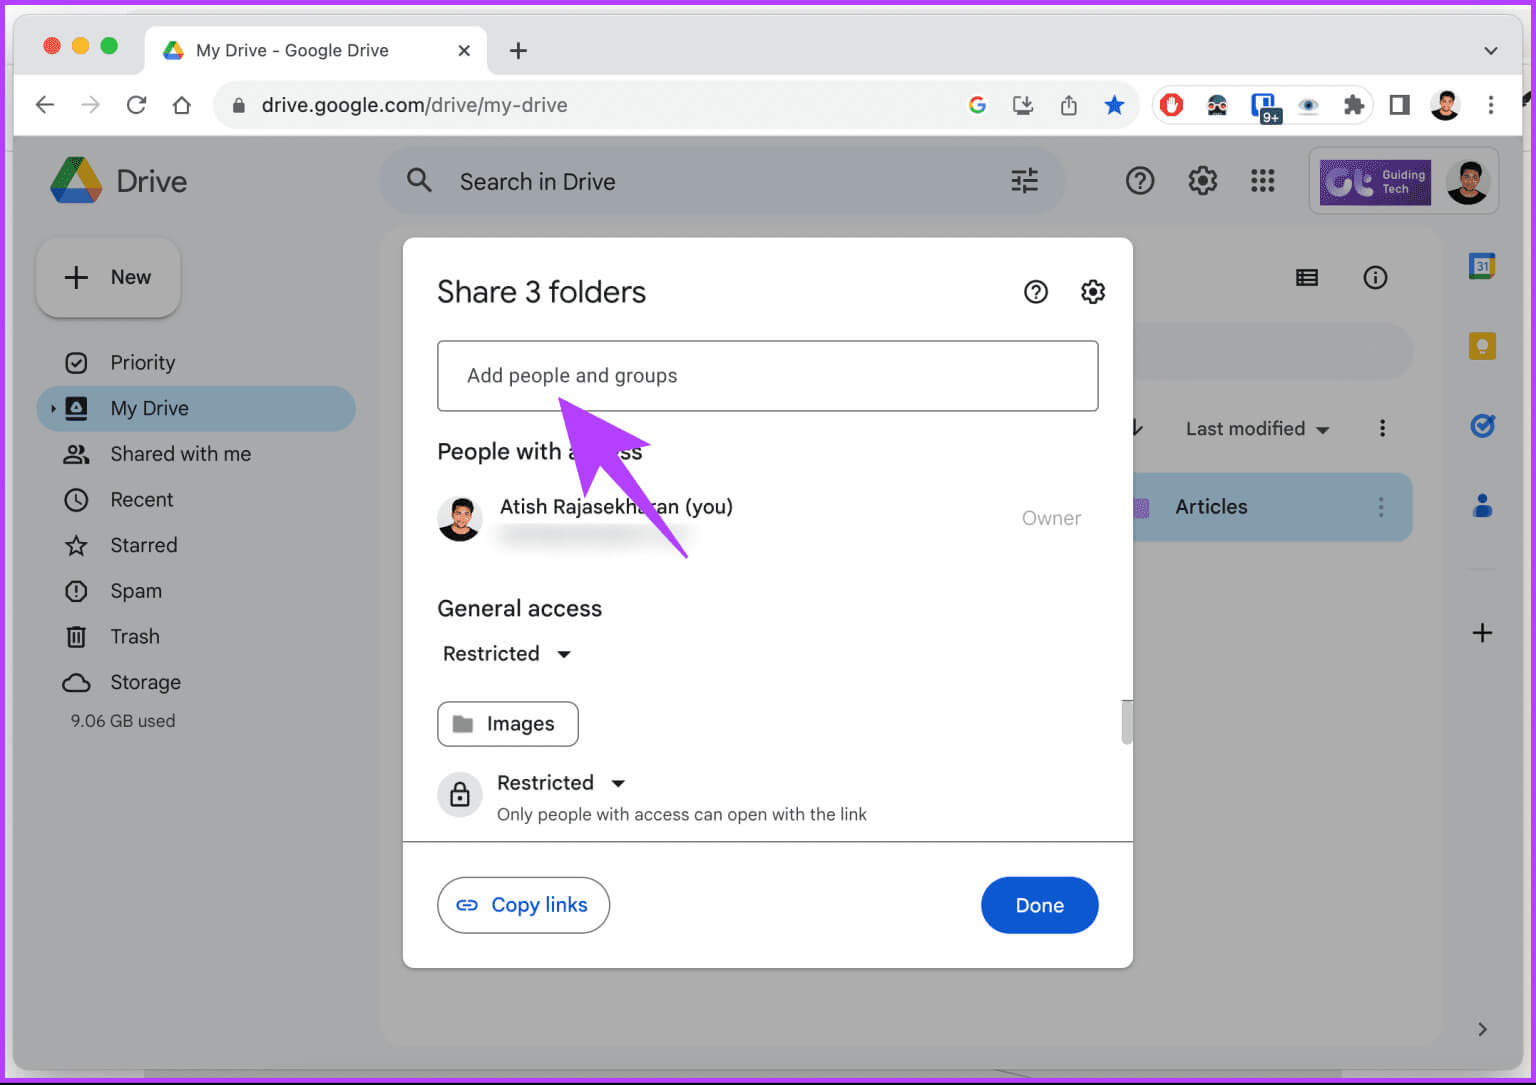
Step 5: On the next screen, click the icon. Arrow Next to Permissions, select Editor from the dropdown menu.
Step 6: Finally, click on send.
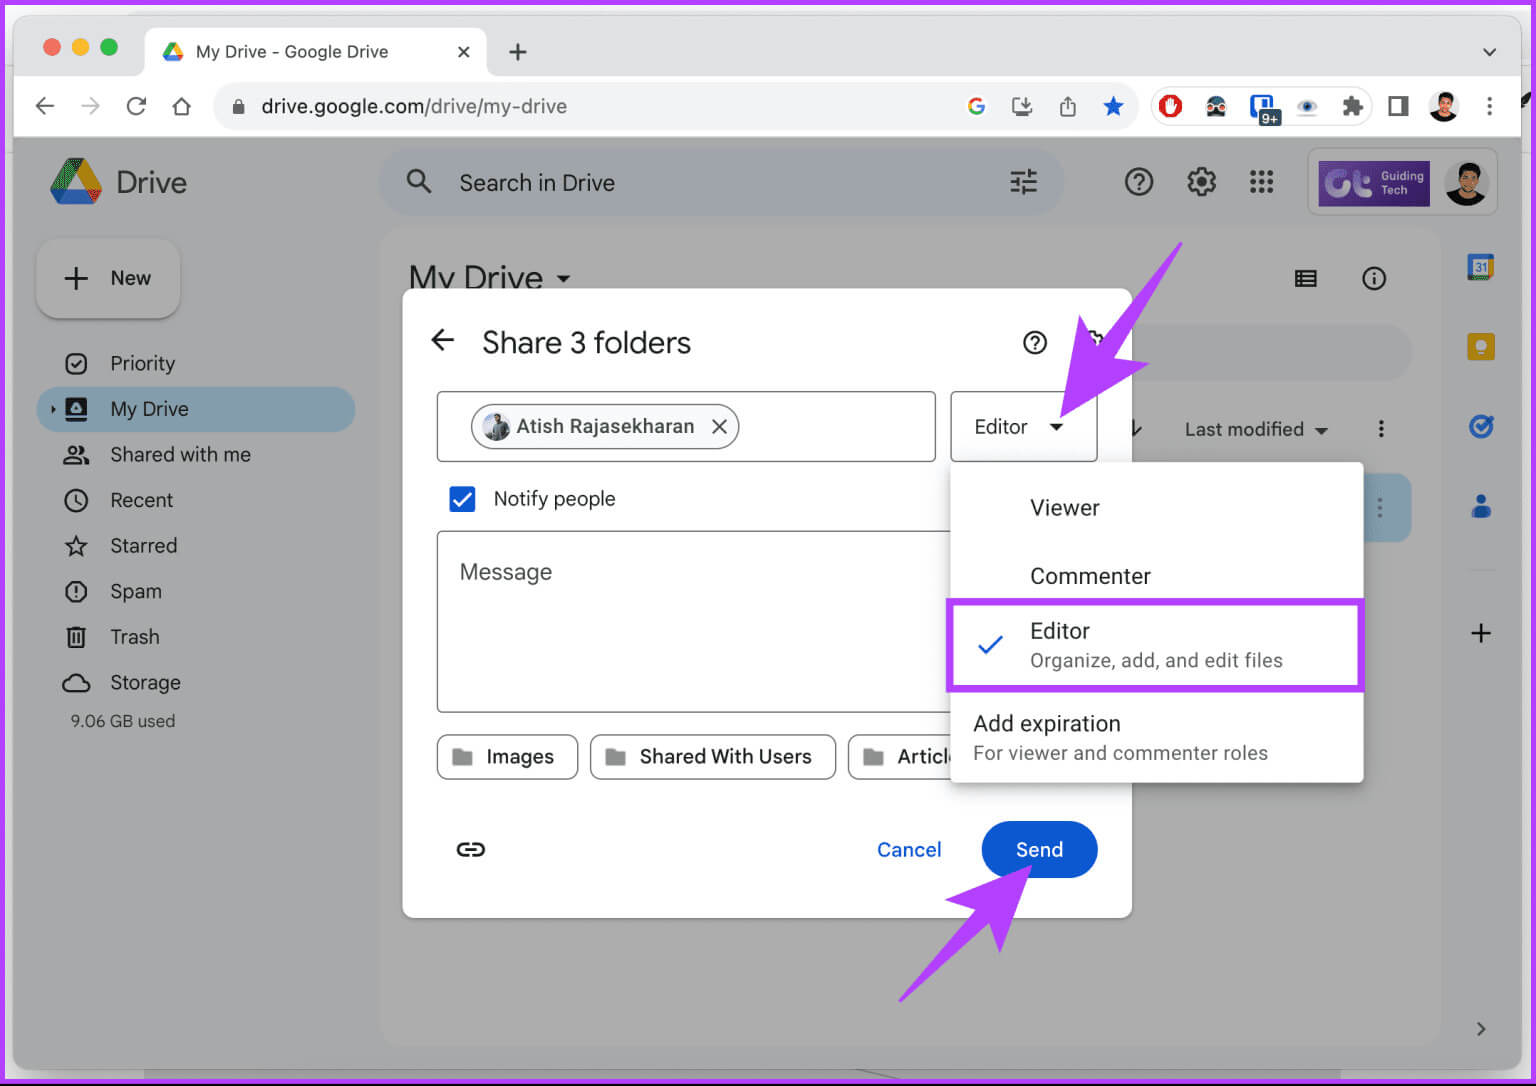
Once the sharing setup is complete, all you have to do is open a new tab or browser, log in from your second account, and you will find these files placed under “It was shared with me” In your account.
Check out the following method if you want another way to transfer everything from one Google Drive to another.
2. Download and reload
This may be the most common method for transferring Google Drive files to another account, especially among those who aren't aware. Follow the steps below.
Step 1: Go to Google Drive Log in to the account from which you want to transfer all files.
Step 2: you may Create a new folder By right-clicking on the empty space and choosing New Folder. Let's call it Migration and click construction.
Note: To download files one by one, skip step 2 and go directly to step 5, where the files will be downloaded one by one.
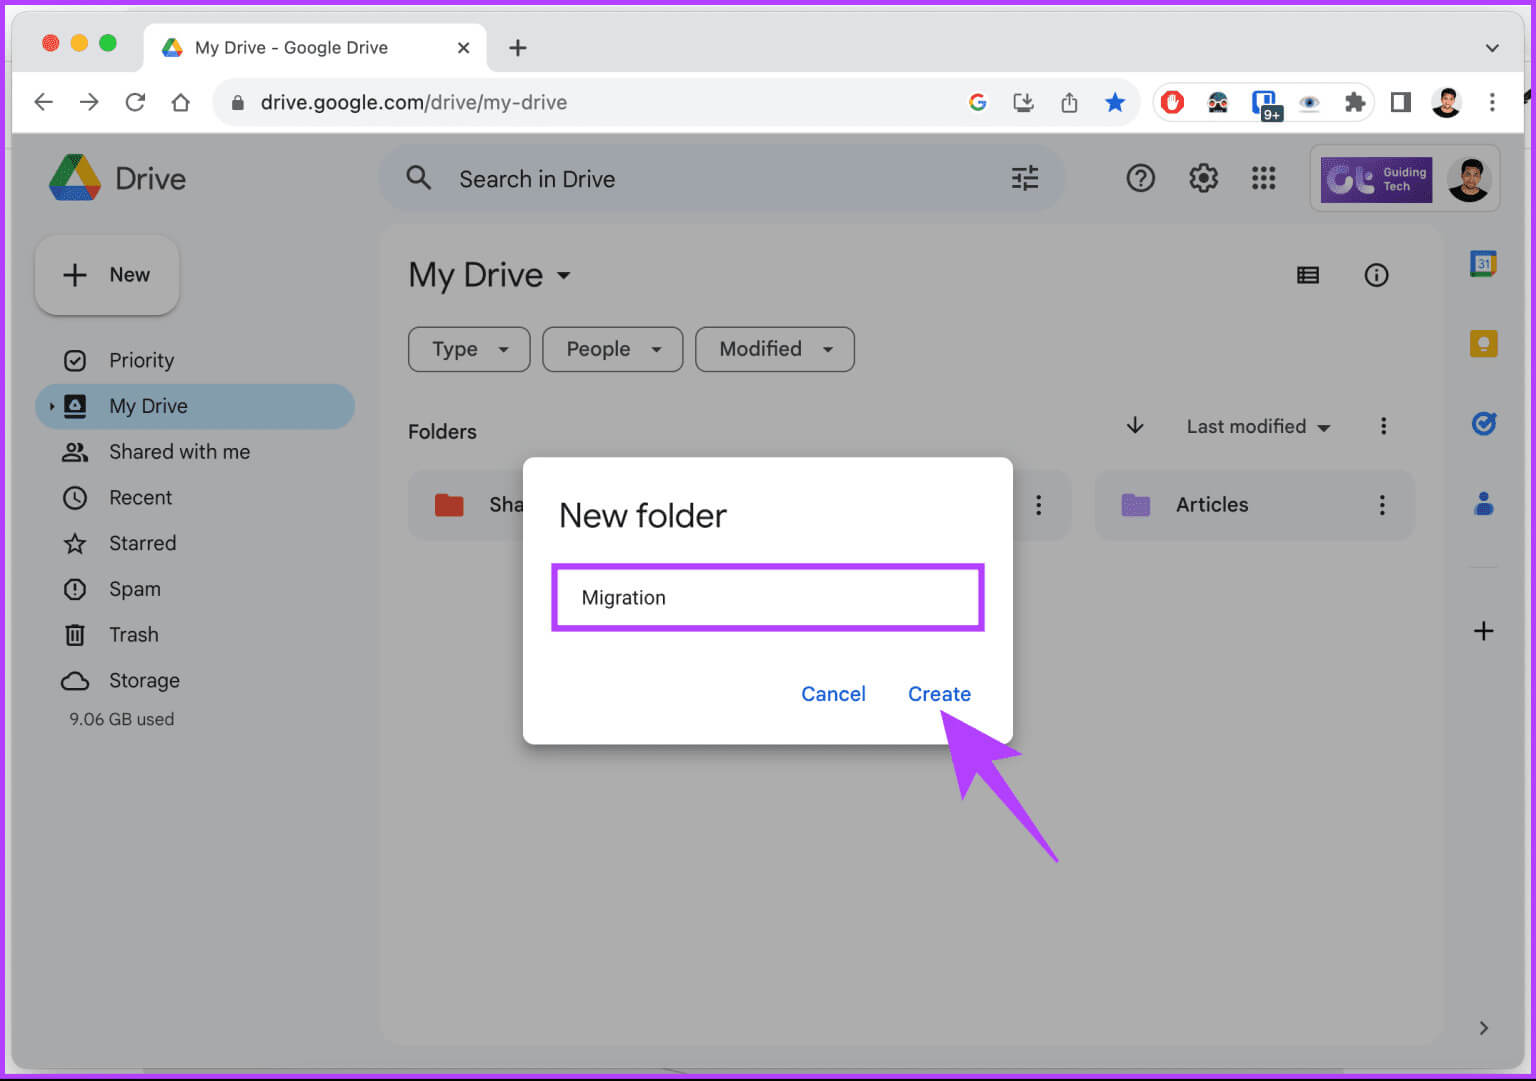
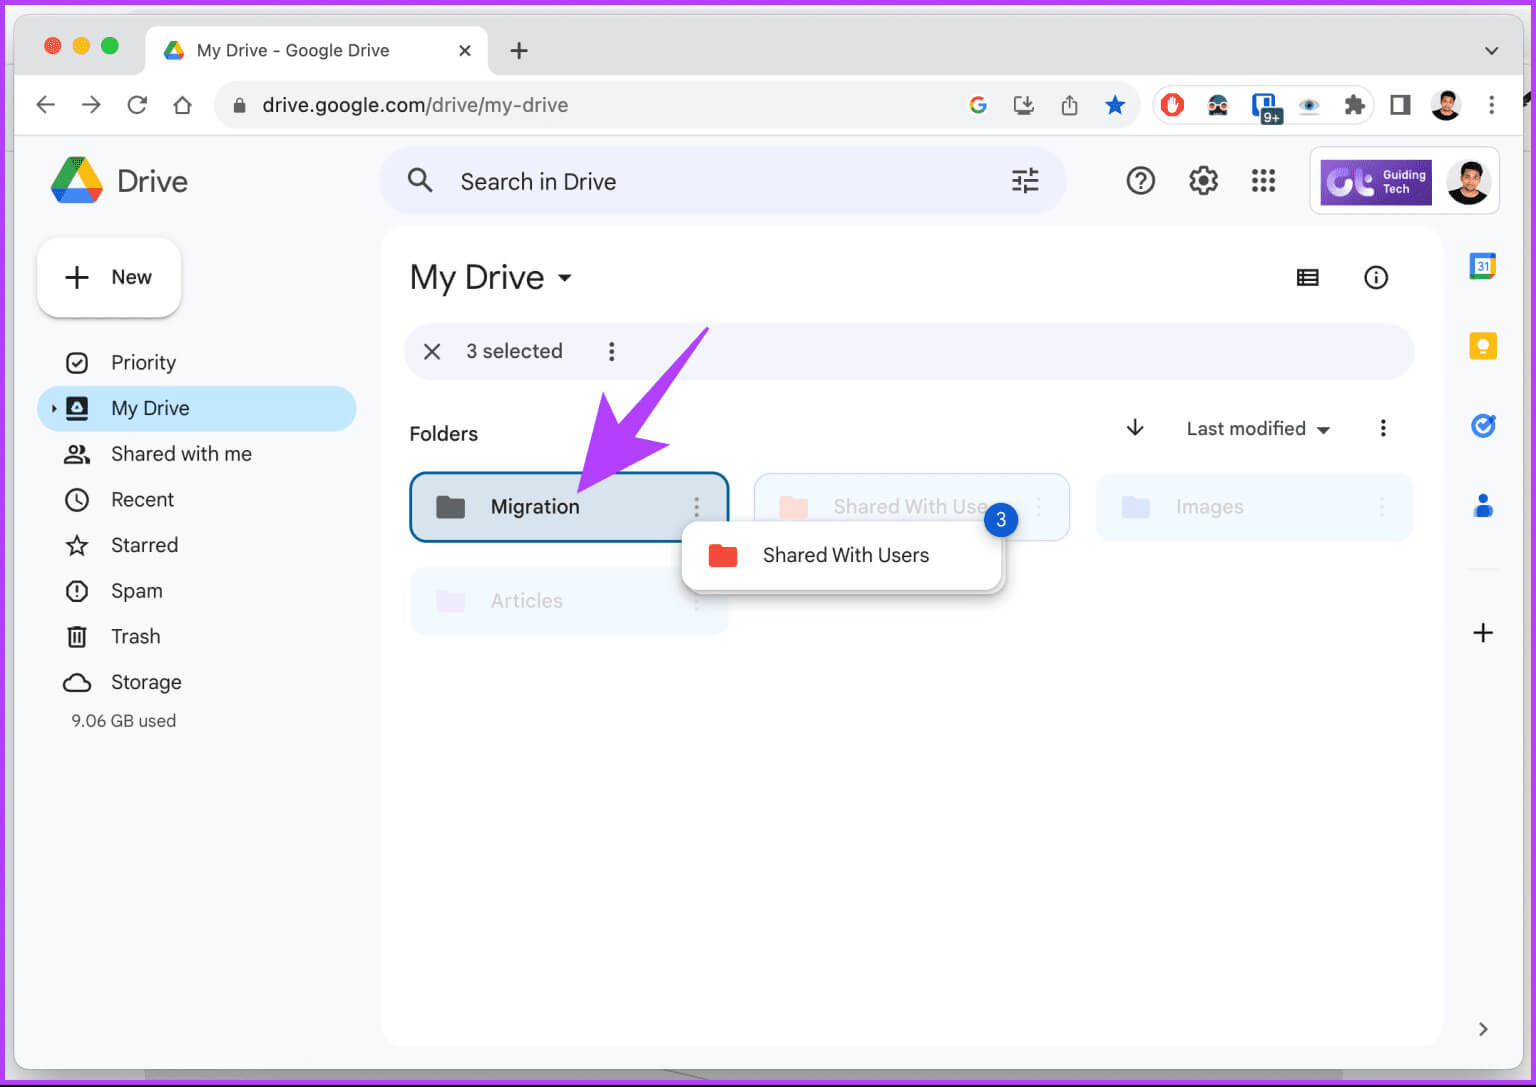
Step 3: Transfer All files and folders located on the drive to the newly created (migration) folder.
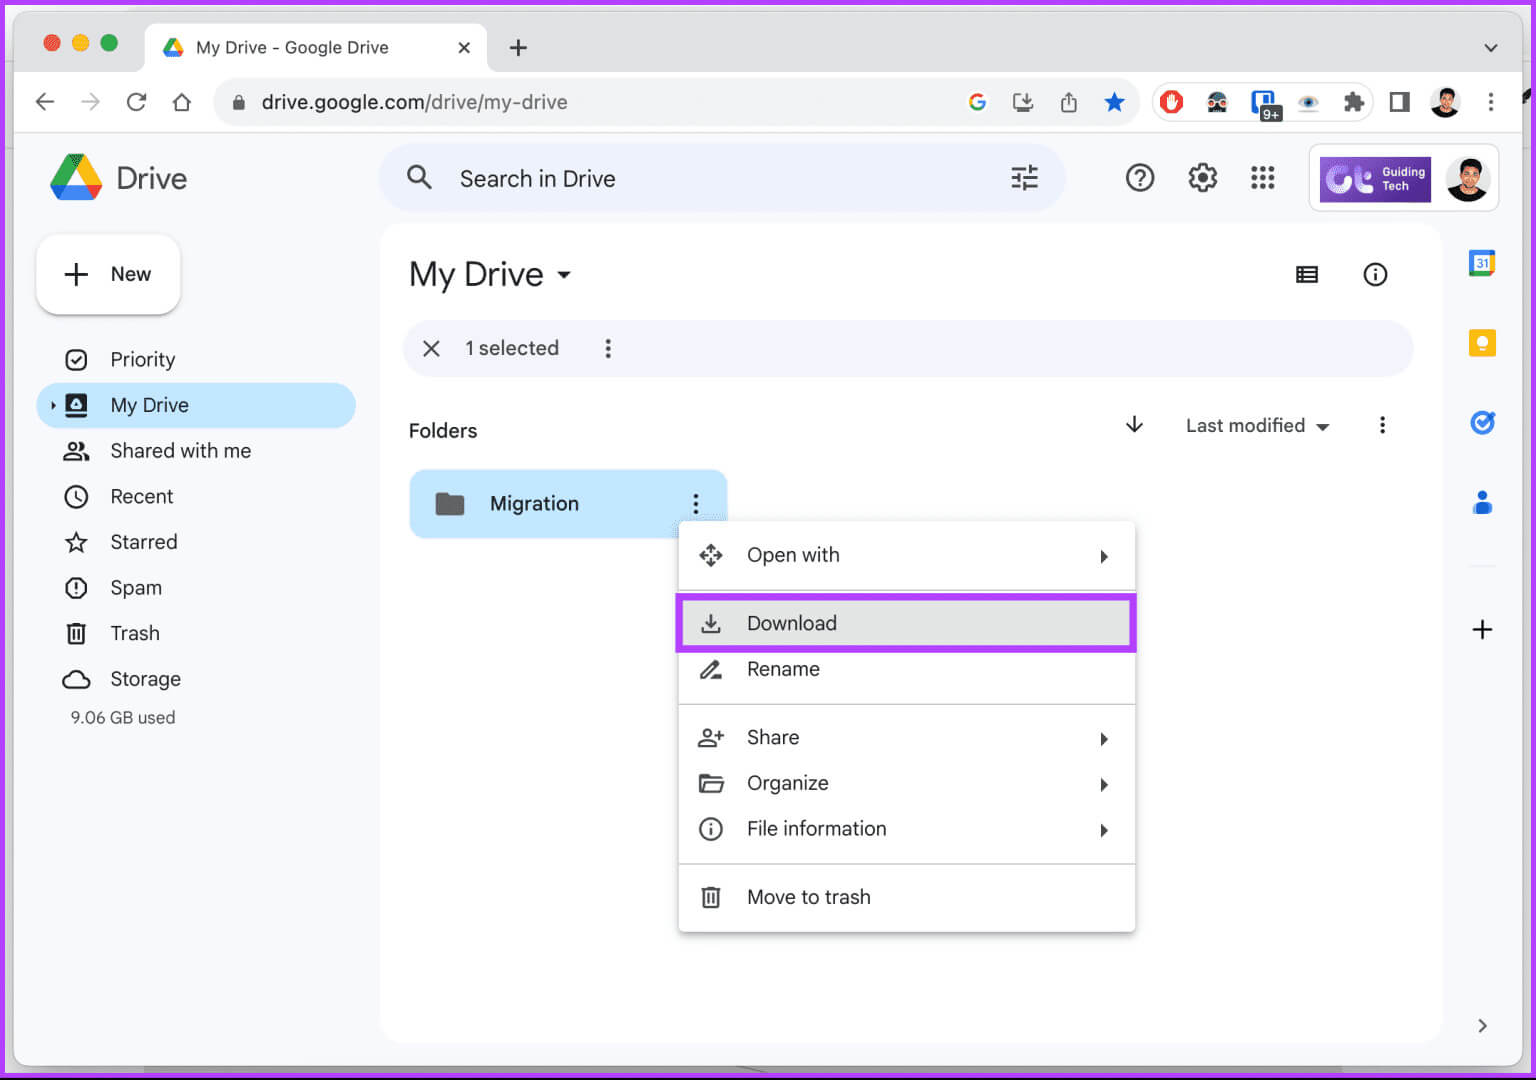
Now, Google will take some time to compress the migration folder and automatically download the file to your computer. Once downloaded, follow the steps below.
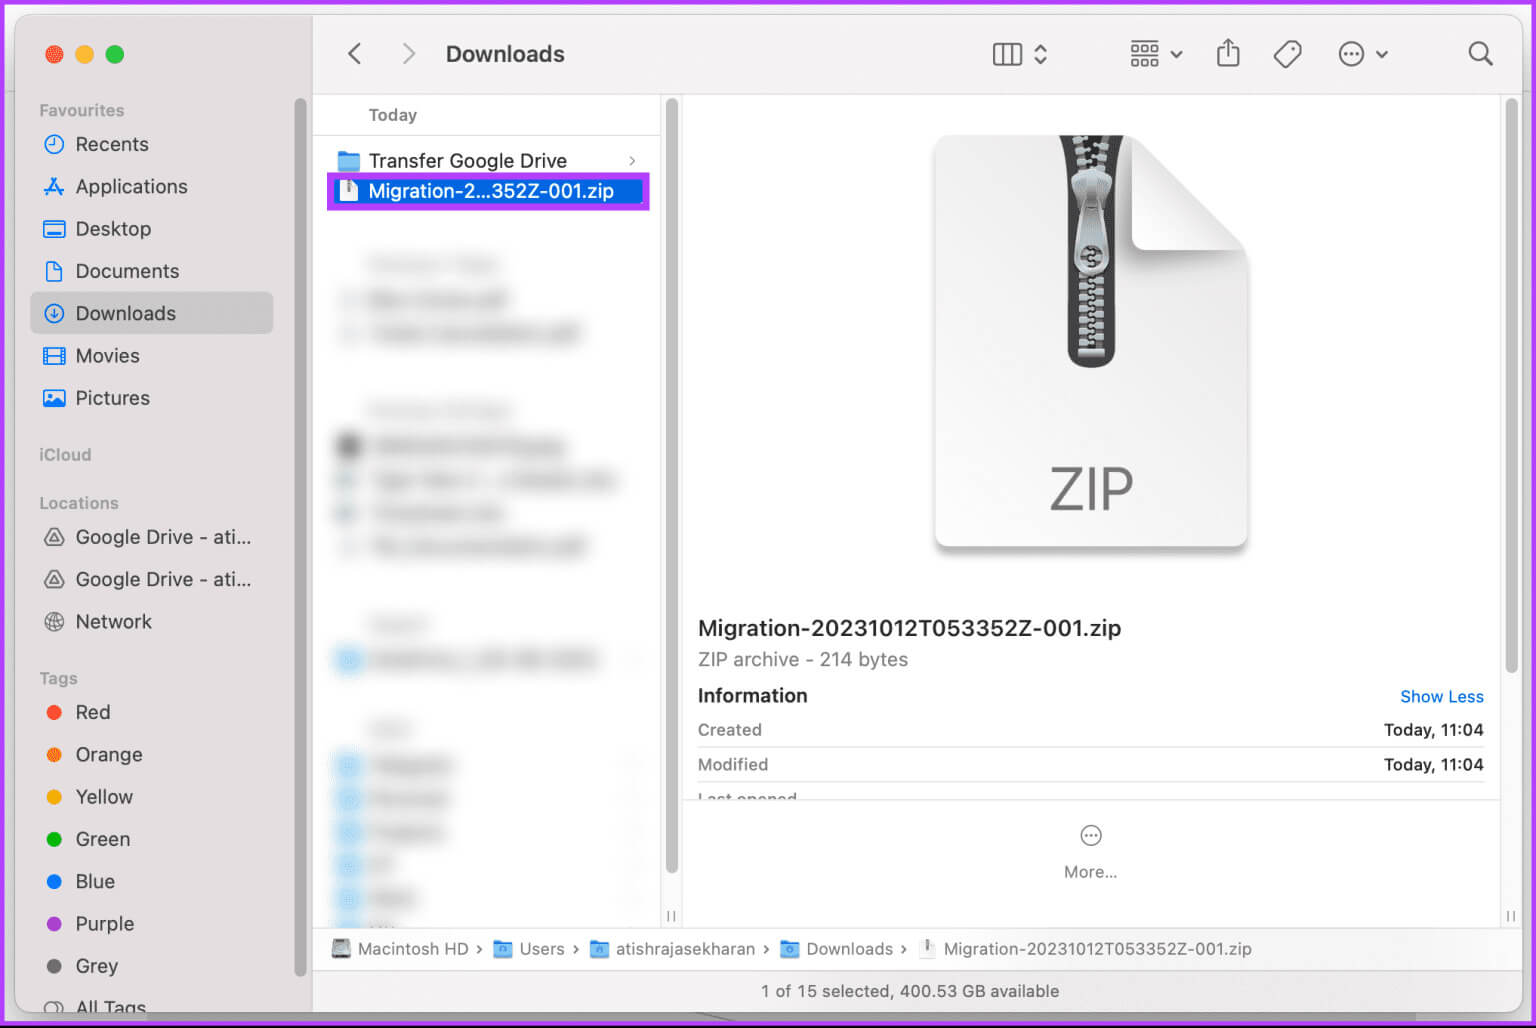
Step 5: Now, go to the file Migration Downloaded zip and unzip it.
Step 6: Now, open Google Drive In another browser, sign in to a new account where you want to share files.
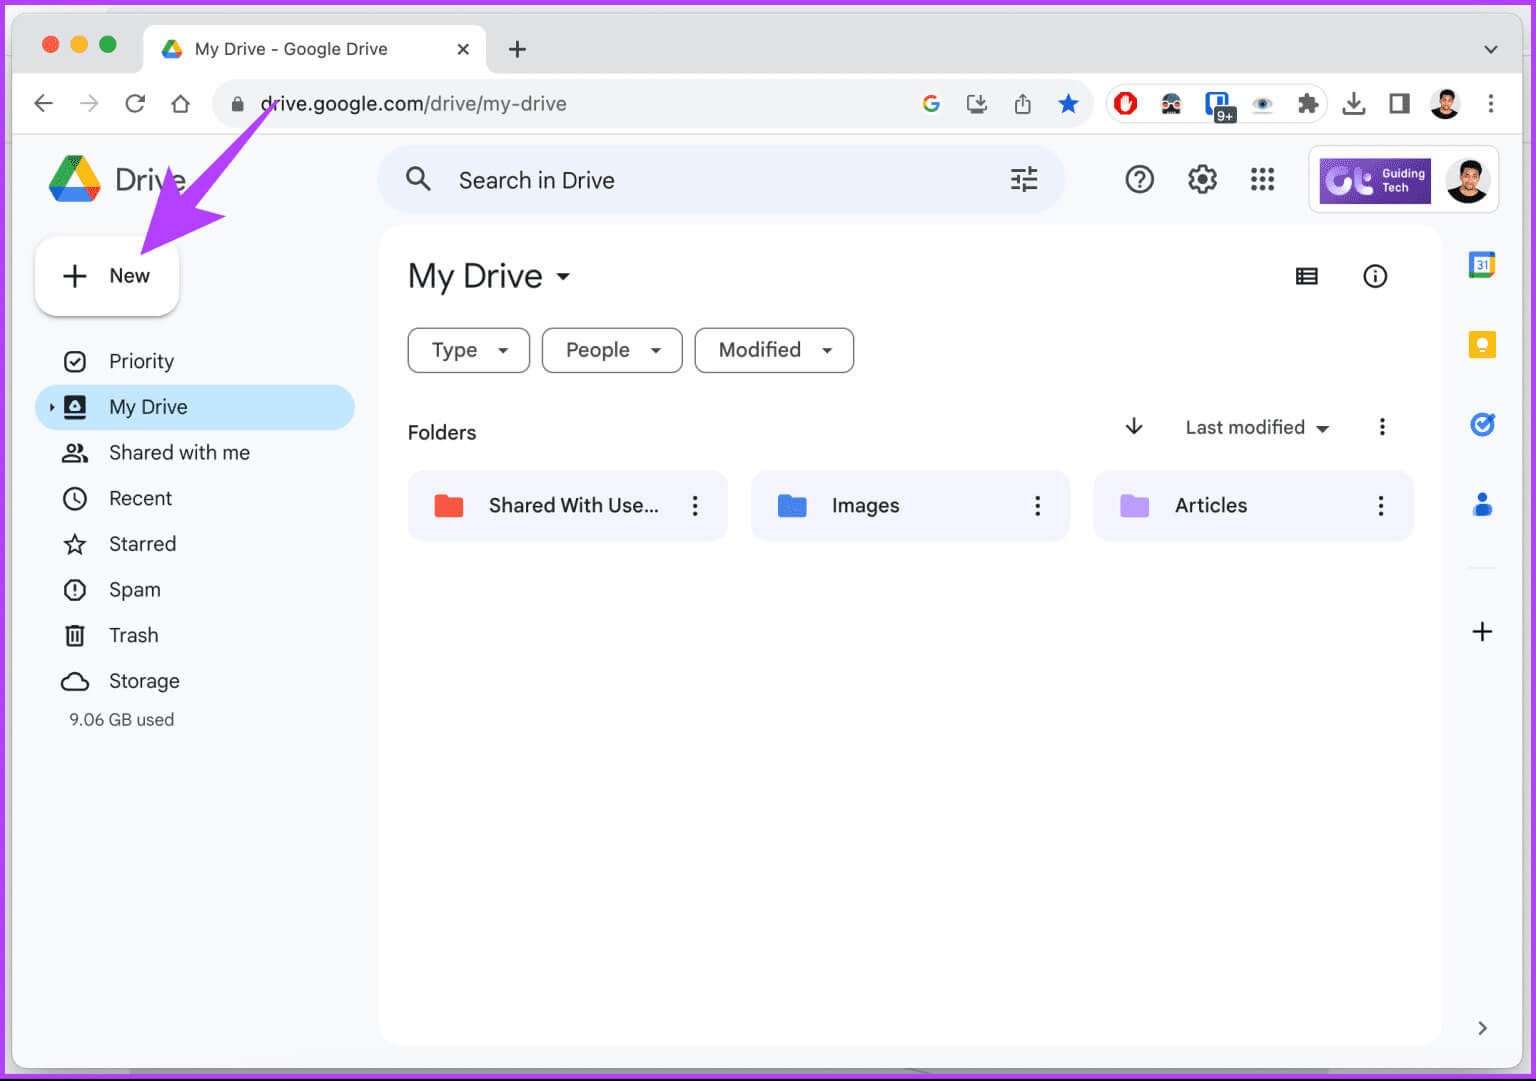
Step 7: Once logged in, click the button + New to the sidebar.
Note: Alternatively, you can right-click on the empty space and choose Download Folder from the menu.
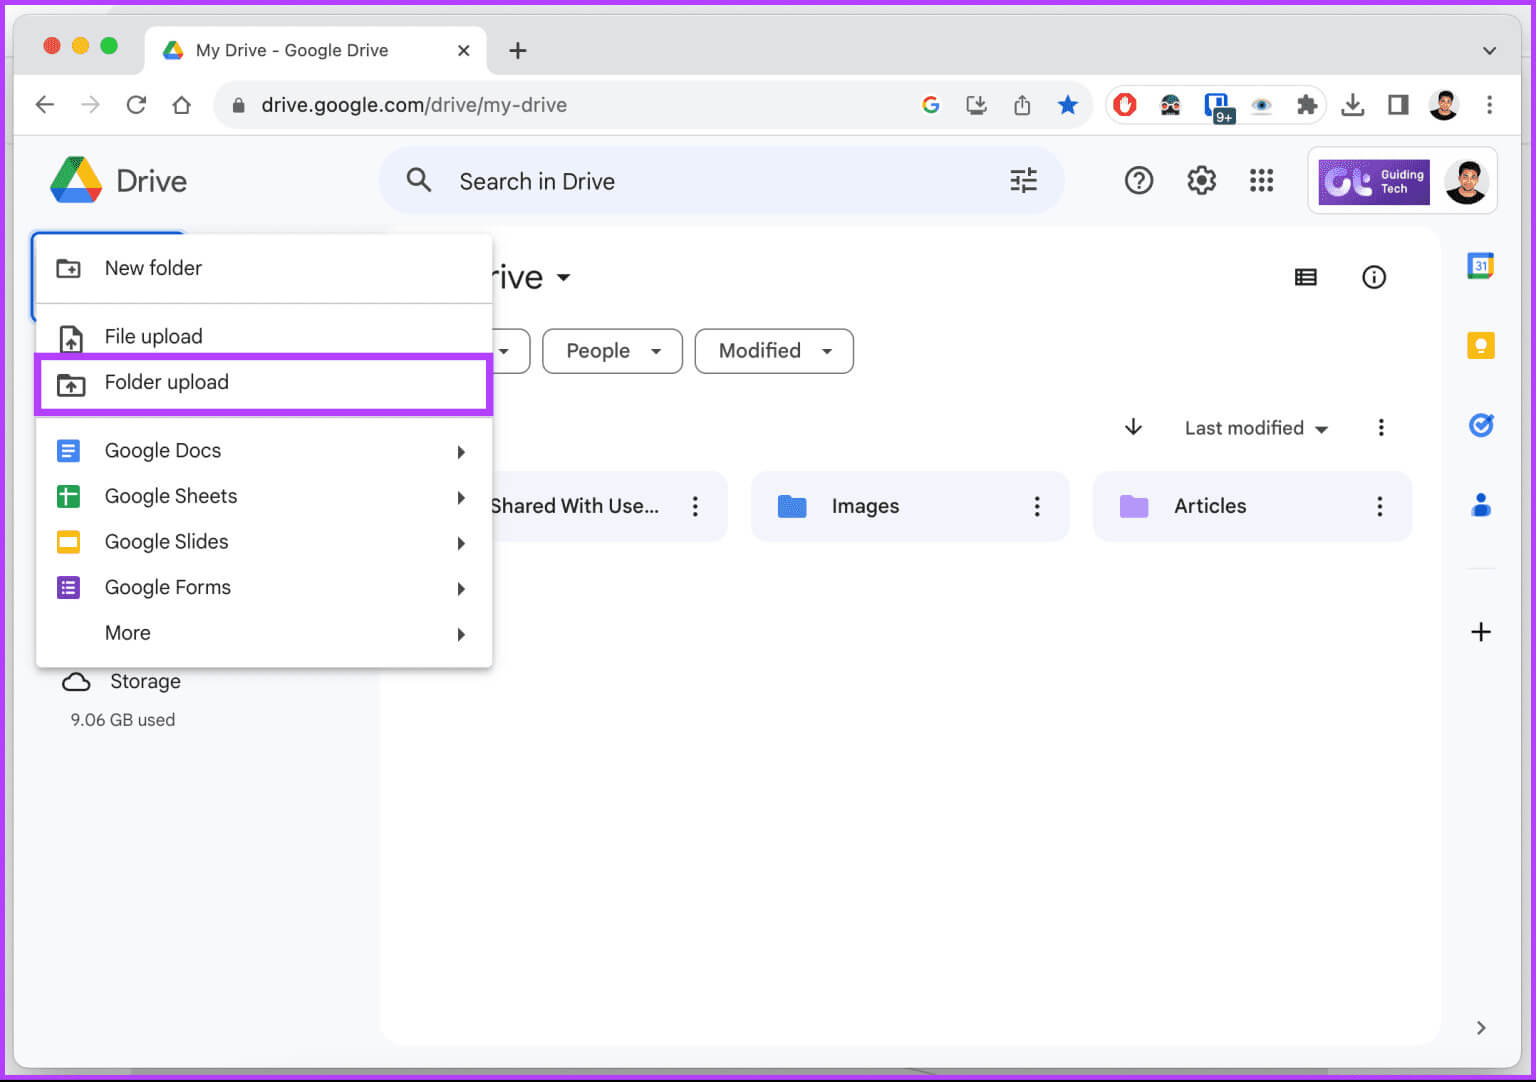
Step 8: From the drop-down menu, choose an option. download vol.
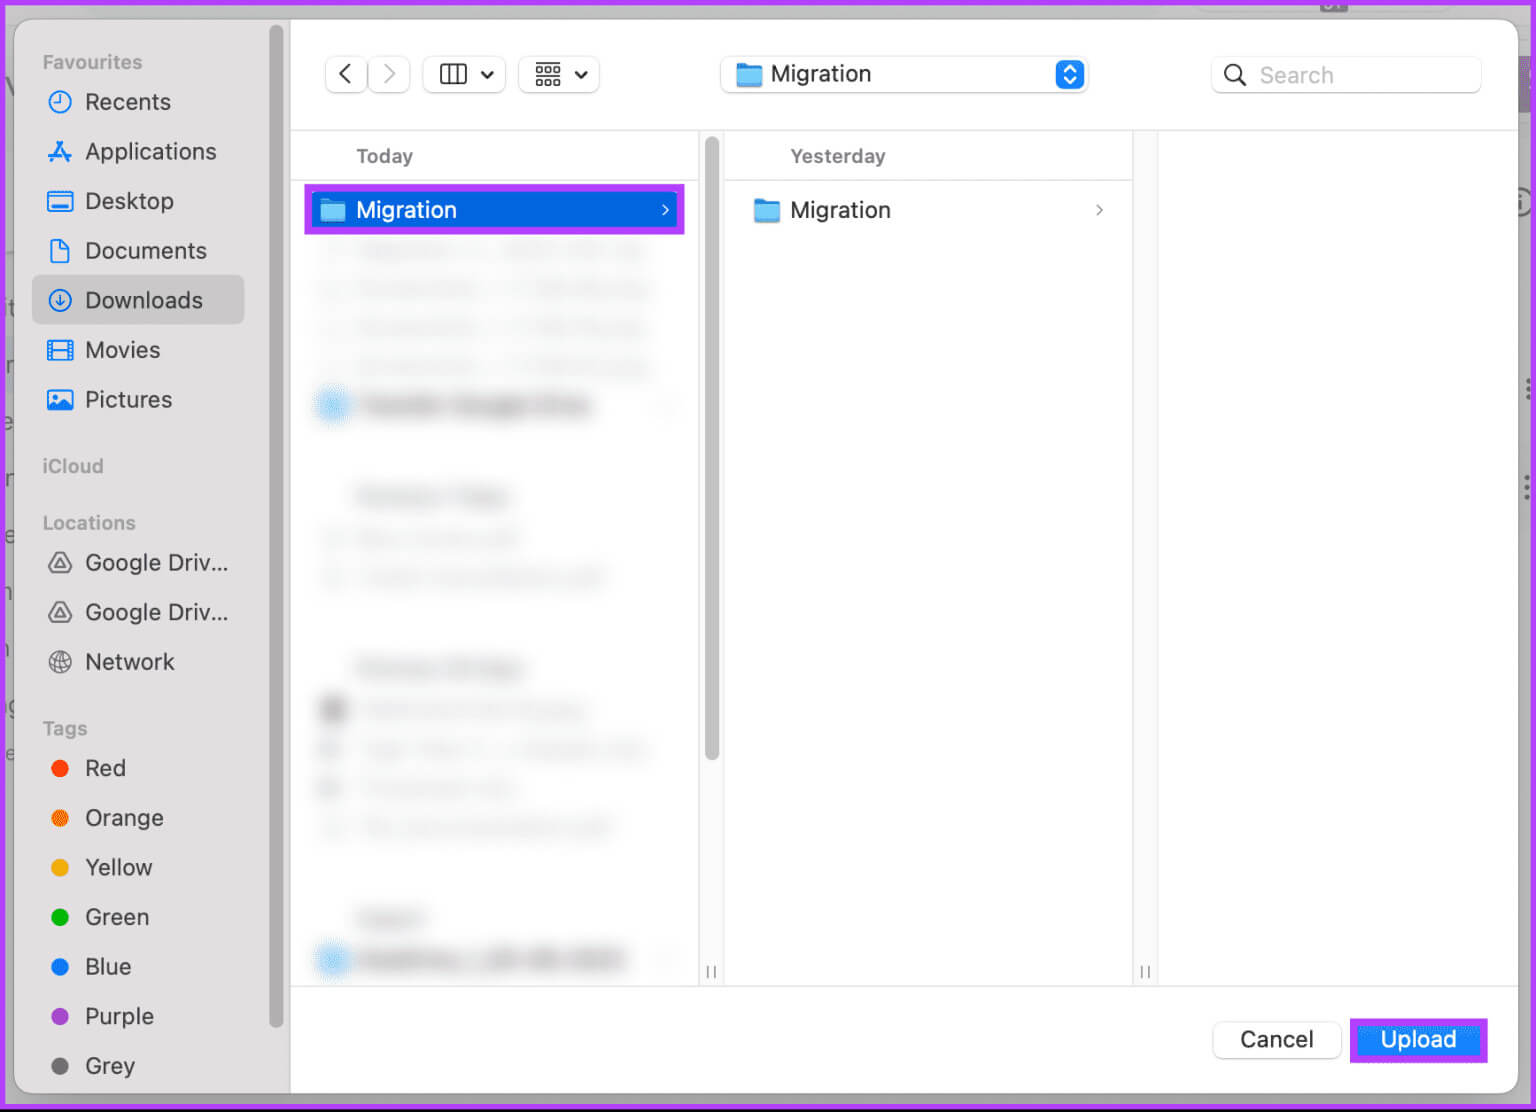
There you go. You've successfully transferred files and folders from one Google Drive account to another. If this method is too long, see the next method.
3. Transfer ownership to fully transfer Google Drive
Transferring ownership of files and folders allows you to move data from one account to another without downloading and re-uploading it. Furthermore, it grants full control of files and folders to another account without having to deal with permissions. Follow the steps below.
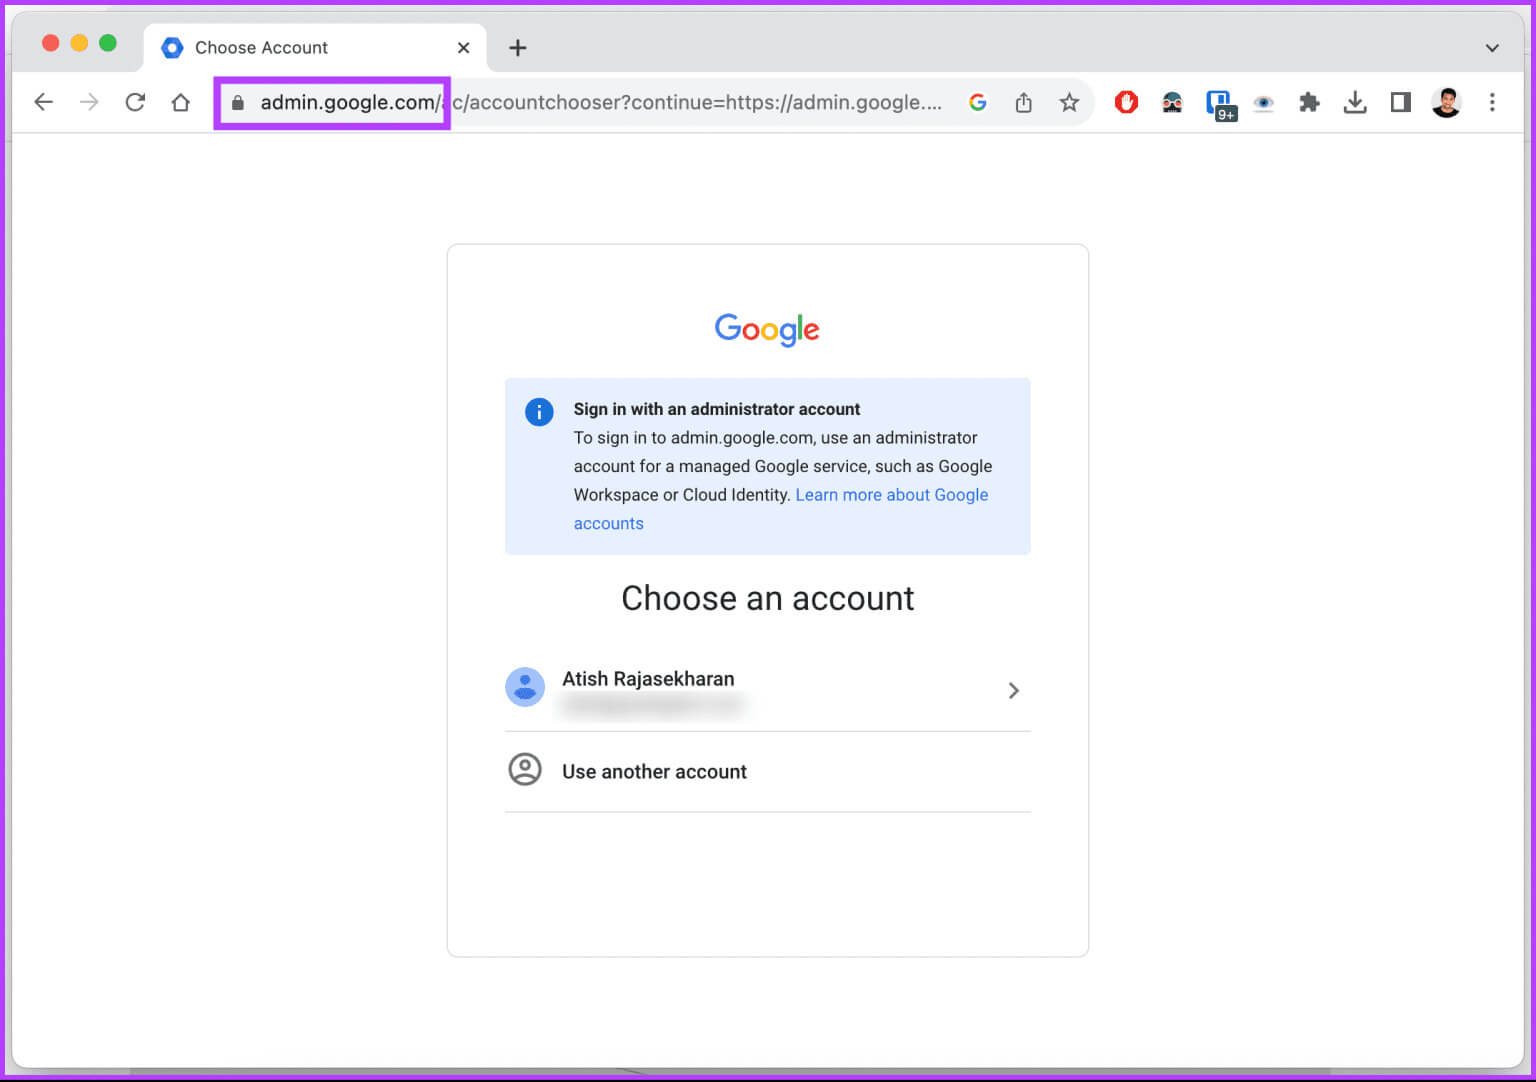
Note: The steps cannot be explained in a reference format since we do not have access to the admin console. However, if you do have access, follow the instructions.
Step 1: Open Admin console Go to Google from your favorite browser on your Windows or Mac computer and sign in with your credentials.
Step 2: Go to Applications > go to Google Workspace > Drive & Docs.
Step 3: within Drive and Docs, Go to "Transfer of ownership".
Step 4: The drop-down menu will allow you to enter the email address of the account you want to transfer from and the email address of the account you want to transfer to, and finally, click File Transfer.
That's it. When the transfer is complete, you'll receive an email notification. Depending on the size of your drive, this may take some time. Once complete, you can delete the user from Google Workspace.
If you don't have an administrator account or access to the Google Admin console, see the next method.
4. Use Google Takeout
If you don't already know, Google Takeout lets you download an archive of your Google data, including Google Drive files, which can then be imported into another account. Follow the instructions below.
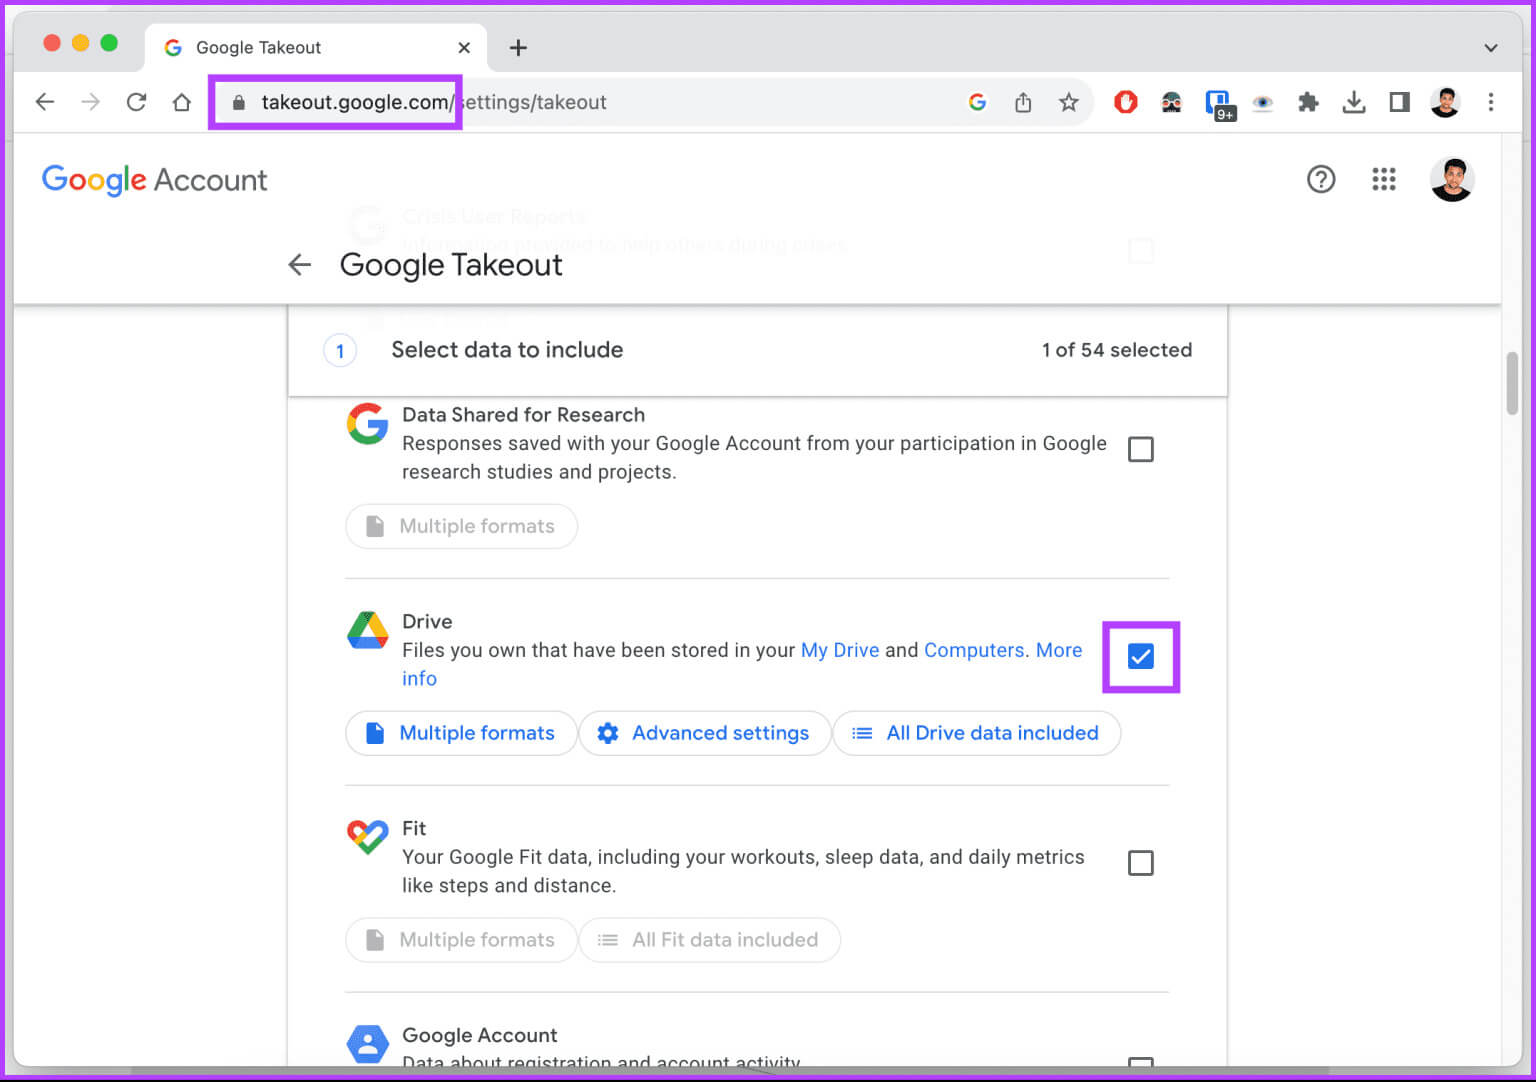
Step 1: Go to page Google Takeout Log in with the account you want to transfer data from.
Step 2: First, click on the option unselect all and select Drive. Scroll down and select the Next Step button.
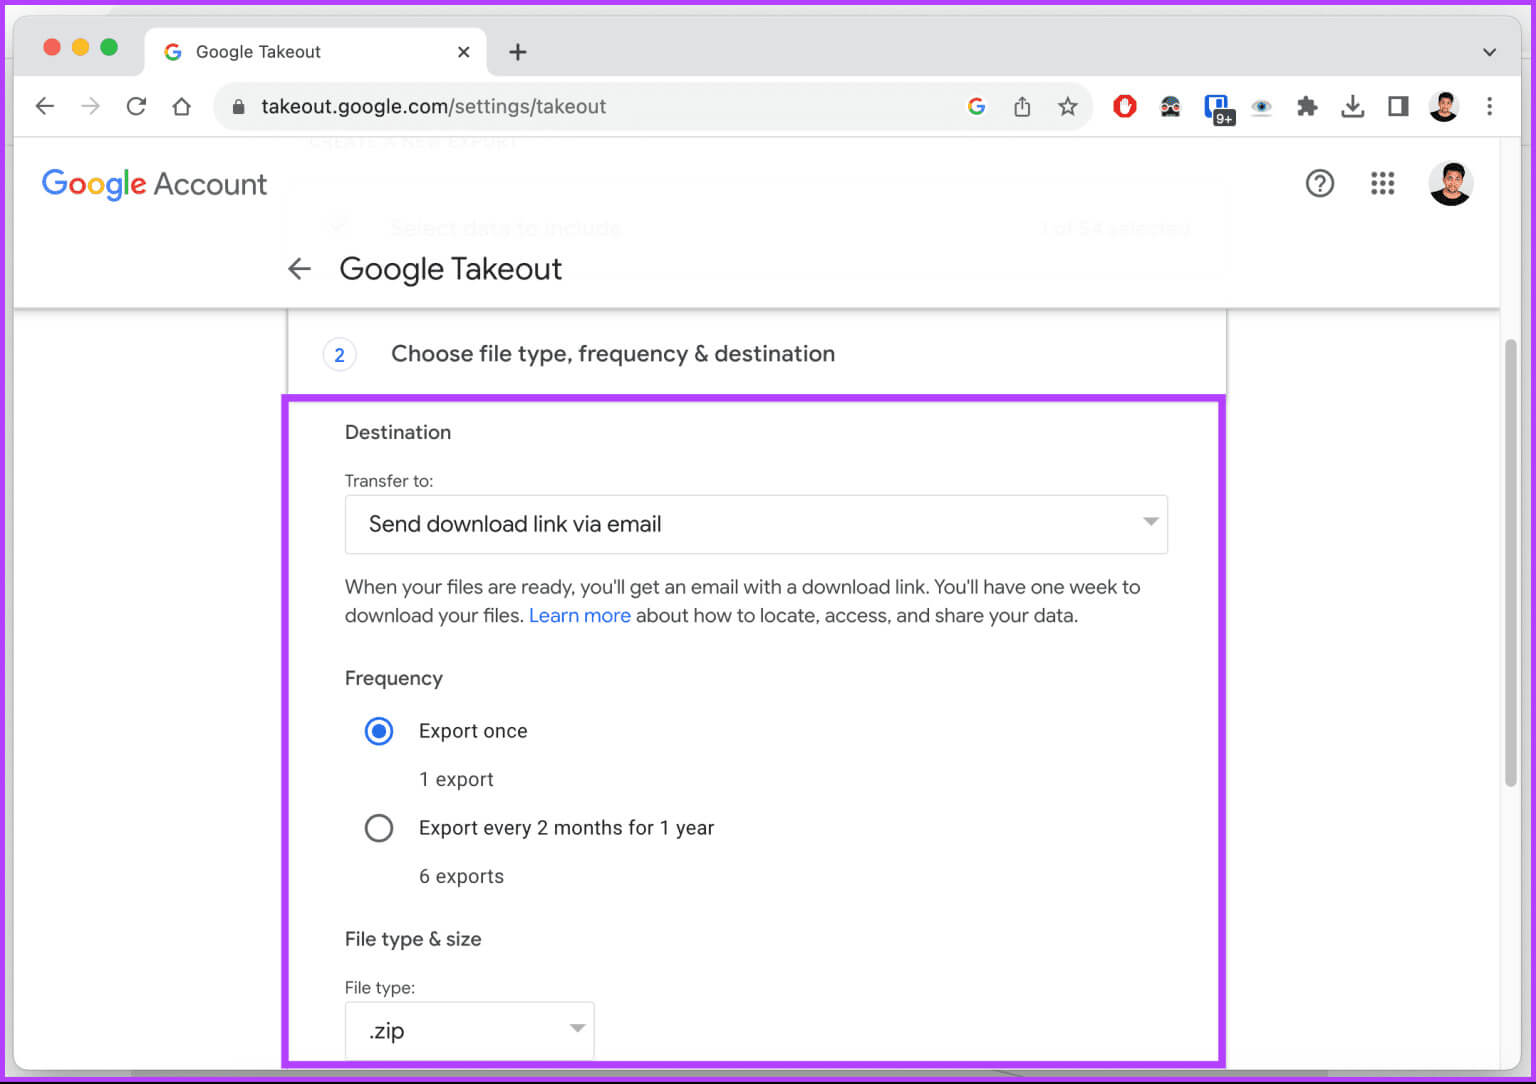
Step 3: In section “Choose file type, replication, and destination.”Under Delivery Method, choose how you want to receive the file.
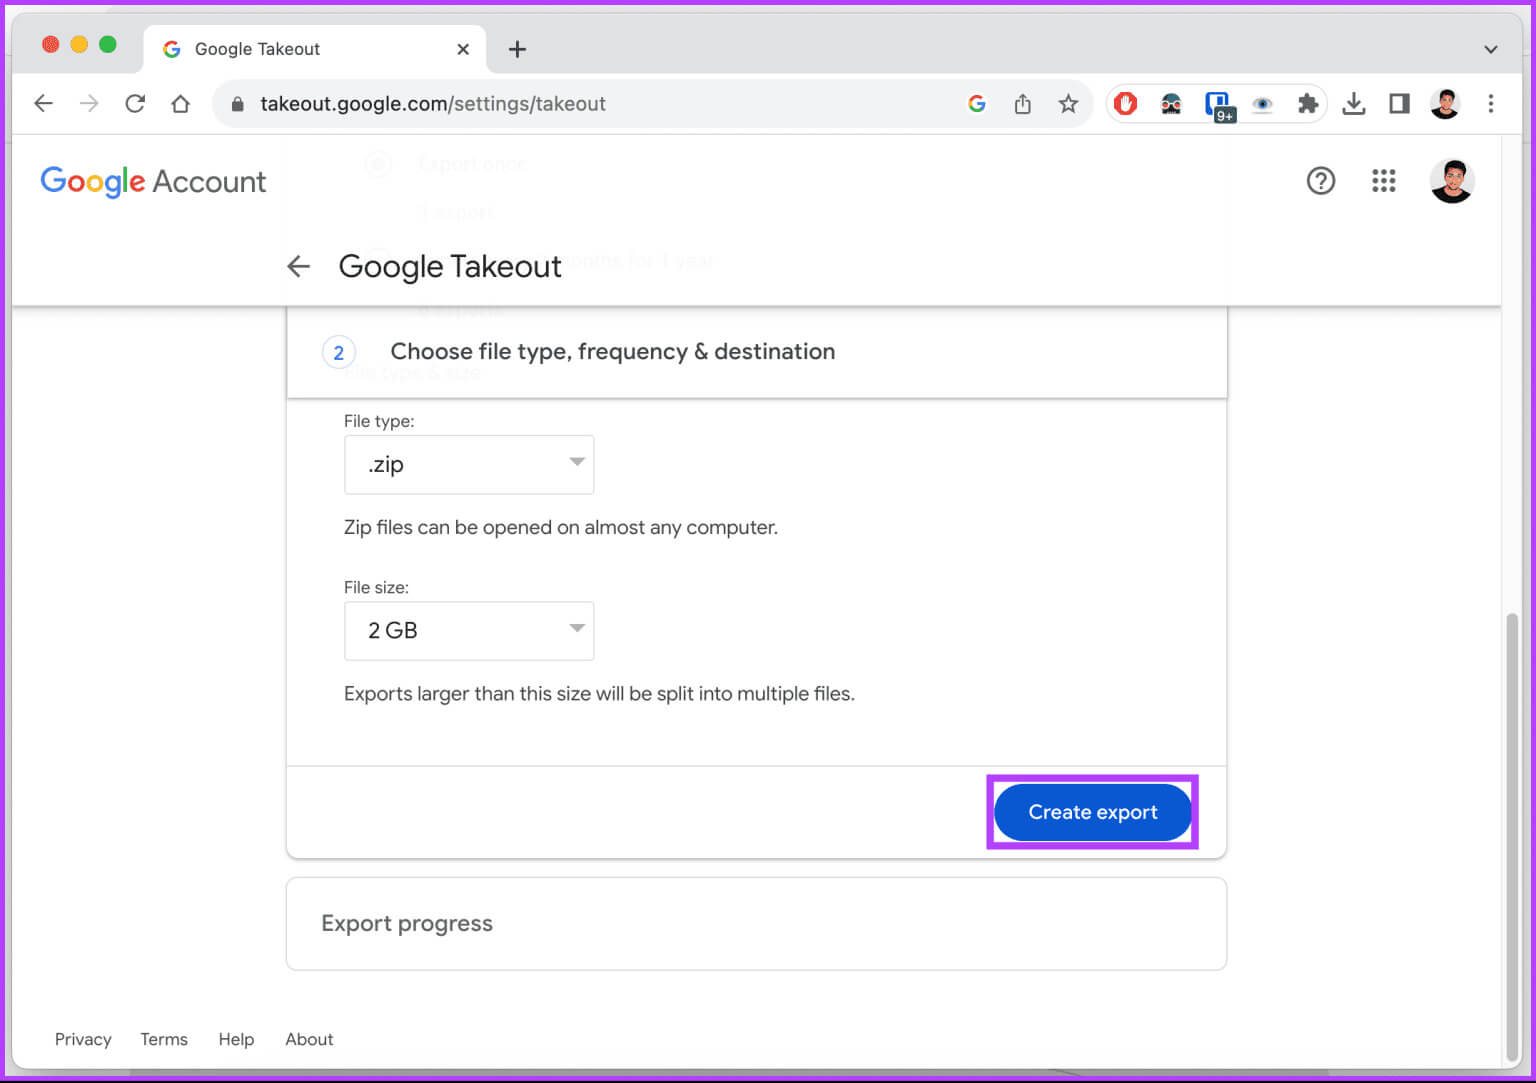
Depending on the size of the files and folders, Google will take some time to extract the archive, download it to your local storage, and decompress the files. Finally, upload the files and folders to the desired Google Drive account.
5. Use of third-party tools
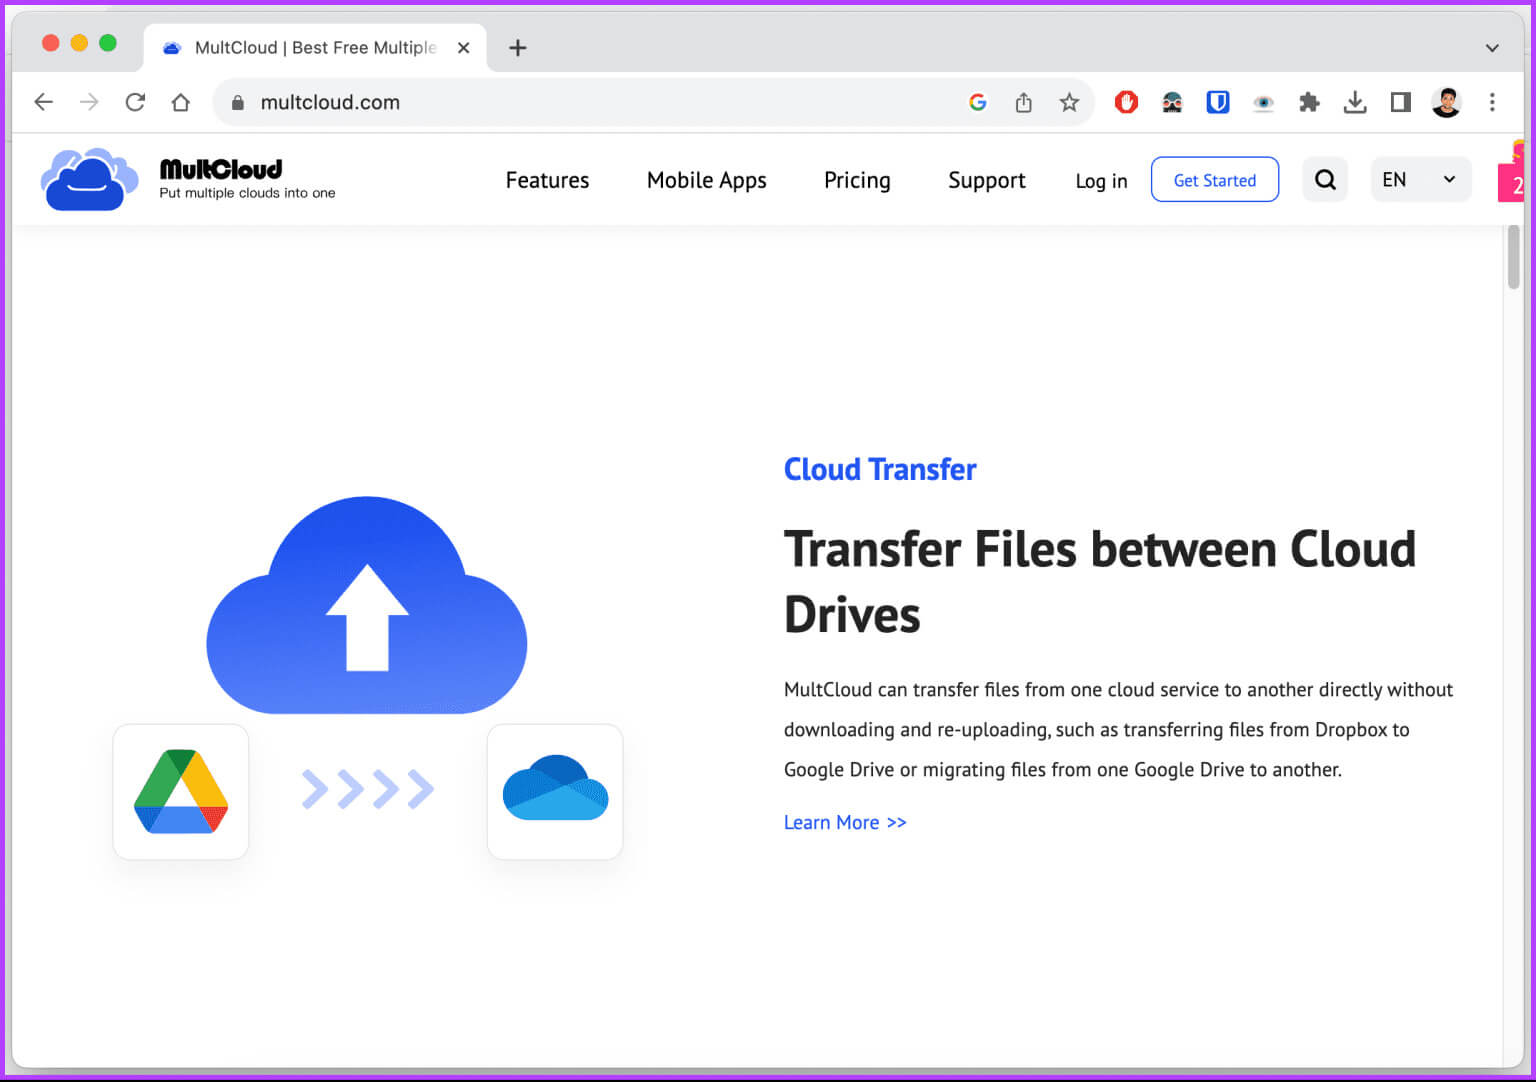
Third-party freemium tools like multicloud A simple and effective way to transfer data between Google Drive accounts. However, the free version has limits on the amount of data you can transfer.
common questions:
Q1. Can I transfer Google Drive from one account to another locally?
Answer: No, personal account users do not get a native feature to transfer Google Drive from one account to another.
Q2. Does transferring ownership of Google Drive change storage space?
Neither the current nor the new owner's storage allocation is directly affected when transferring ownership of files and folders in Google Drive. Google Drive storage quota is primarily tied to your Google account, not to file and folder ownership.
Efficient migration
Here's how you can transfer your Google Drive data to another account using various methods. We recommend using Google's native feature or Google Takeout for the same purpose. You can also read: How to use Google Drive files offline on your Mac.


