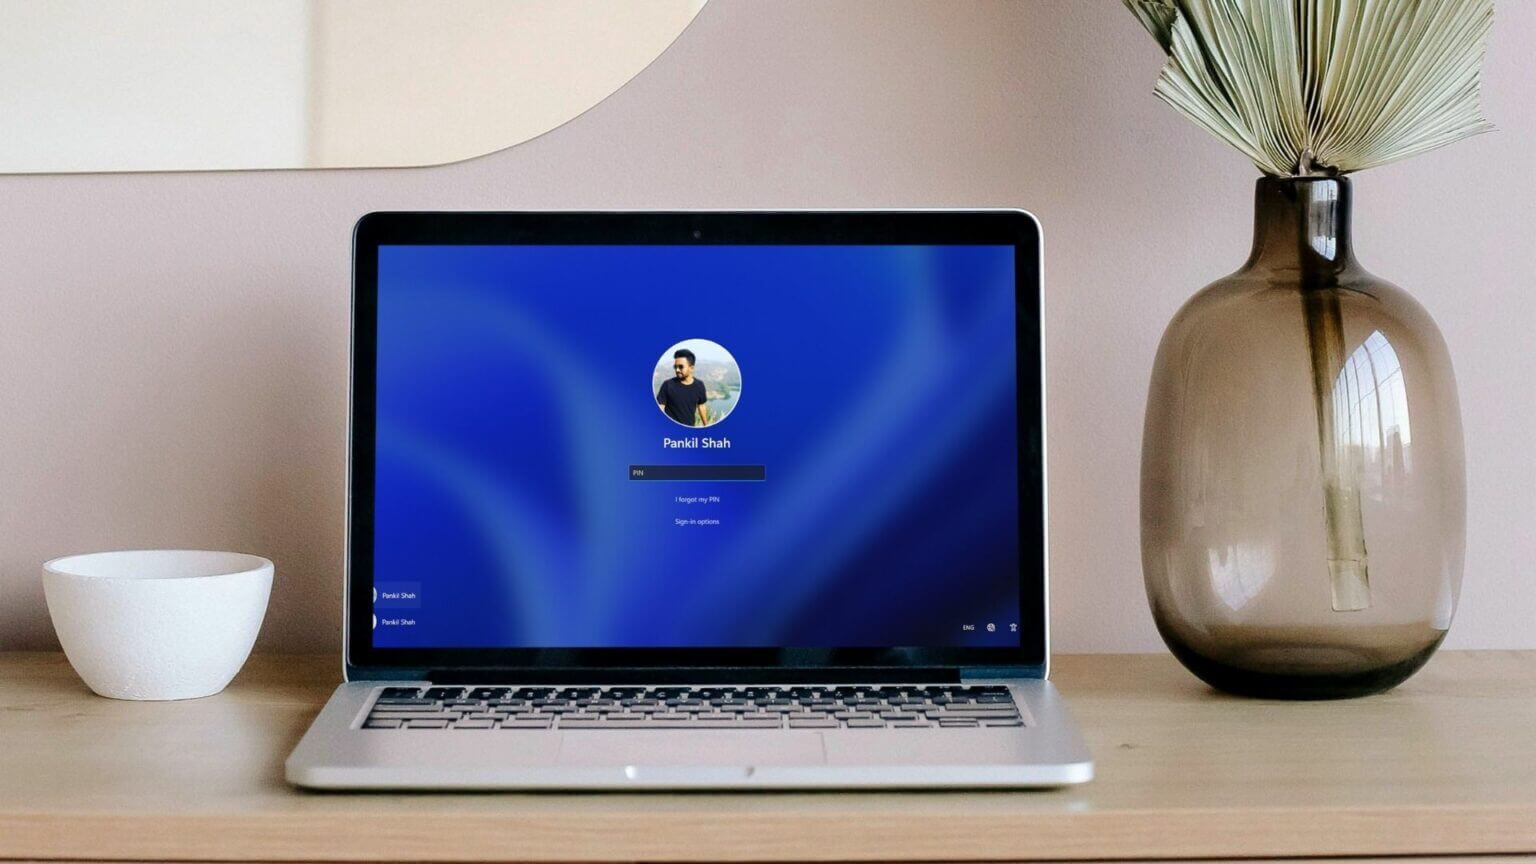
Windows 11 includes a lock screen to prevent unauthorized access without a password or PIN. However, entering a long password can become tedious if the lock screen keeps popping up repeatedly after a few seconds of inactivity. Windows allows you toDisable lock screen after sleep , and it may not be a good idea to use it on your work computer. Fortunately, there are ways you can fix this nasty behavior. In this post, we'll share solutions to fix the Windows 11 auto-lock screen issue. Let's get started.
1. Increase the lock screen timeout
You can start by checking the deadline duration. Lock screen Specified on your computer. Windows will continue to lock itself if the specified duration is one or two minutes. Here's how to change that.
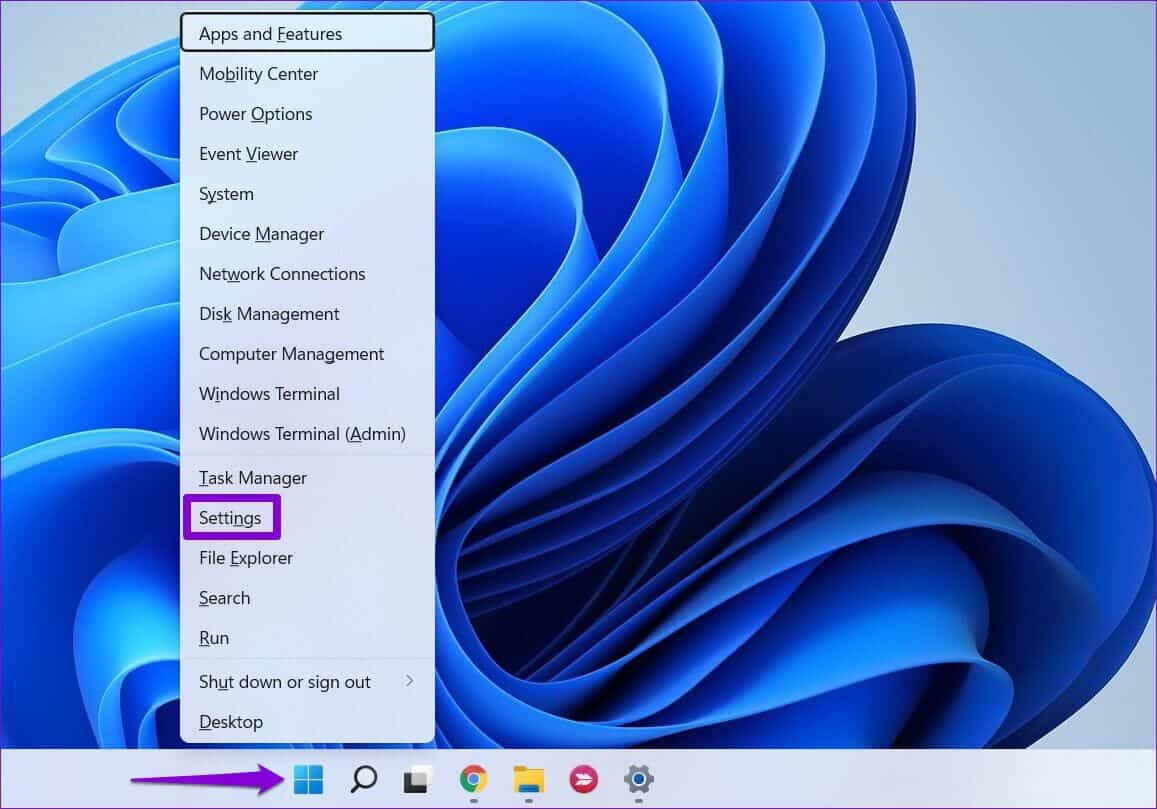
Step 1: Right click Start button To open Quick Links List and select "Settings" from the list.
Step 2: in System tab , Click power and battery from the right part.
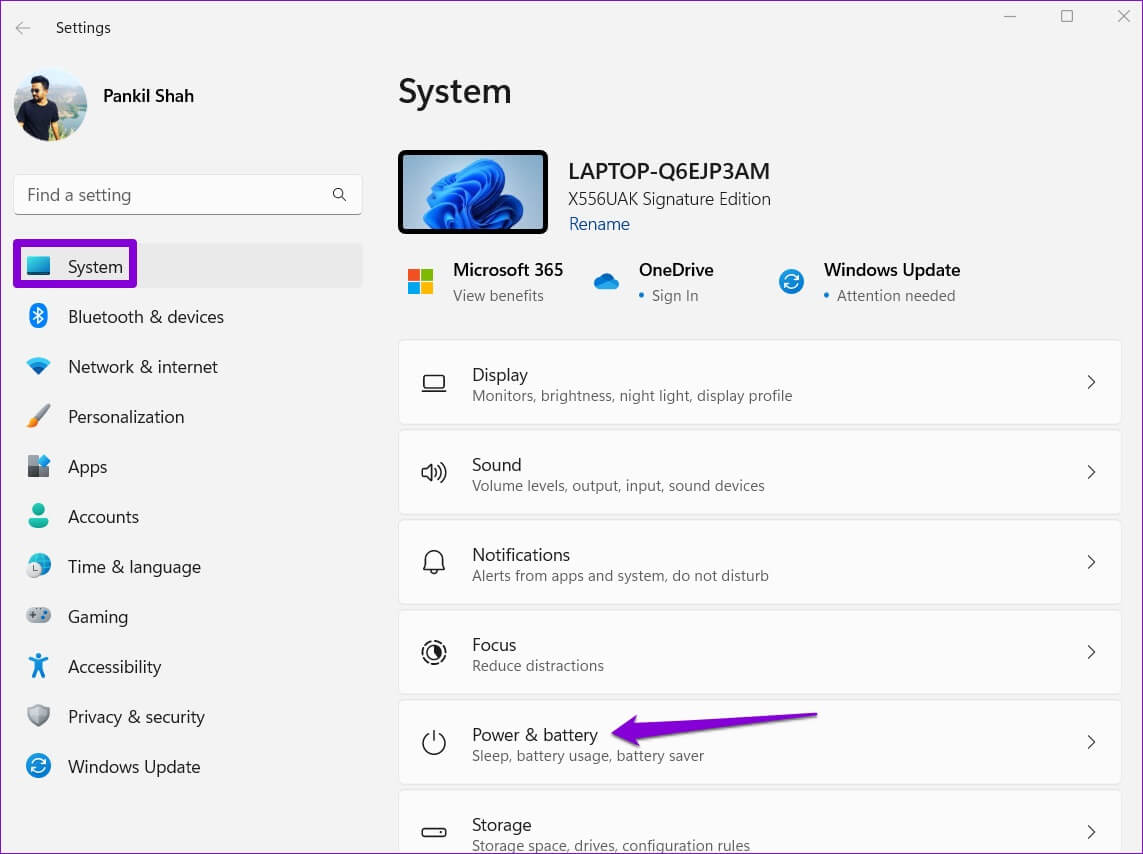
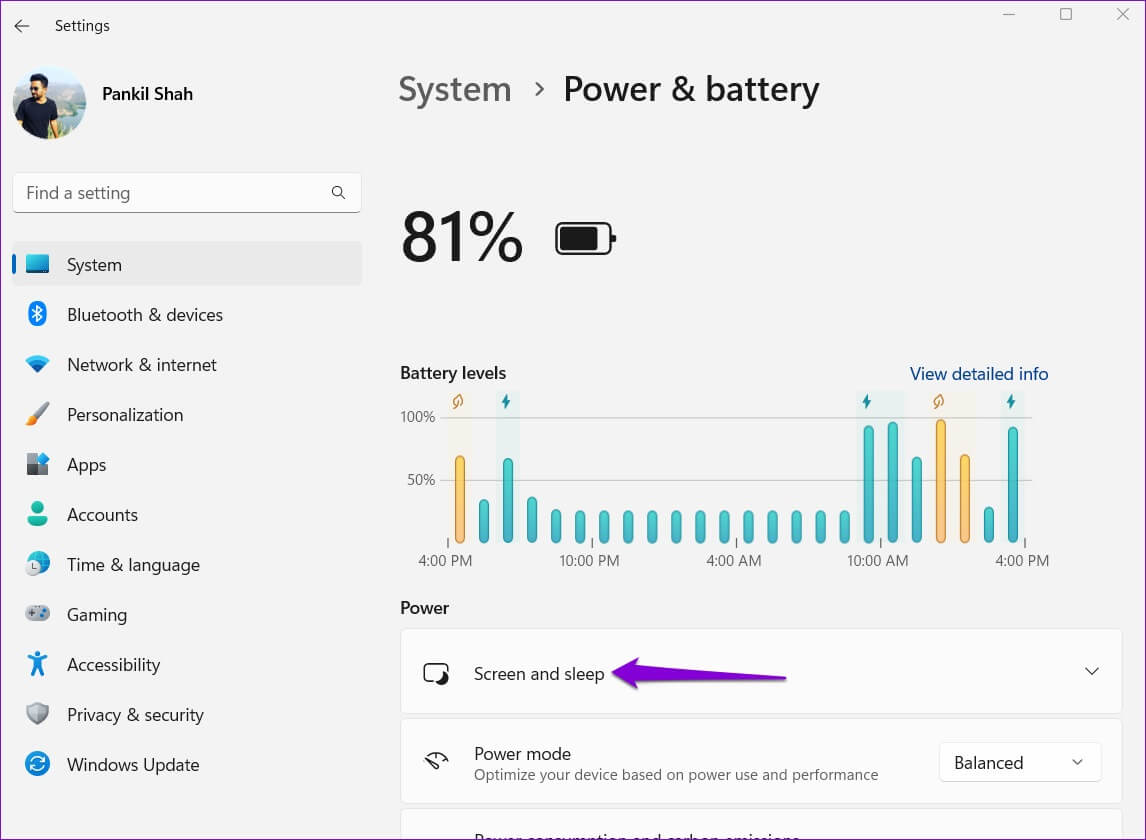
Step 3: within Energy Department , Click Screen and sleep to expand it.
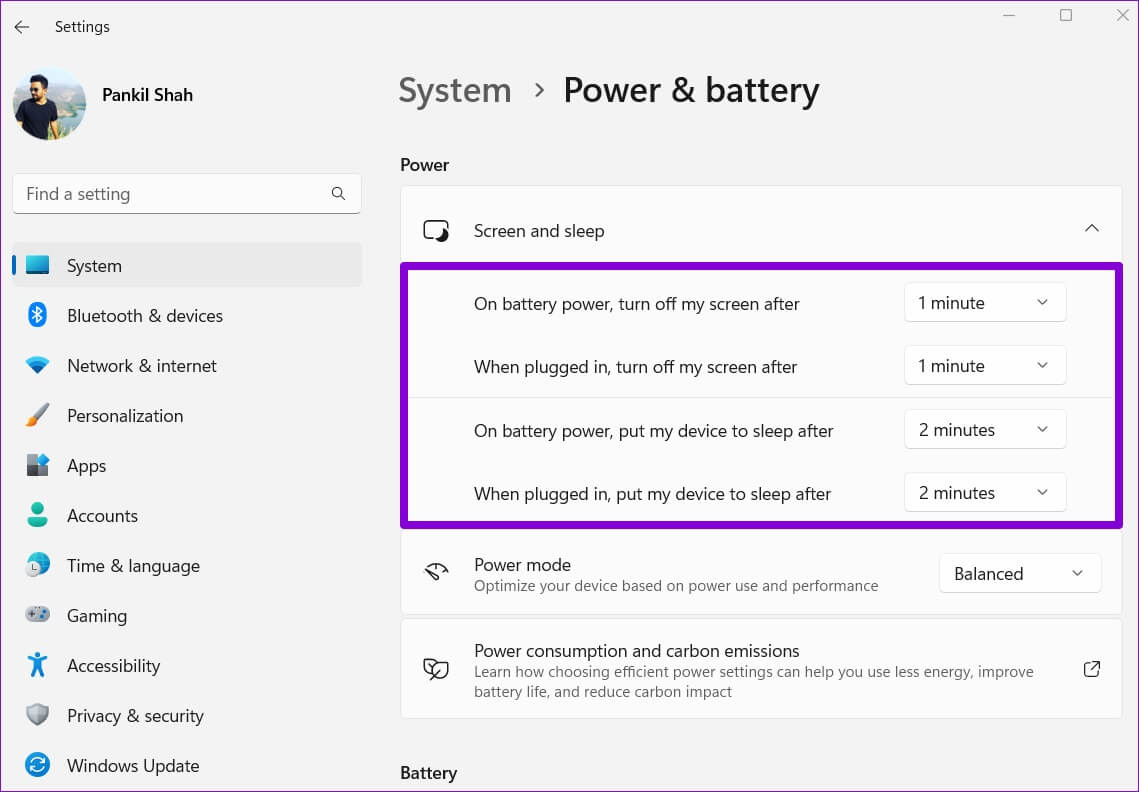
Step 4: use Drop-down lists Under Screen & Sleep to increase the amount of time before Windows turns off the screen or goes to sleep.
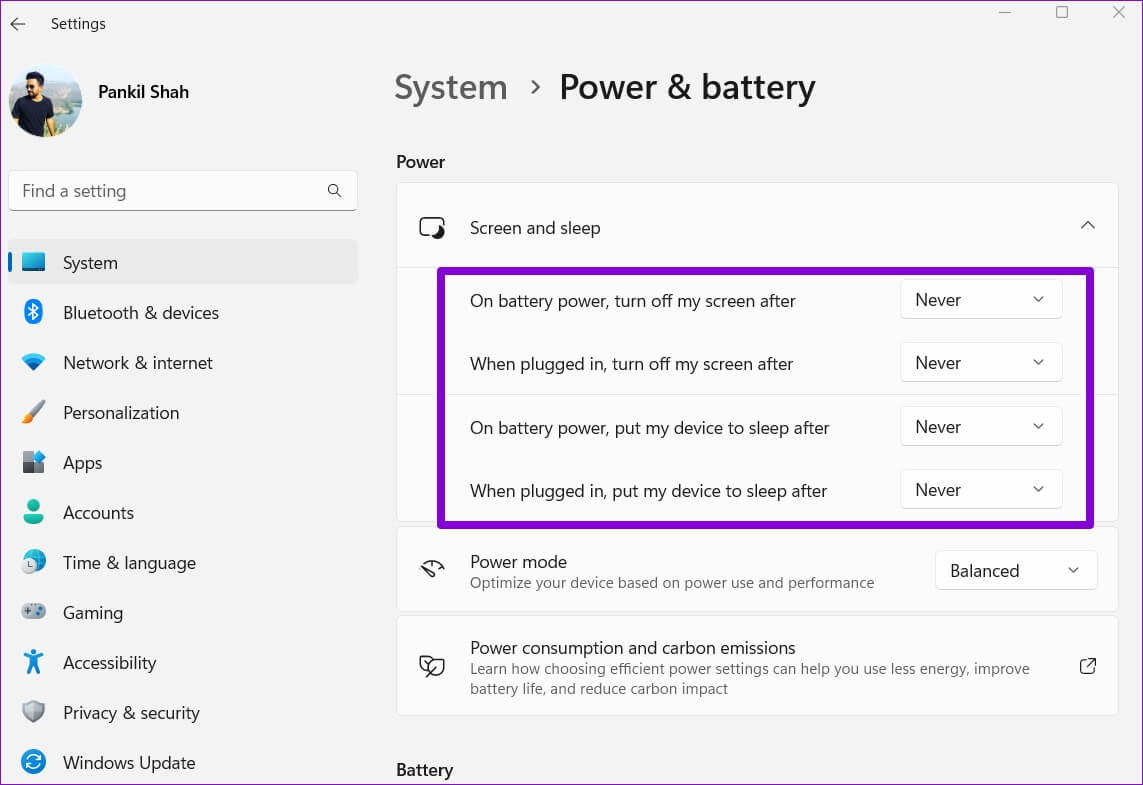
Alternatively, you can also set these time periods to not prevent Windows from putting your PC to sleep.
2. Turn off Dynamic Lock.
Dynamic Lock is a great feature in Windows that automatically locks your computer when you leave it unattended. It does this every time a paired Bluetooth device goes out of range. Therefore, if you enable Dynamic Lock on your computer, Windows will continue to automatically lock itself, regardless of the timeout period set for the lock screen.
To disable dynamic lock on Windows, follow the steps below.
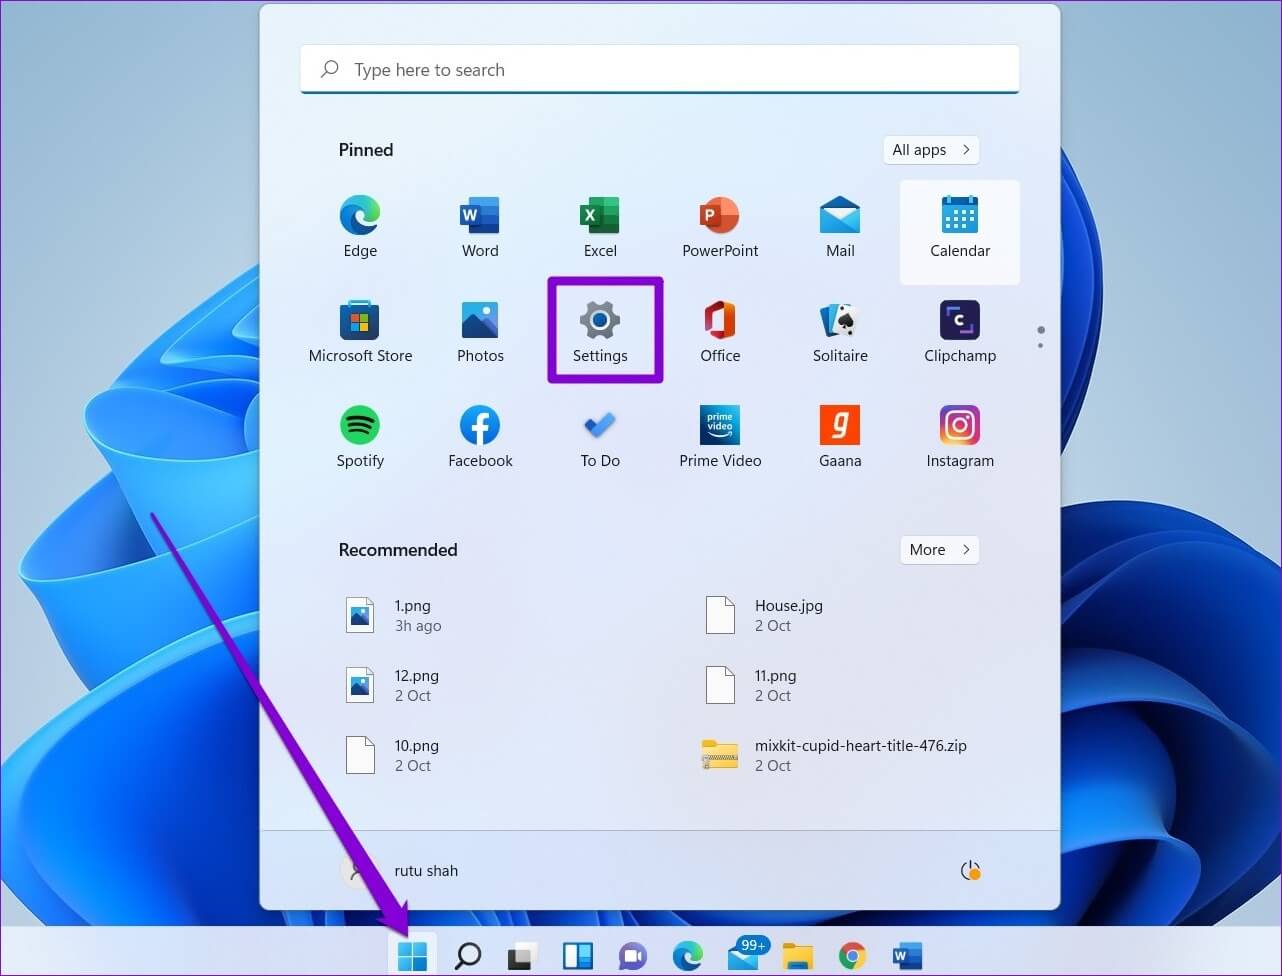
Step 1: Open start menu and click gear icon to start Settings app.
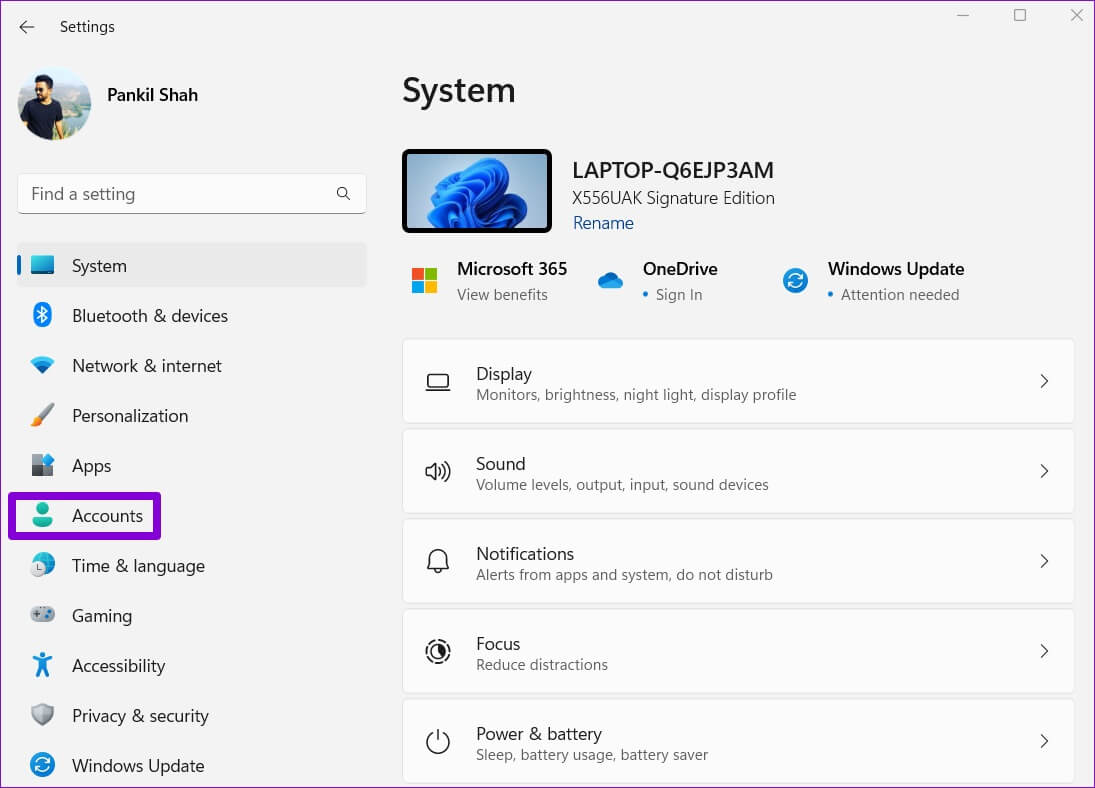
Step 2: Use the right part to switch to Accounts tab.
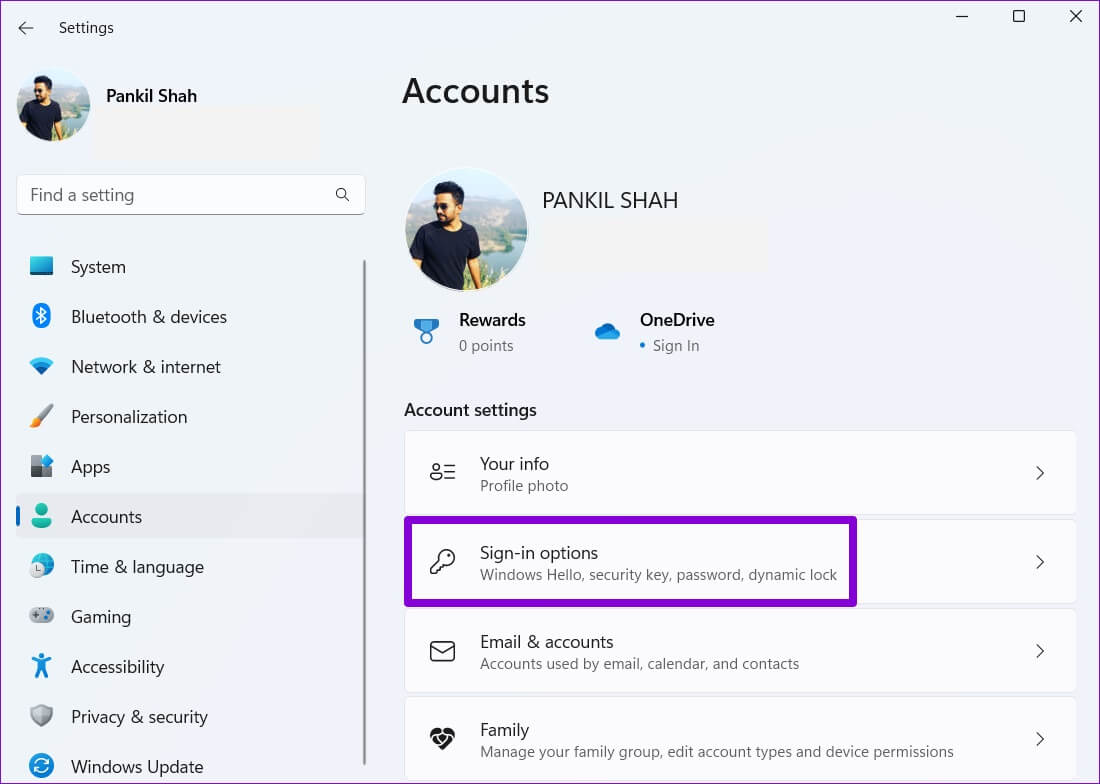
Step 3: within Account settings , Click Sign-in options.
Step 4: Scroll down to Additional settings And click Dynamic lock to expand it.
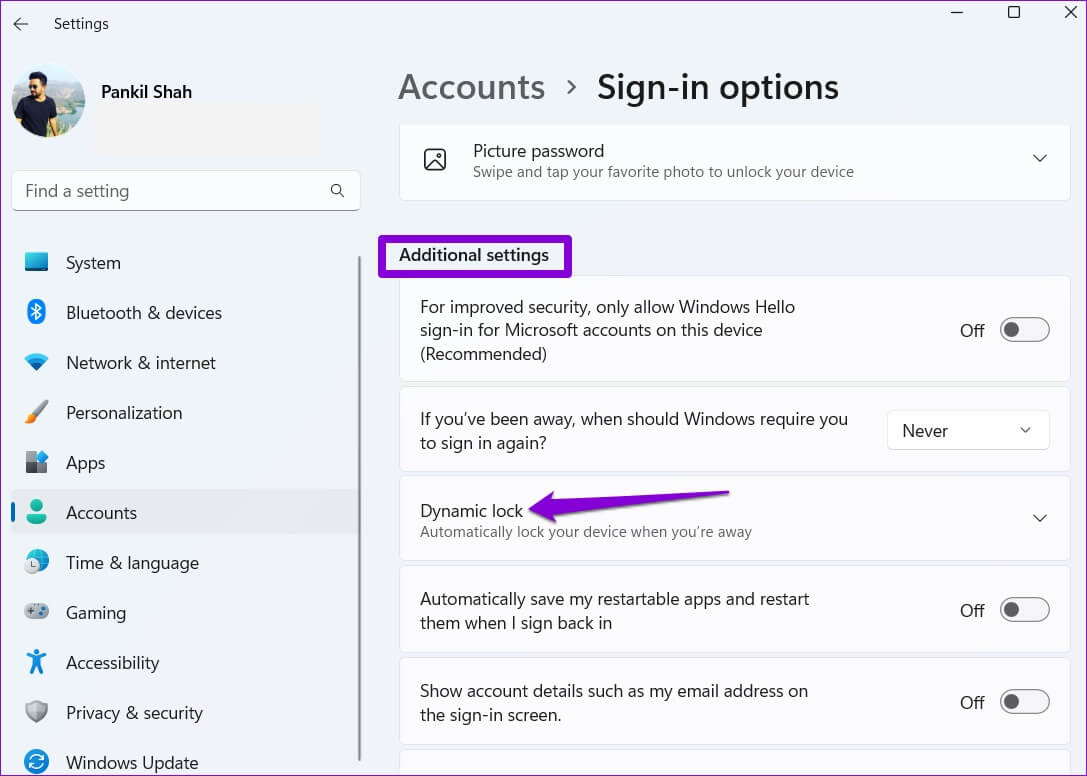
Step 5: deselect The option “Allow Windows to automatically lock your device when you’re away” To disable dynamic locking.
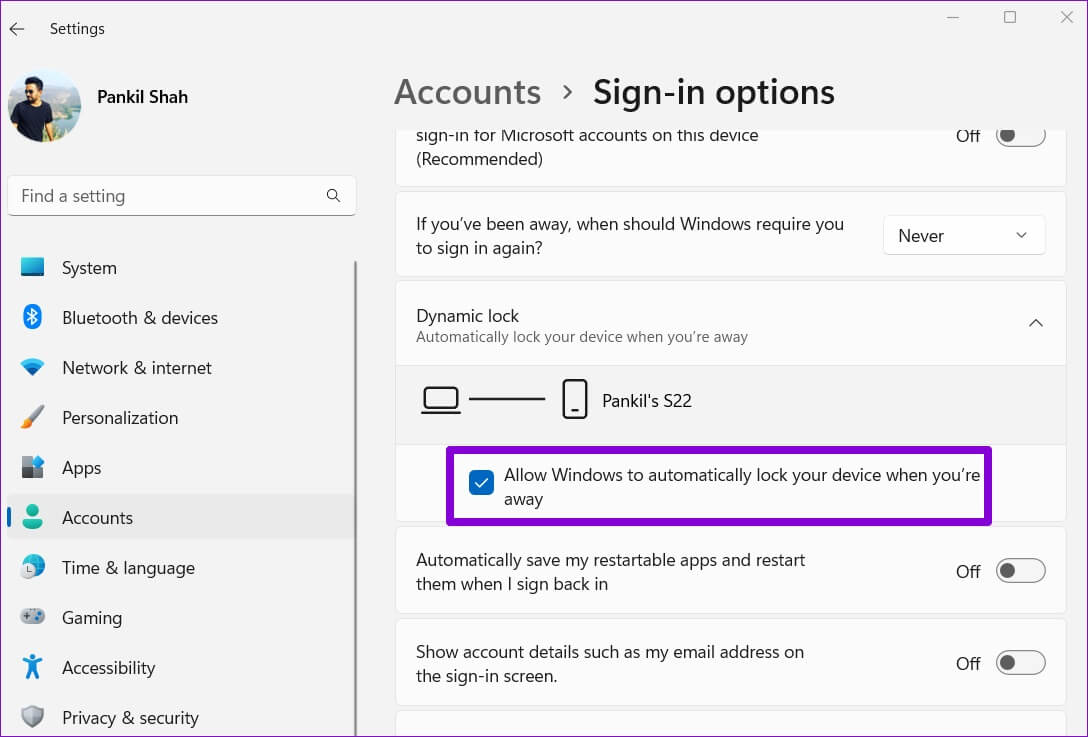
This will prevent Windows from automatically locking itself when a Bluetooth device goes out of range.
3. Modify power options
If the above solutions do not help you, you can check out: Power options on your computer Your to change the “Unattended System Sleep Timeout”. Report Many users in the forums They have been successful in fixing the issue this way. You can also try it.
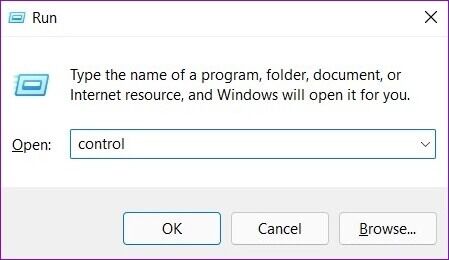
Step 1: Click on Windows key + R To open Run . dialog. Write control element 1. open And press Enter.
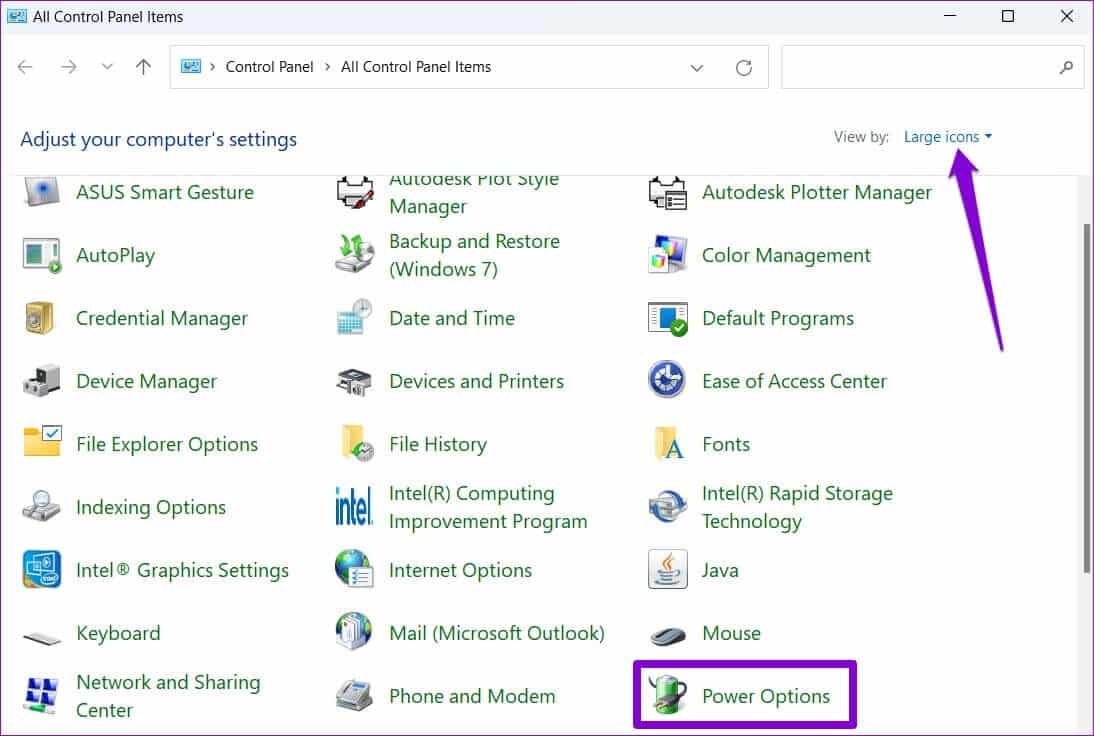
Step 2: In the Control Panel window, use the drop-down menu in the upper-right corner to change the display type to Large or Small Icons. Then, go to Power Options.
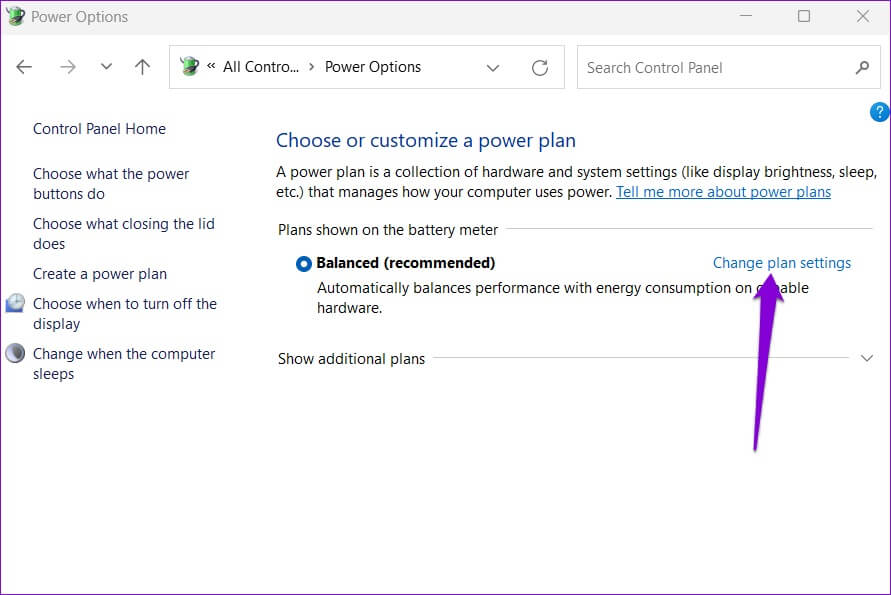
Step 3: Click Change plan settings next to Active Energy Plan Your own.
Step 4: Click The “Change advanced power settings” option.
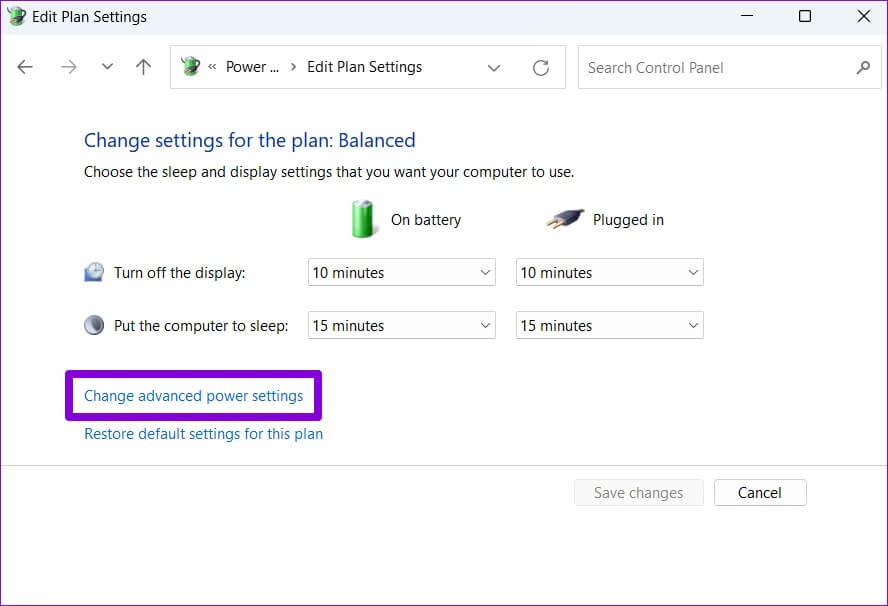
Step 5: in Power Options window , double-click Sleep to expand it.
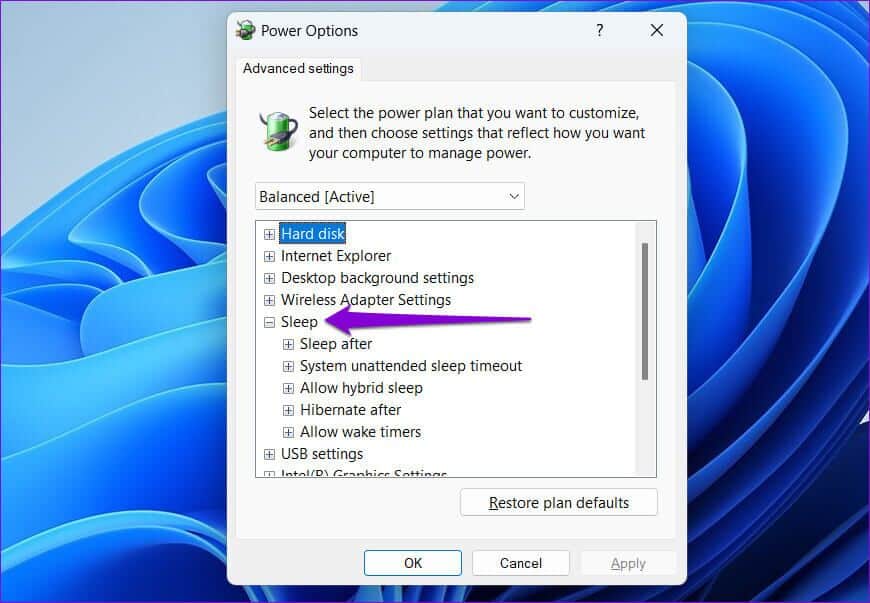
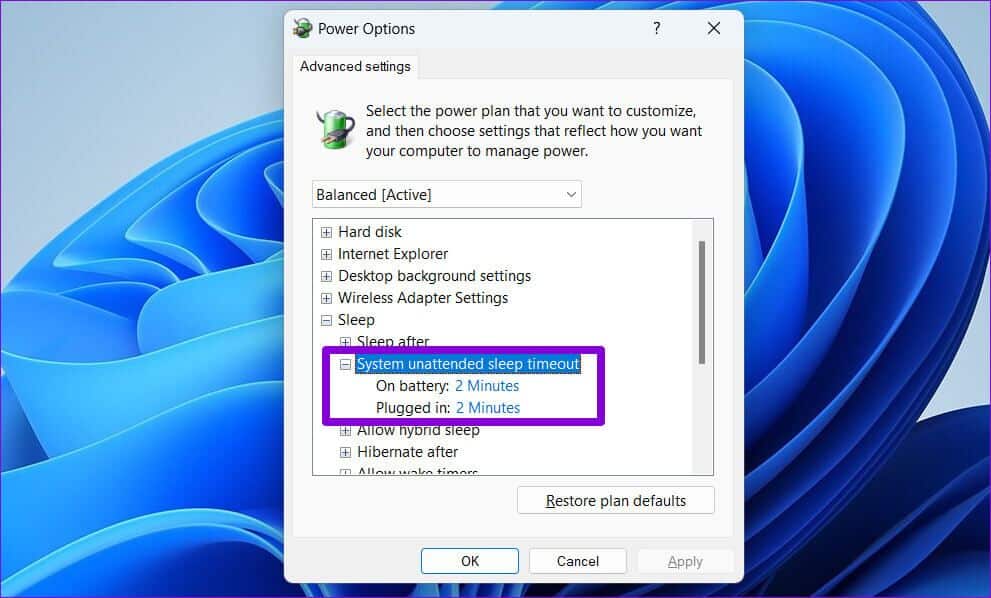
Step 6: within stillness , double-click "unattended system idle timeout" To display the specified duration.
Step 7: Adjust the screen timeout to your liking and click "Application" to save the changes.
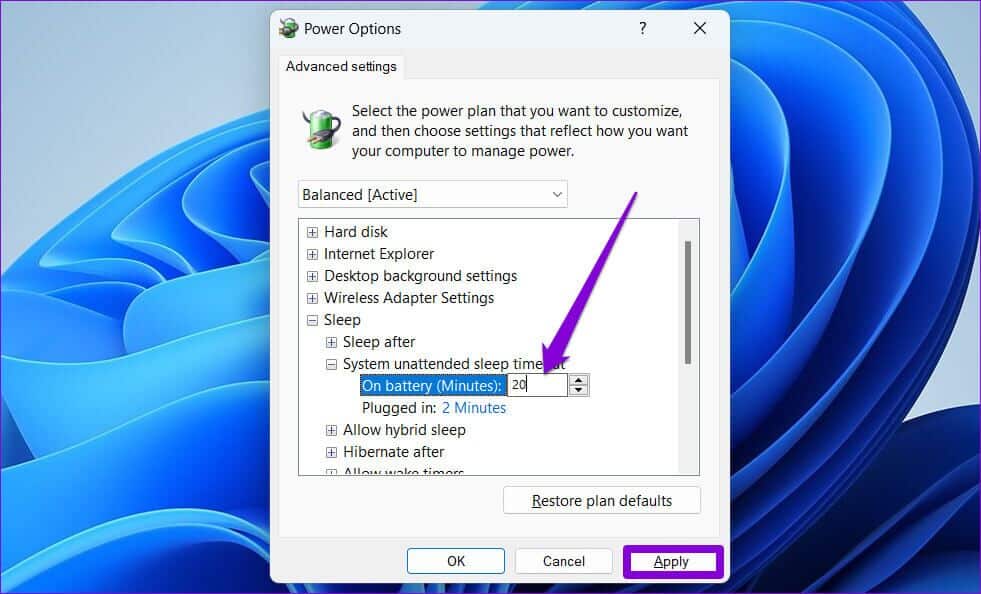
Note: If you are using a Windows laptop, increase the “Unattended System Sleep Timeout” for both battery mode and plugged in mode.
This will prevent Windows from repeatedly going to the lock screen. However, if you can't locate "Unattended System Sleep Timeout" in the Sleep settings, you'll need to use the following registry method to enable it first.
make sure to work Backup your current registry settings Before performing the steps below.
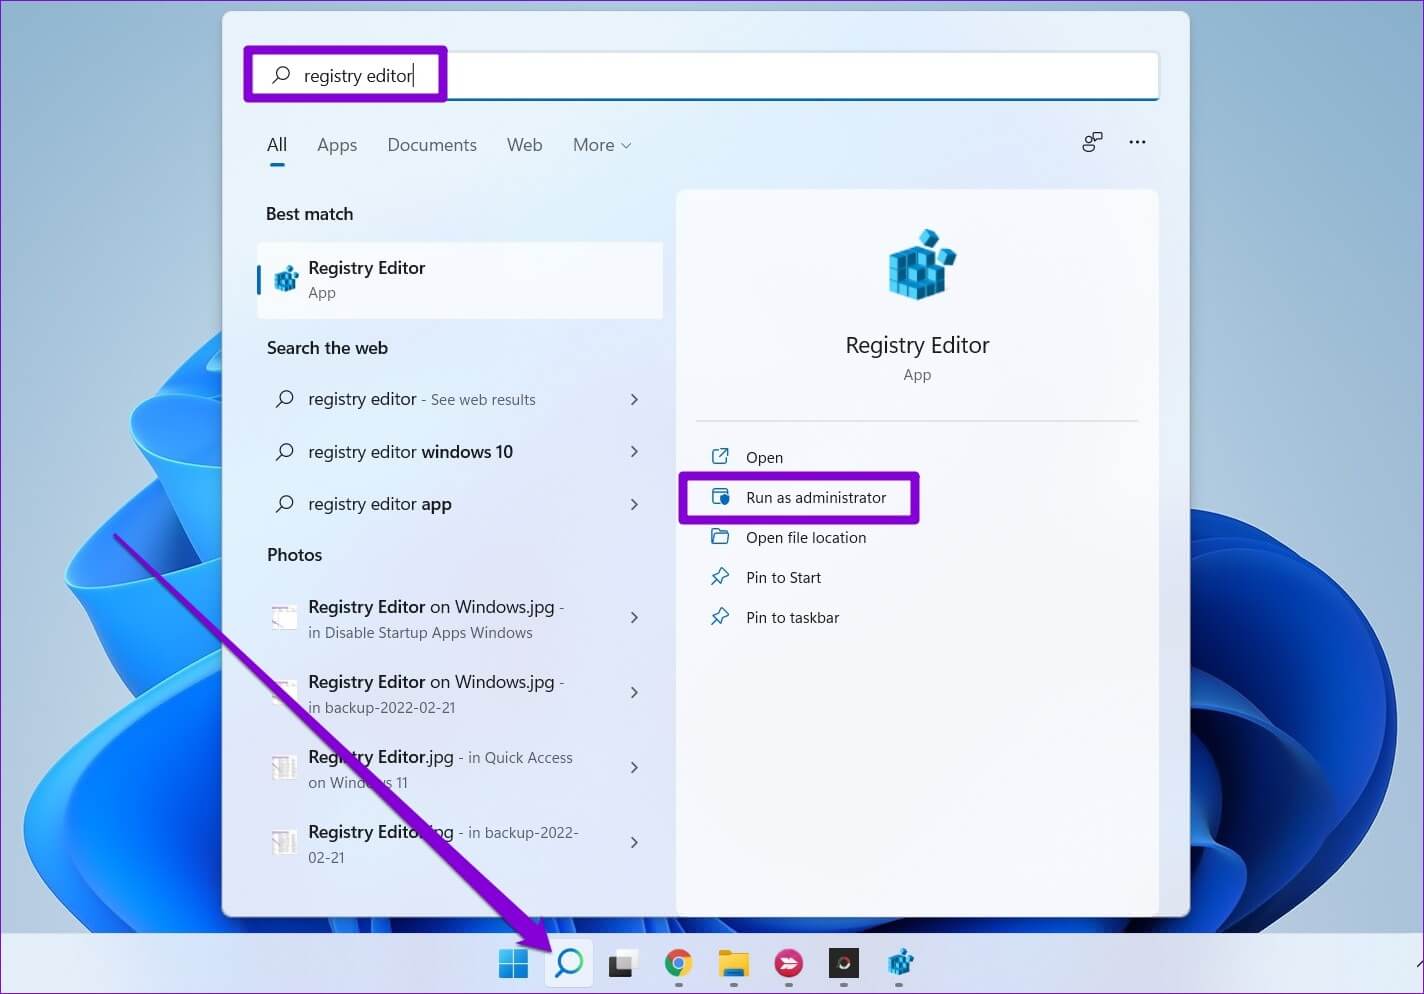
Step 1: Click Search code in Taskbar , And type Registry Editor , and click Run as administrator.
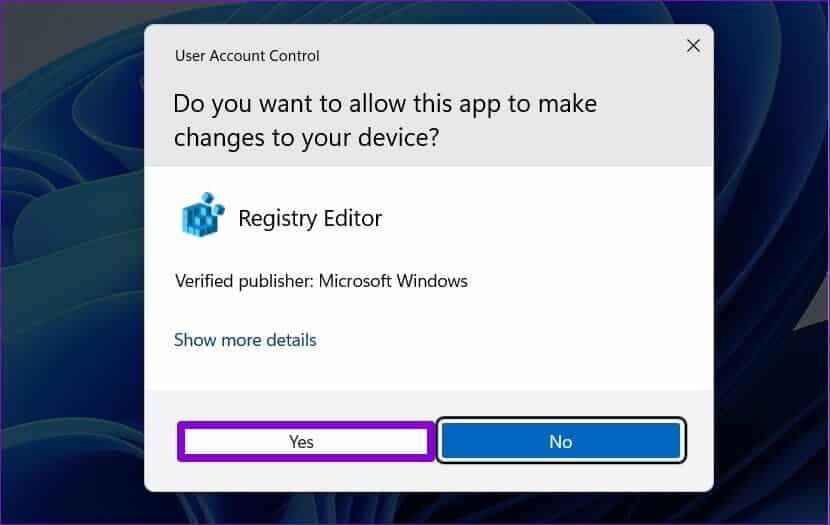
Step 2: Locate yes When you appear control router in User Account (UAC).
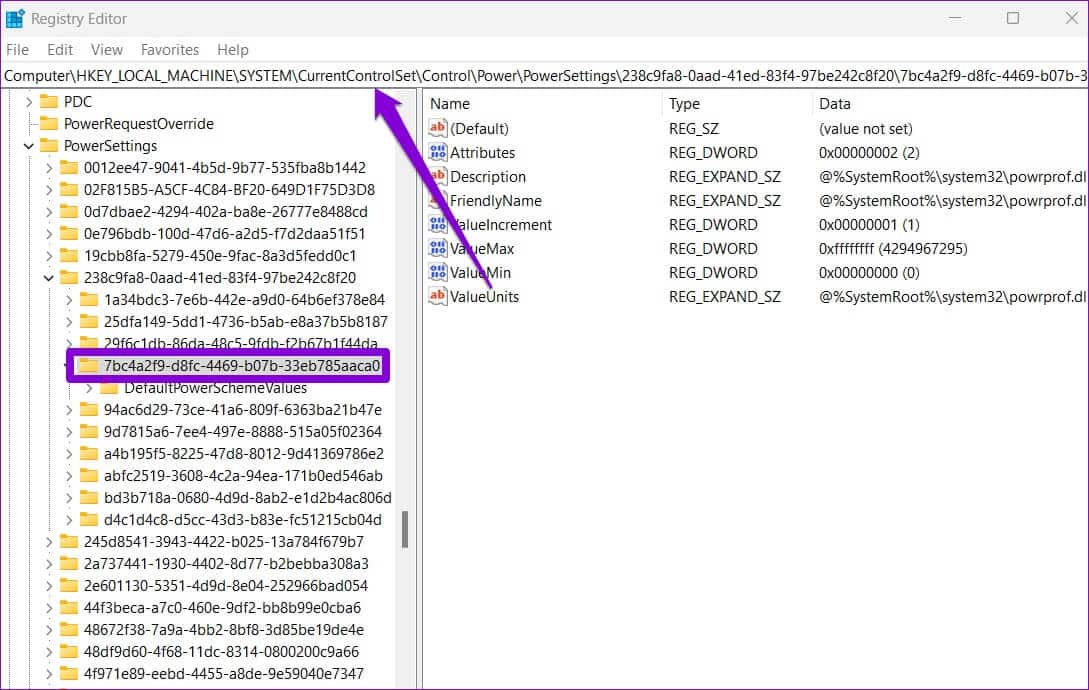
Step 3: in Registry Editor window , copy Next key And paste it into the address bar at the top:
HKEY_LOCAL_MACHINE\SYSTEM\CurrentControlSet\Control\Power\PowerSettings\238c9fa8-0aad-41ed-83f4-97be242c8f20\7bc4a2f9-d8fc-4469-b07b-33eb785aaca0
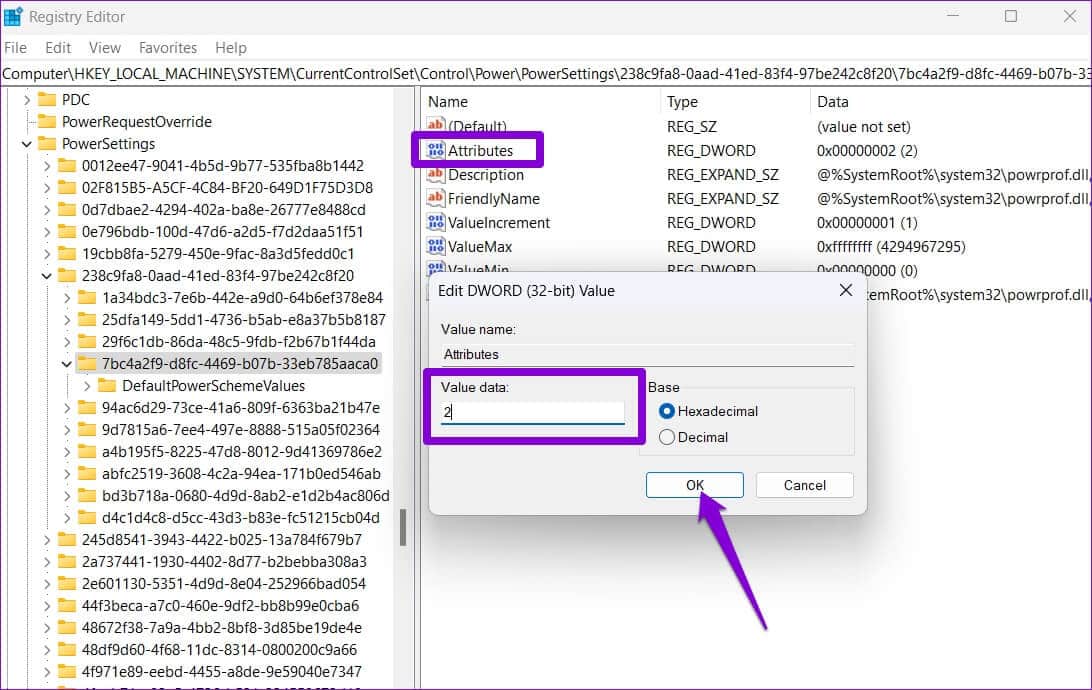
Step 4: In the right pane, double-click Features and change Private Value Data To her 2. Then click "OK".
The change should take effect immediately. Exit the registry window and use the steps above to access the "System Unattended Sleep Timeout" option. Increasing the timer may resolve your issue.
Keep it unlocked
Such issues with Windows can easily disrupt your workflow. Fortunately, troubleshooting isn't difficult if you know where to look. Use the tips above to fix the Windows 11 auto-lock screen.


